
The Easiest DIY Ceramic Vase Makeover Tutorial

Here’s the step by step guide to create your own!

Who else loves a good DIY project? A big part of the reason for creation of this blog is to give myself a creative outlet and to share some of the fun projects in tutorial form for you to enjoy as well! I’ve seen lots of DIY vase makeover tutorials out there and if you are looking for a fun way to give a fresh new spin to an old piece, look no further. This literally has to be the easiest DIY “ceramic” vase makeover ever!
This project began when I was looking for vases to use for a wedding. The key though is that I wanted bud vases that were super fresh and fun, white ceramic and didn’t cost a fortune. I decided after a rather relentless hunt, that my best bet was to just create them myself. However, I also didn’t want to spend two weeks and multiple steps turning 50 old vases into my vision…enter the EASIEST DIY VASE MAKEOVER EVER!
1.
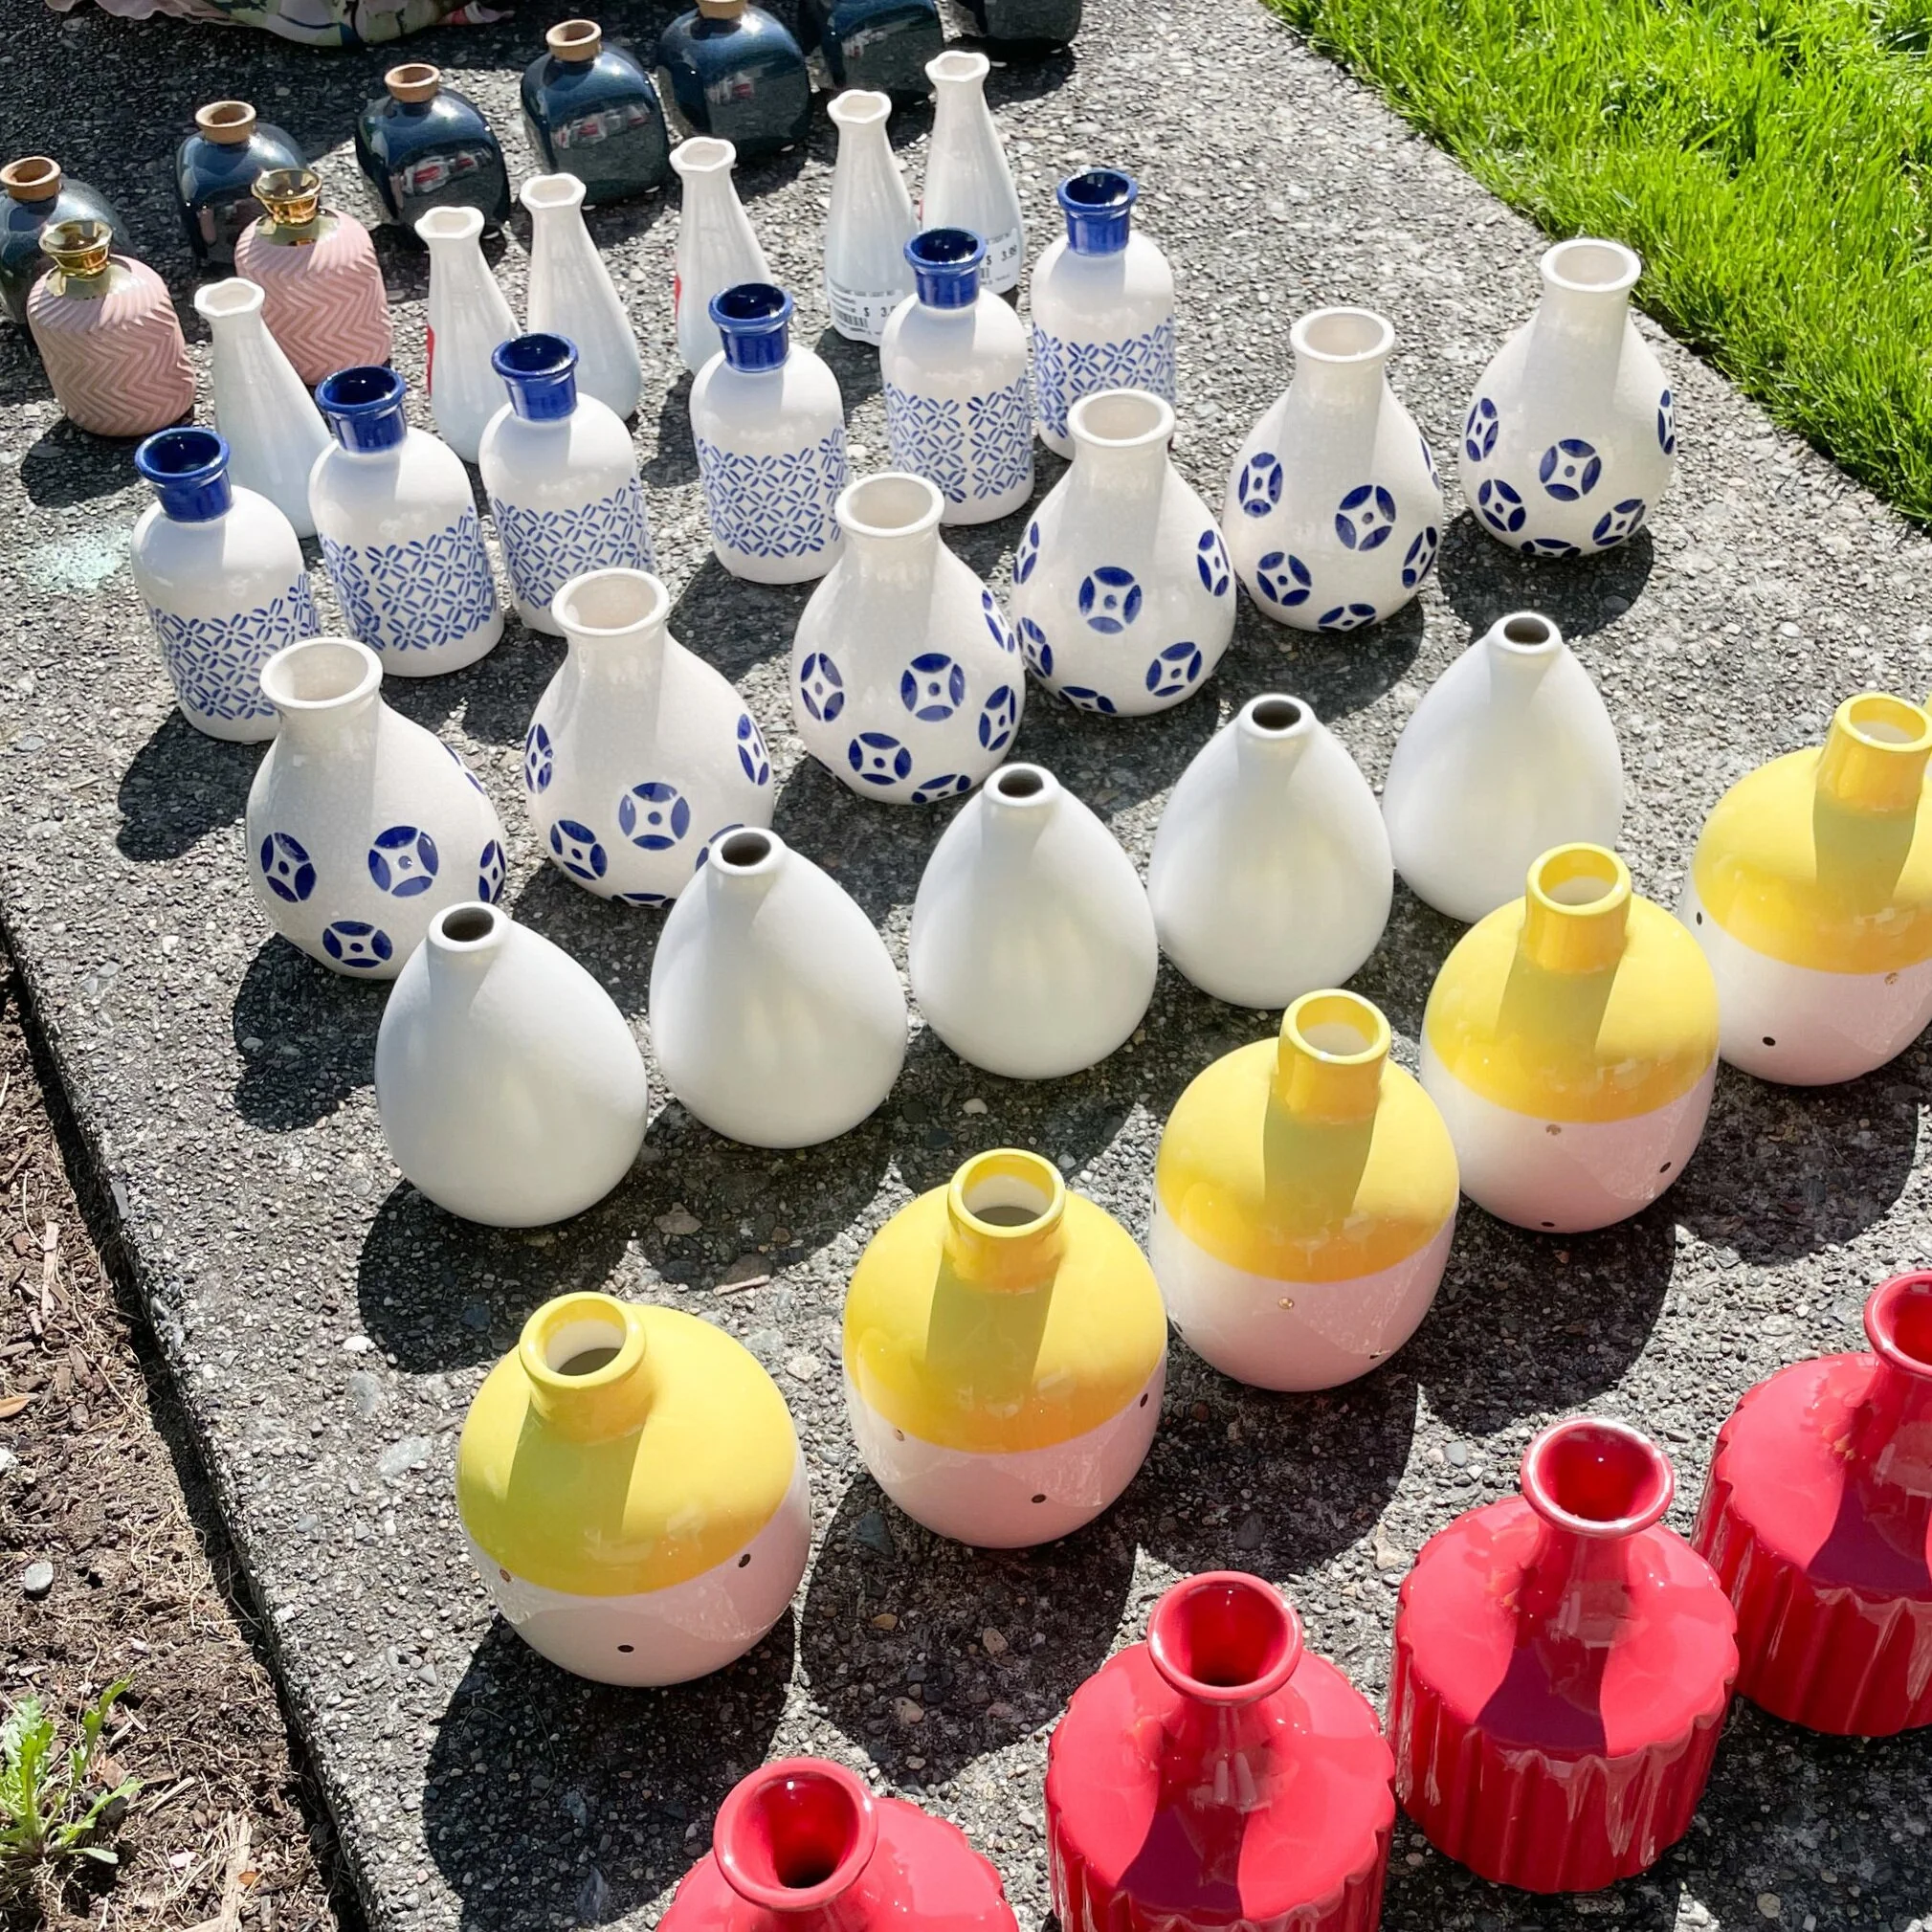
Collect vases in unique shapes that will work well together.
Hit Goodwill, garage sales, grab what you have around the house or like me, shop the clearance section at At Home! If you live in the Bellingham, WA area, we have a new store that opened up called At Home. If you haven’t been, it is like Home Goods on steroids. They have a huge selection of vases and you can’t beat the prices of the ones on clearance. Because I needed such a large number of them and needed shapes and sizes that would work together well for a wedding tablescape, this was my best bet. I paid anywhere from $1-$5 per vase. Most of them being only $1-$3! Some of these vases were really sweet as they were, but being painted was their destiny for this project and so I put my feelings about how cute that little yellow dottie vase was on the back burner. My focus was a cohesive design with good shapes and sizes that would work together.

2.
Remove any price tags and clean all of the vases.
If you are left with sticky tag residue, remove it with rubbing alcohol or even a couple drops of hand sanitizer will do the trick (you know we all have gallons of that around the house at this point!). To do this, peel the label off and place a couple of drops on the sticky left-overs. Rub around with your finger or a cloth for a few seconds and then wipe off. It should come off nicely. If you’d like, here’ s a little tutorial from Better Homes and Gardens with more ways to get that stubborn label residue off!
3.
Set up shop with a drop cloth in a well ventilated area and get to painting!
I was really happy with Krylon’s Chalky Finish line for the matte, ceramic looking texture it gave. I used their Classic White color. Spray a nice even coat on each vase and let it dry completely. Don’t forget to spray inside the top of each vase to completely cover the rim and the portion of the inside that you can see.

4.
Repeat step three until your vases have a nice solid, even coat of paint
It took me three coats to completely cover these vases since I was using white paint and some of the vases were quite colorful. A darker color probably would have been fine with two.
5.
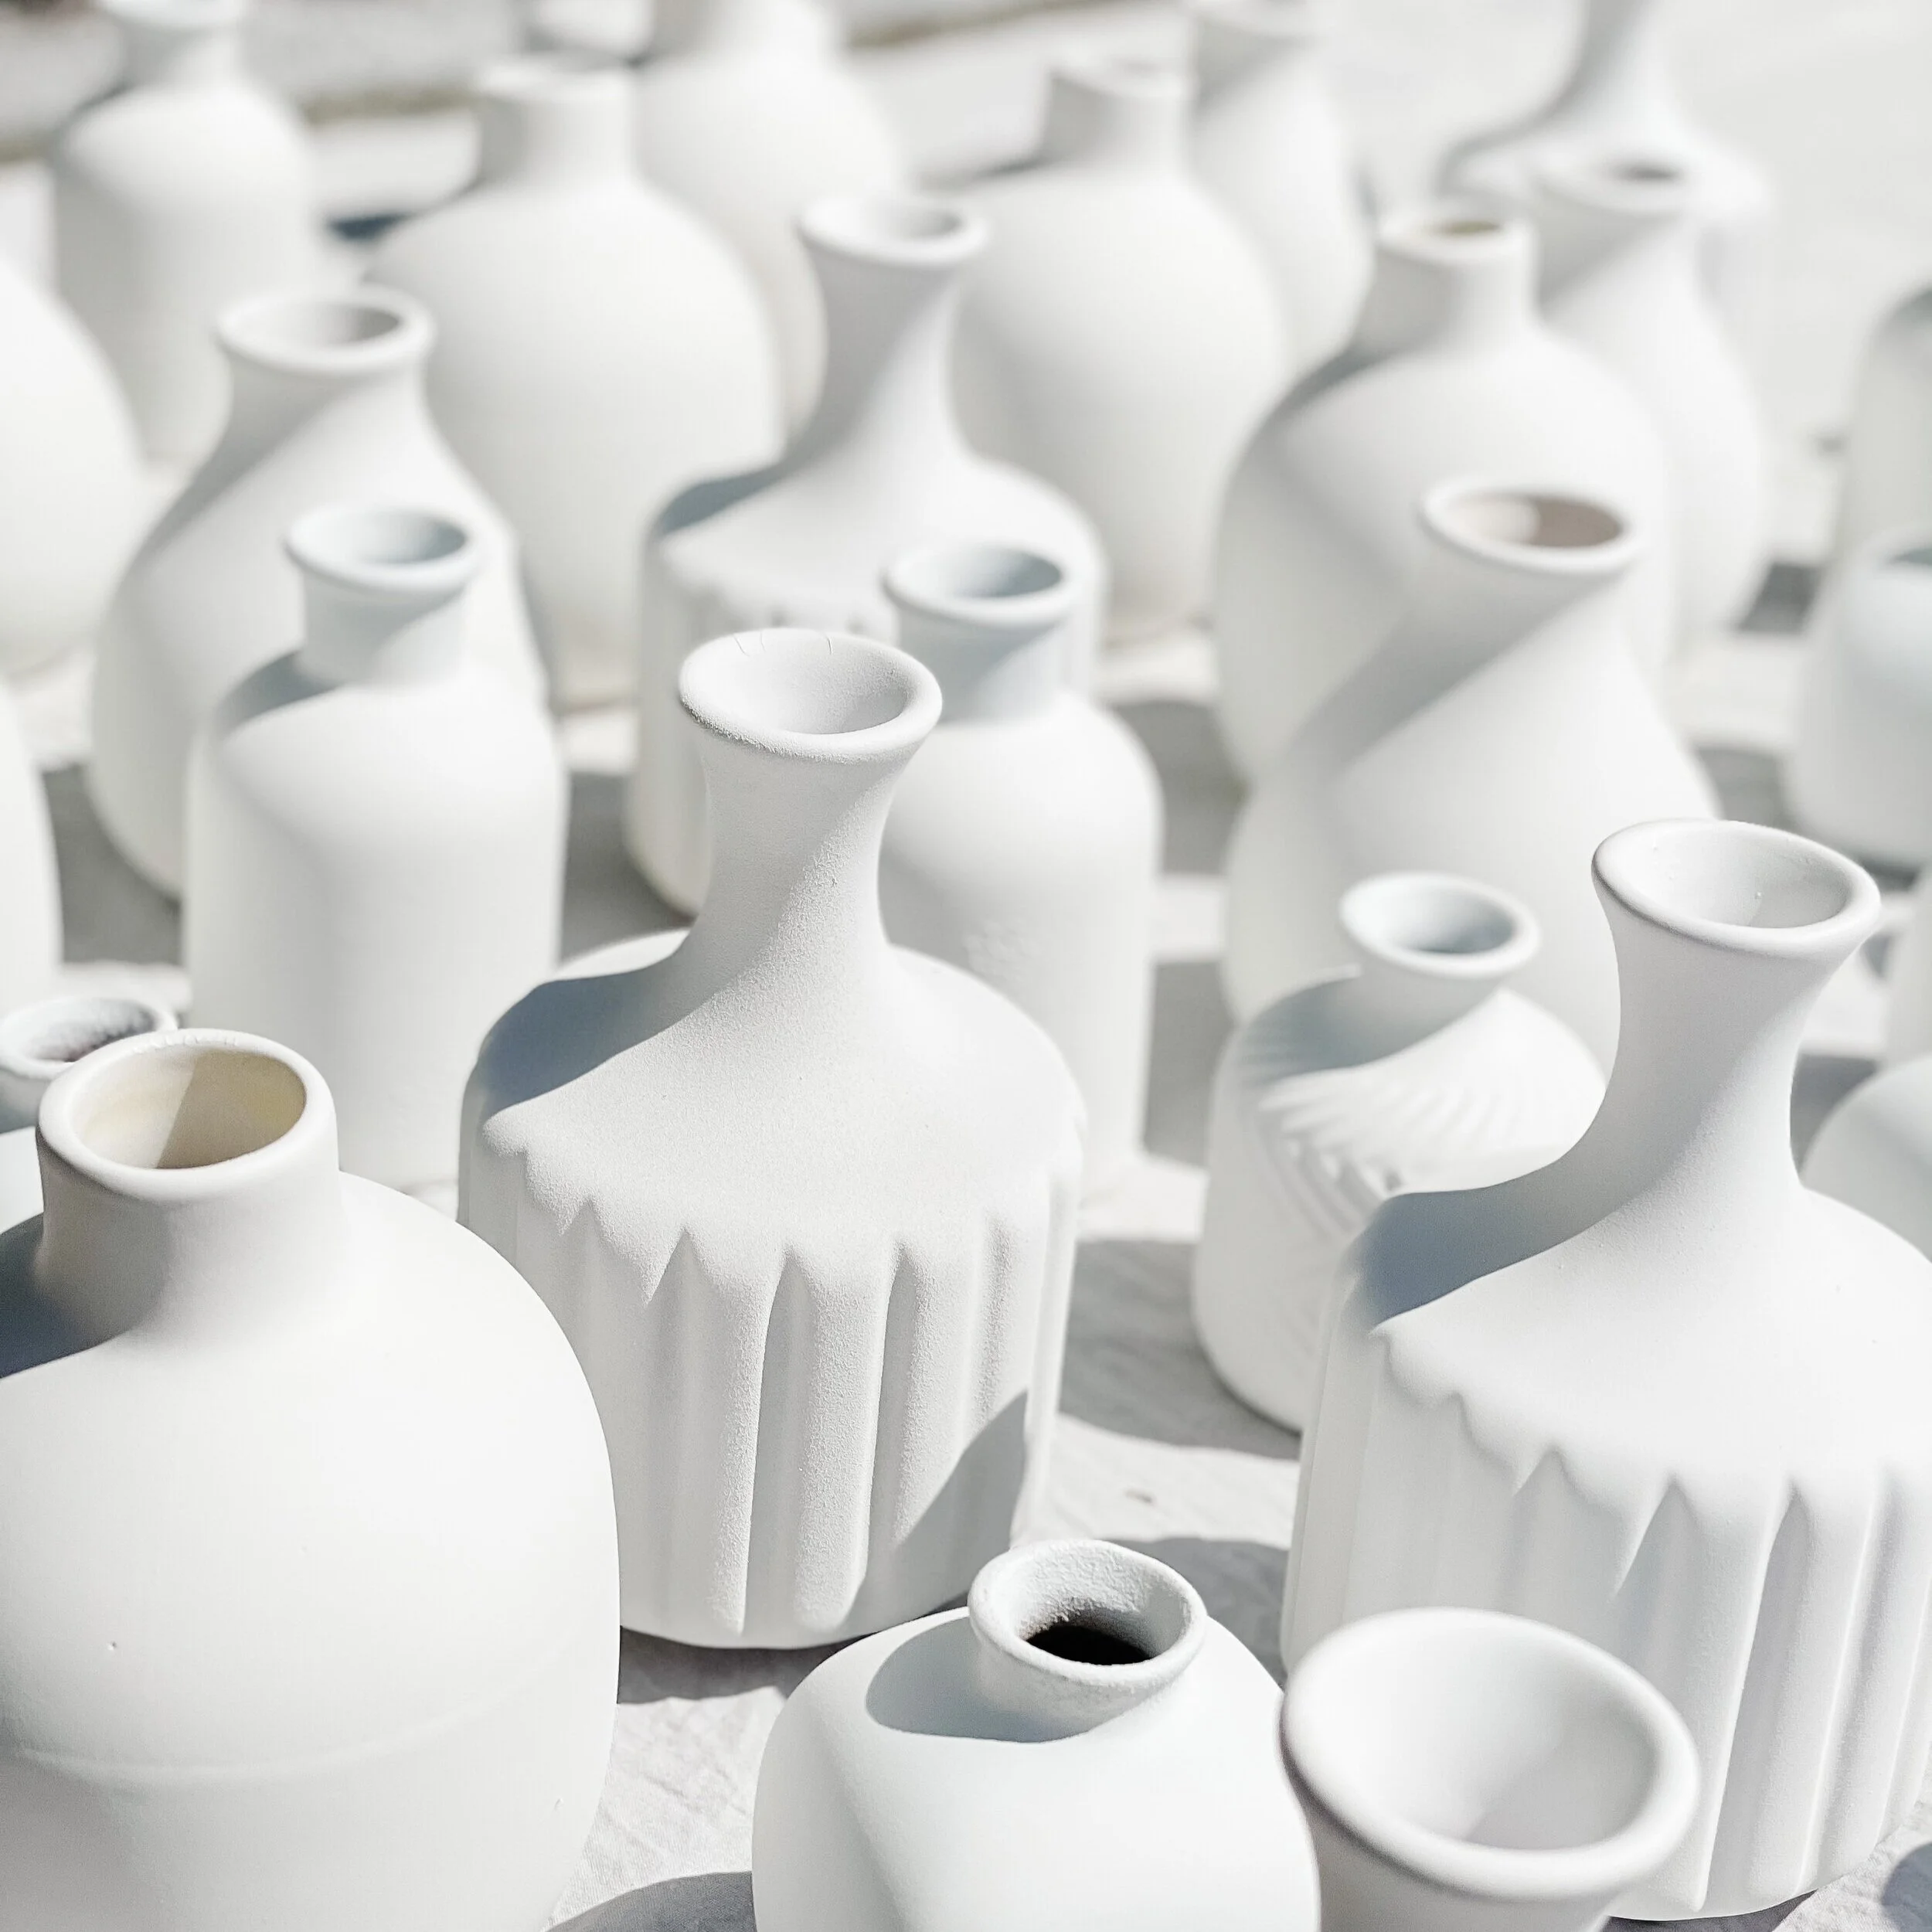
Seal your vases with a matte finish sealer to protect and preserve them
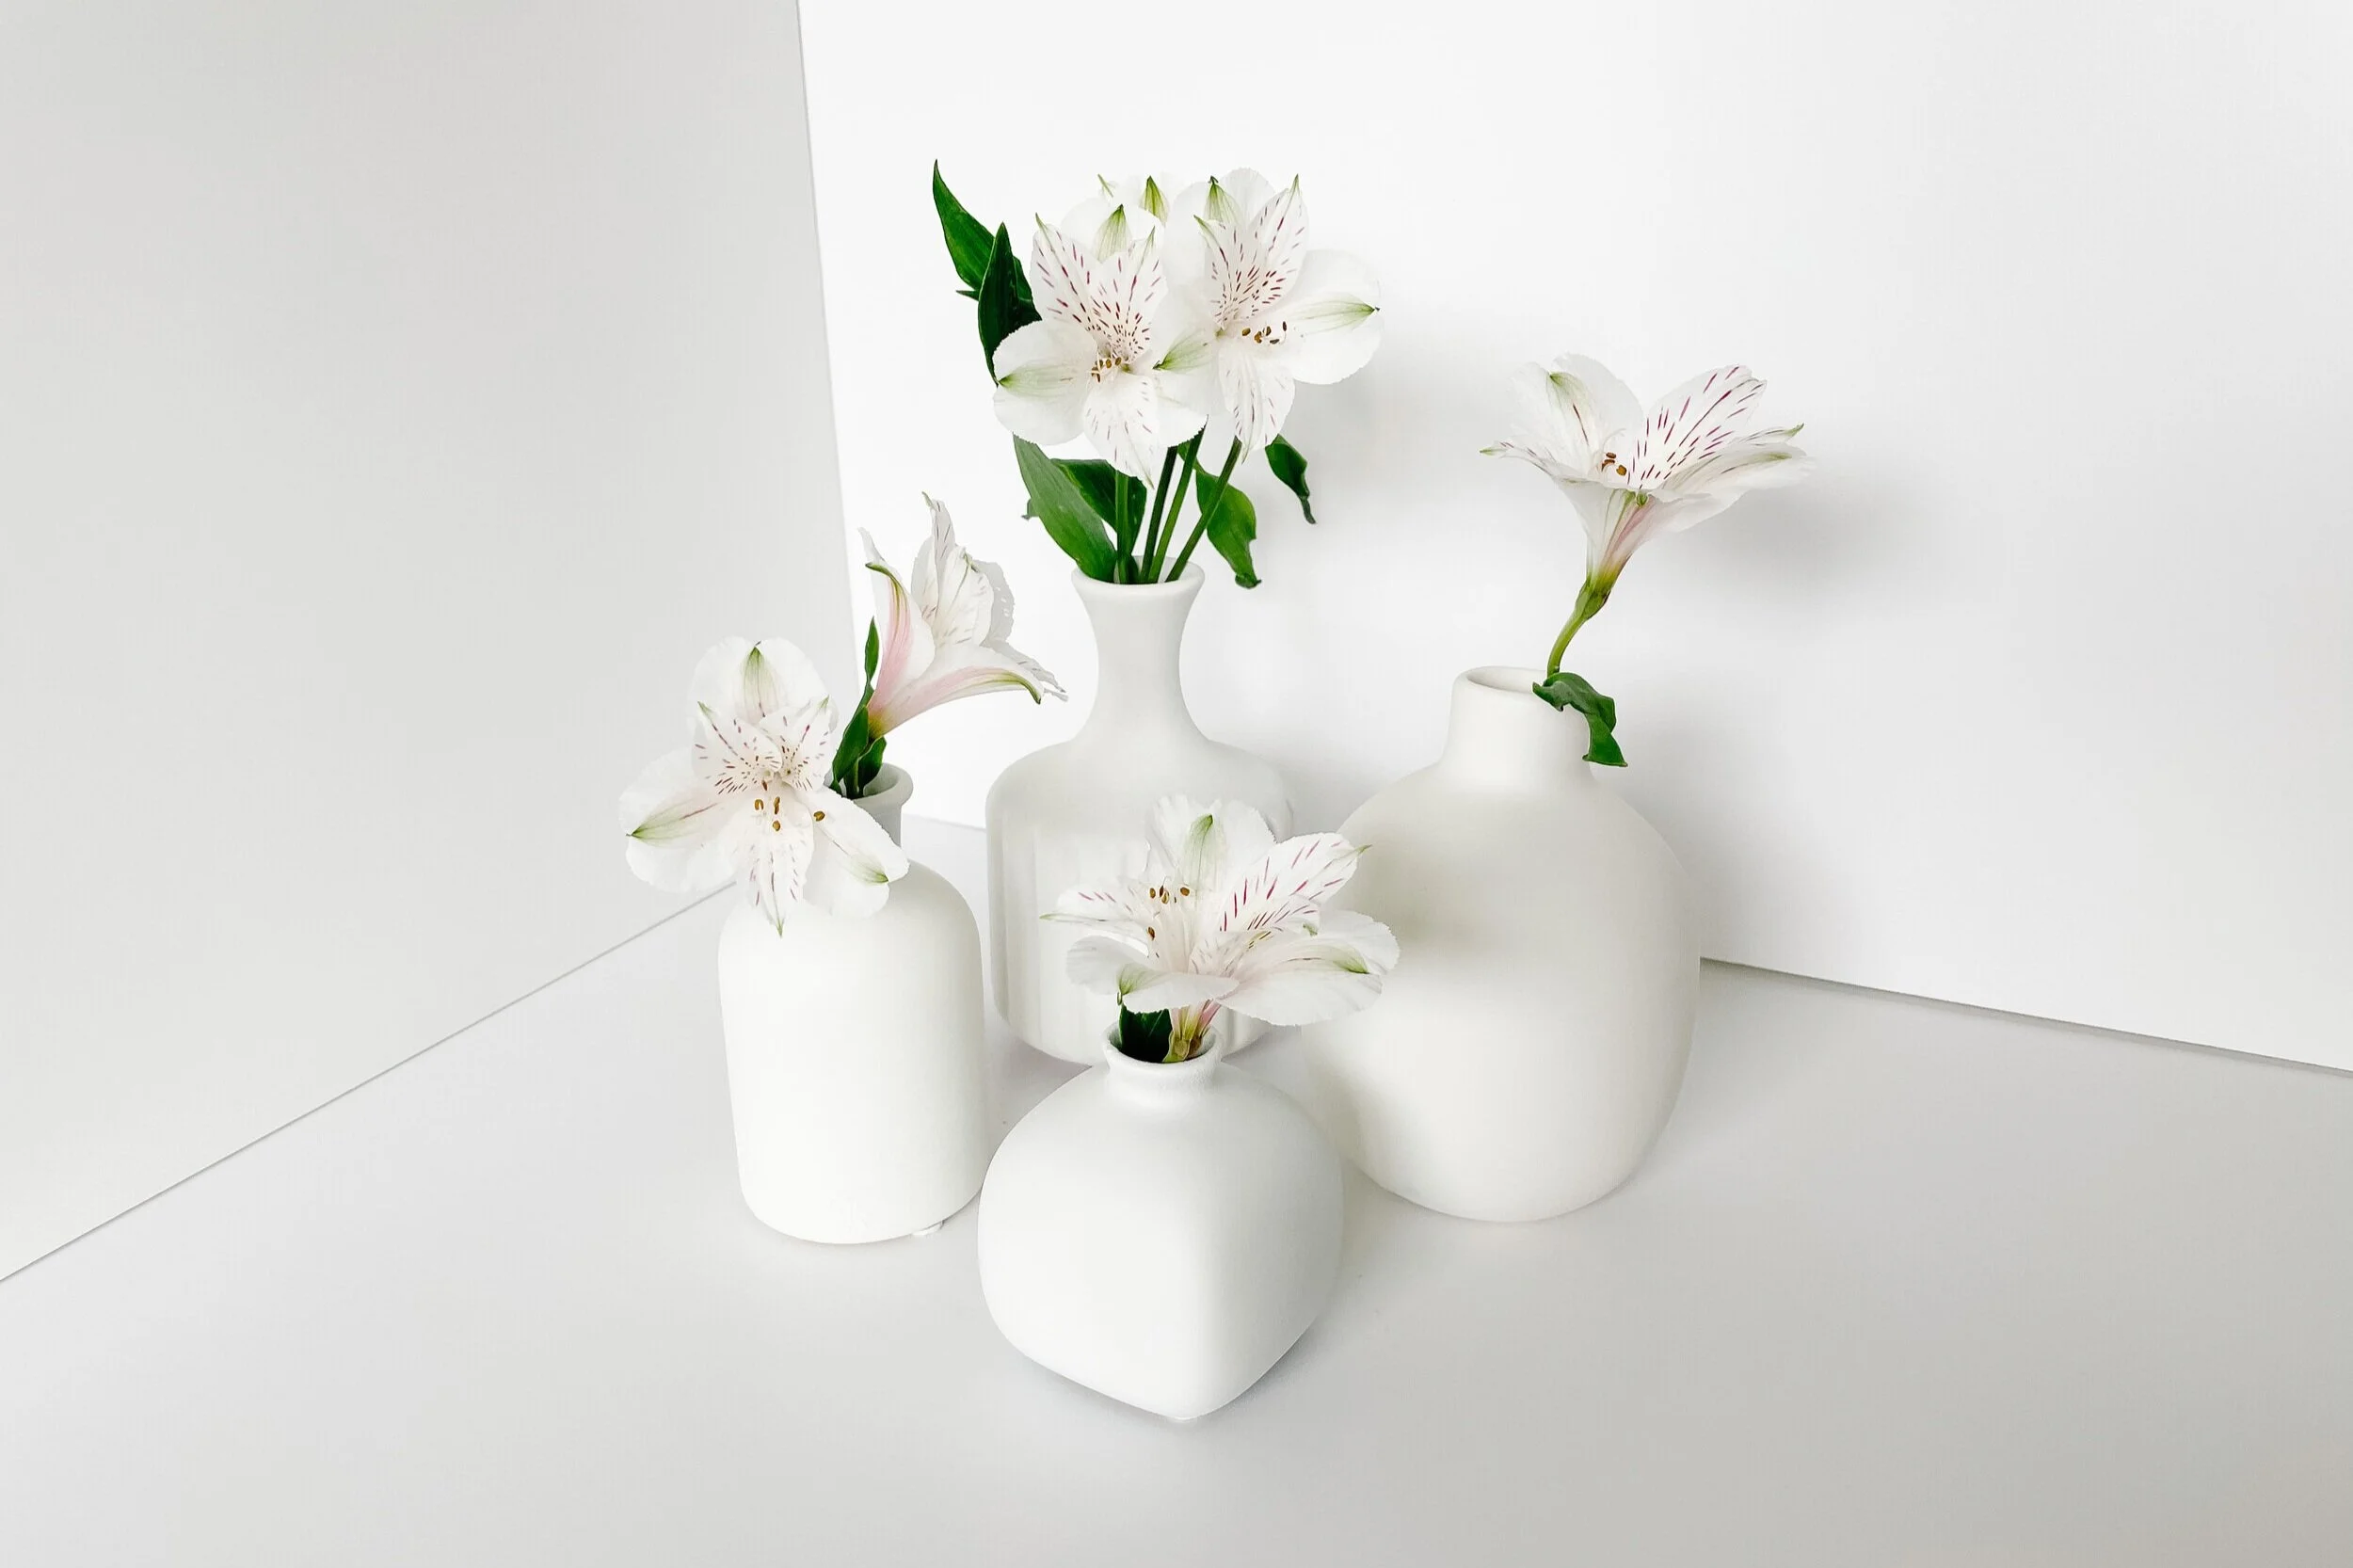
Krylon sells a matte finish sealer specifically designed to go with their chalky finish paint. The store I purchased the paint from was actually out of it when I was shopping and so I just purchased a generic matte finish sealer. Any sealer should do as long as you make sure to not select a glossy one. Spray a light coat of sealer on each vase and let dry completely. And voila! You now have fresh, pretty vessels to house your floral!

The end result is gorgeous ceramic looking vases in a modern, clean, matte finish. These are going to be perfect for the tables at the wedding!
This would also be a really fun method to try on decorative bowls, pots or even an old lamp that needs some freshening! Get creative and try it out! I hope you enjoy it as much as I did!