
DIY Holiday Garland Hack Tutorial
Want to learn how I turned a $16 craft store garland into this?
Well, you are in the right place friend. I have put together a full DIY step-by-step tutorial for you so that you can up your garland game this year too!

The Holidays are officially upon us and decorating the house is near and dear to my heart. As we kick off this special season in our new home in Tennessee, I’m working hard to make the house feel extra cozy.
As always, finding ways to create in each season keeps my heart full. I love using the bounty that nature gives us and highlighting what you find outside your window by bringing bits of it inside.
I’ve quickly learned that evergreens are much harder to find here in Tennessee than Washington and so as I have planned our holiday decor, I’ve gotten a little creative with ways to create what looks like abundance, without actually having as much to run outside and forage.
I love decorating the mantle and really wanted a garland that was lush, textural and organic. There is something special about having a real tree and real greenery around the house. However, it became apparent that it wasn’t going to be an easy reality here. And, so I got creative.
I love garland but I don’t love how much it costs. I understand the expense after having foraged for the greens and created my own in the past, but this year, I was trying to be conscious of the cost and the limited supply of evergreens. The reality of both of these facts gave me an idea.
What if I could find a cheap craft store garland as a base and use foraged materials to fill it in?!! I knew this was just the ticket!
On a hunt for the most plain garland I could find, I headed to a 60% off sale at Hobby Lobby. Beyond all of the overly embellished, glitter infused, large bow enhanced garlands hanging like waterfalls down the wall, I found my luck in a far back corner of the store.
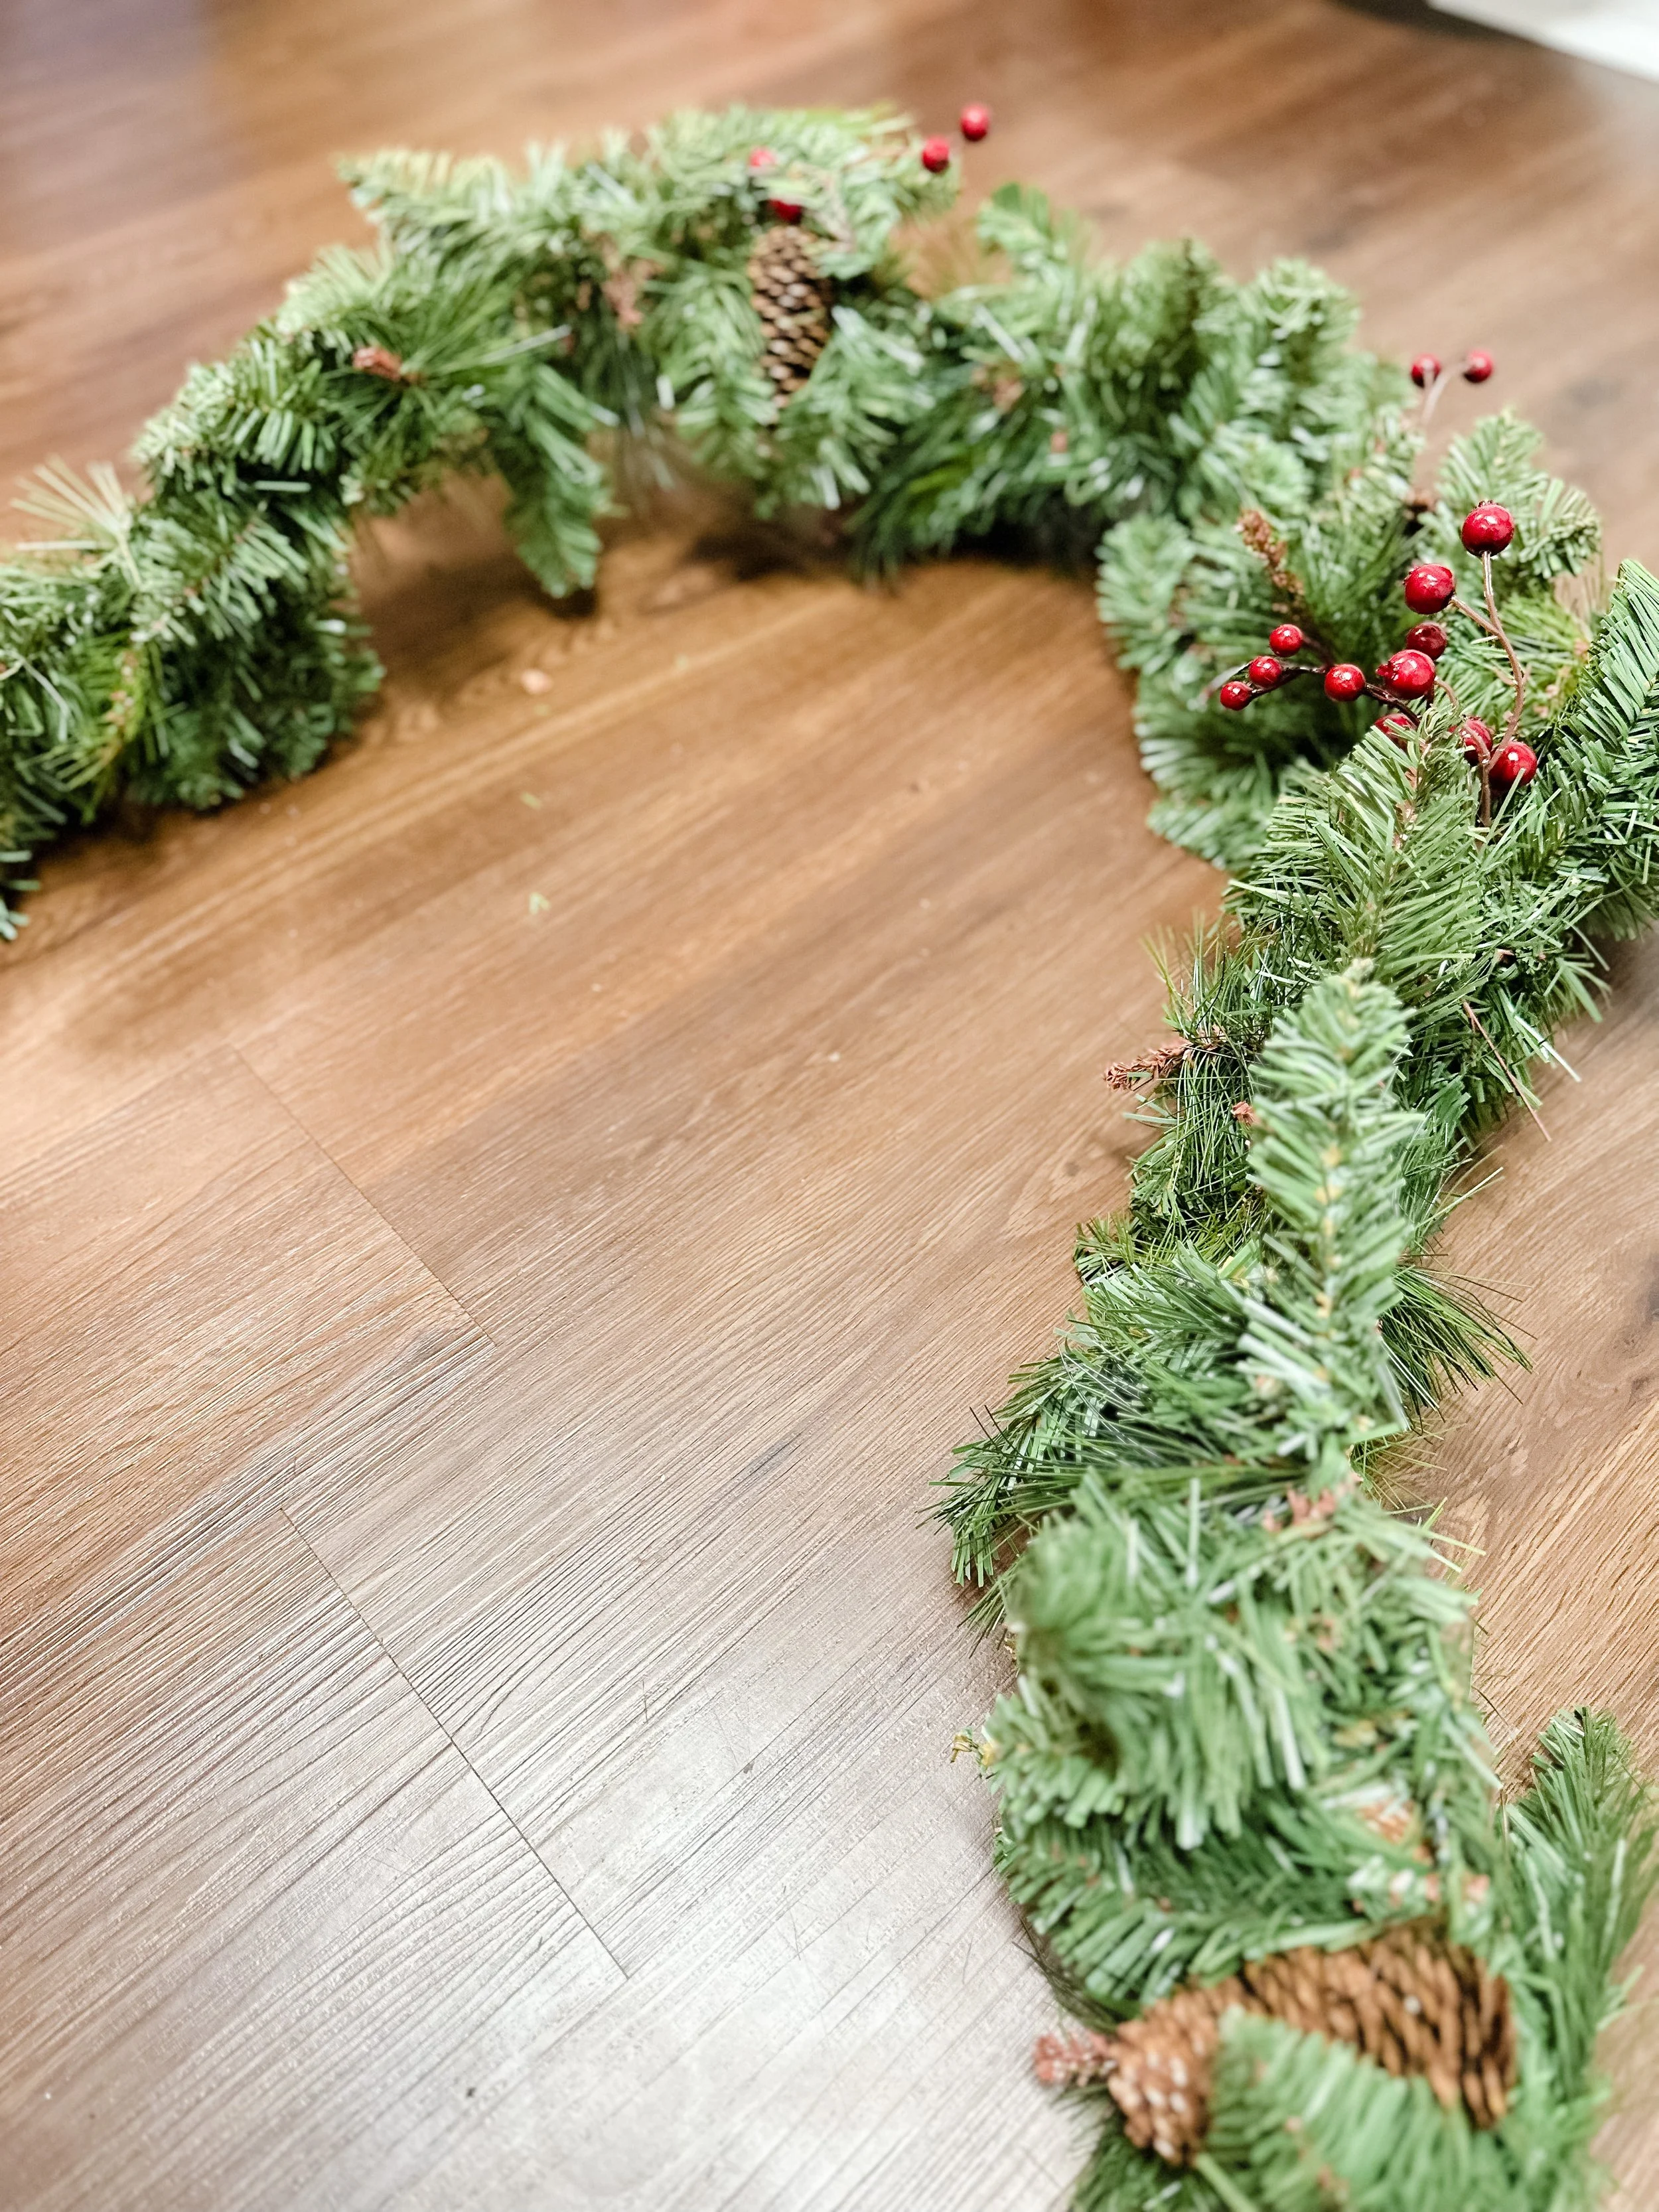
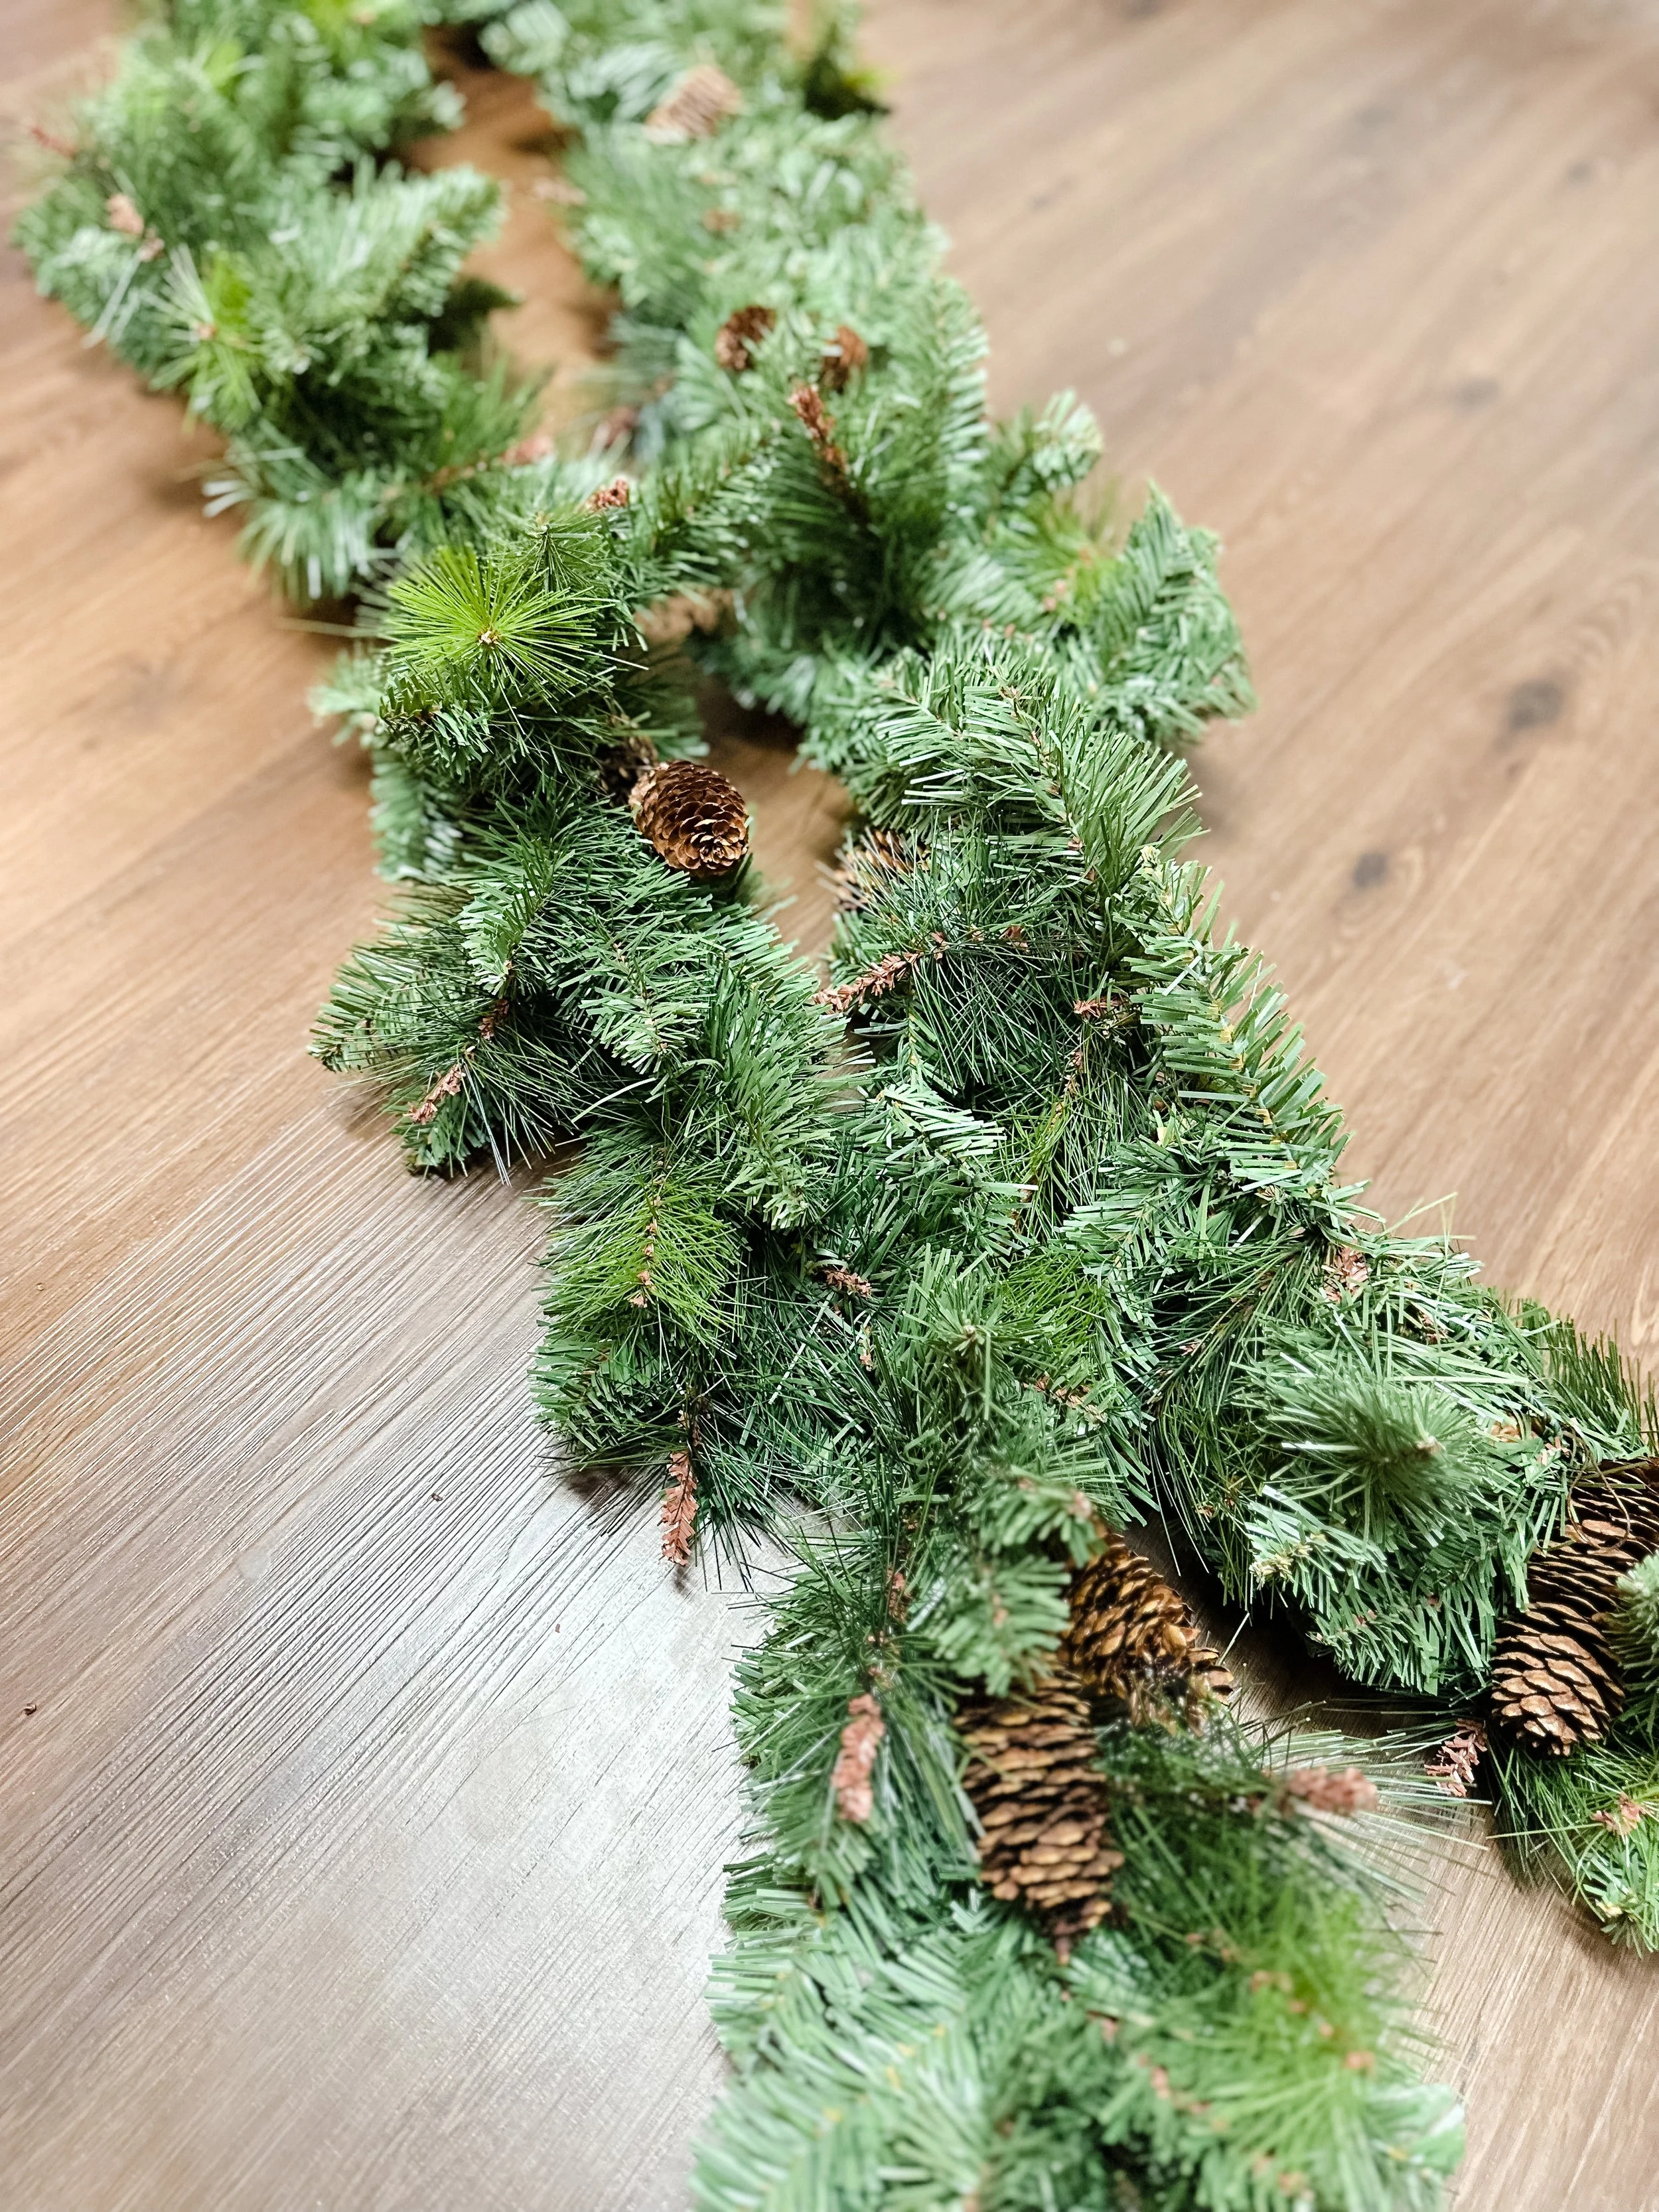
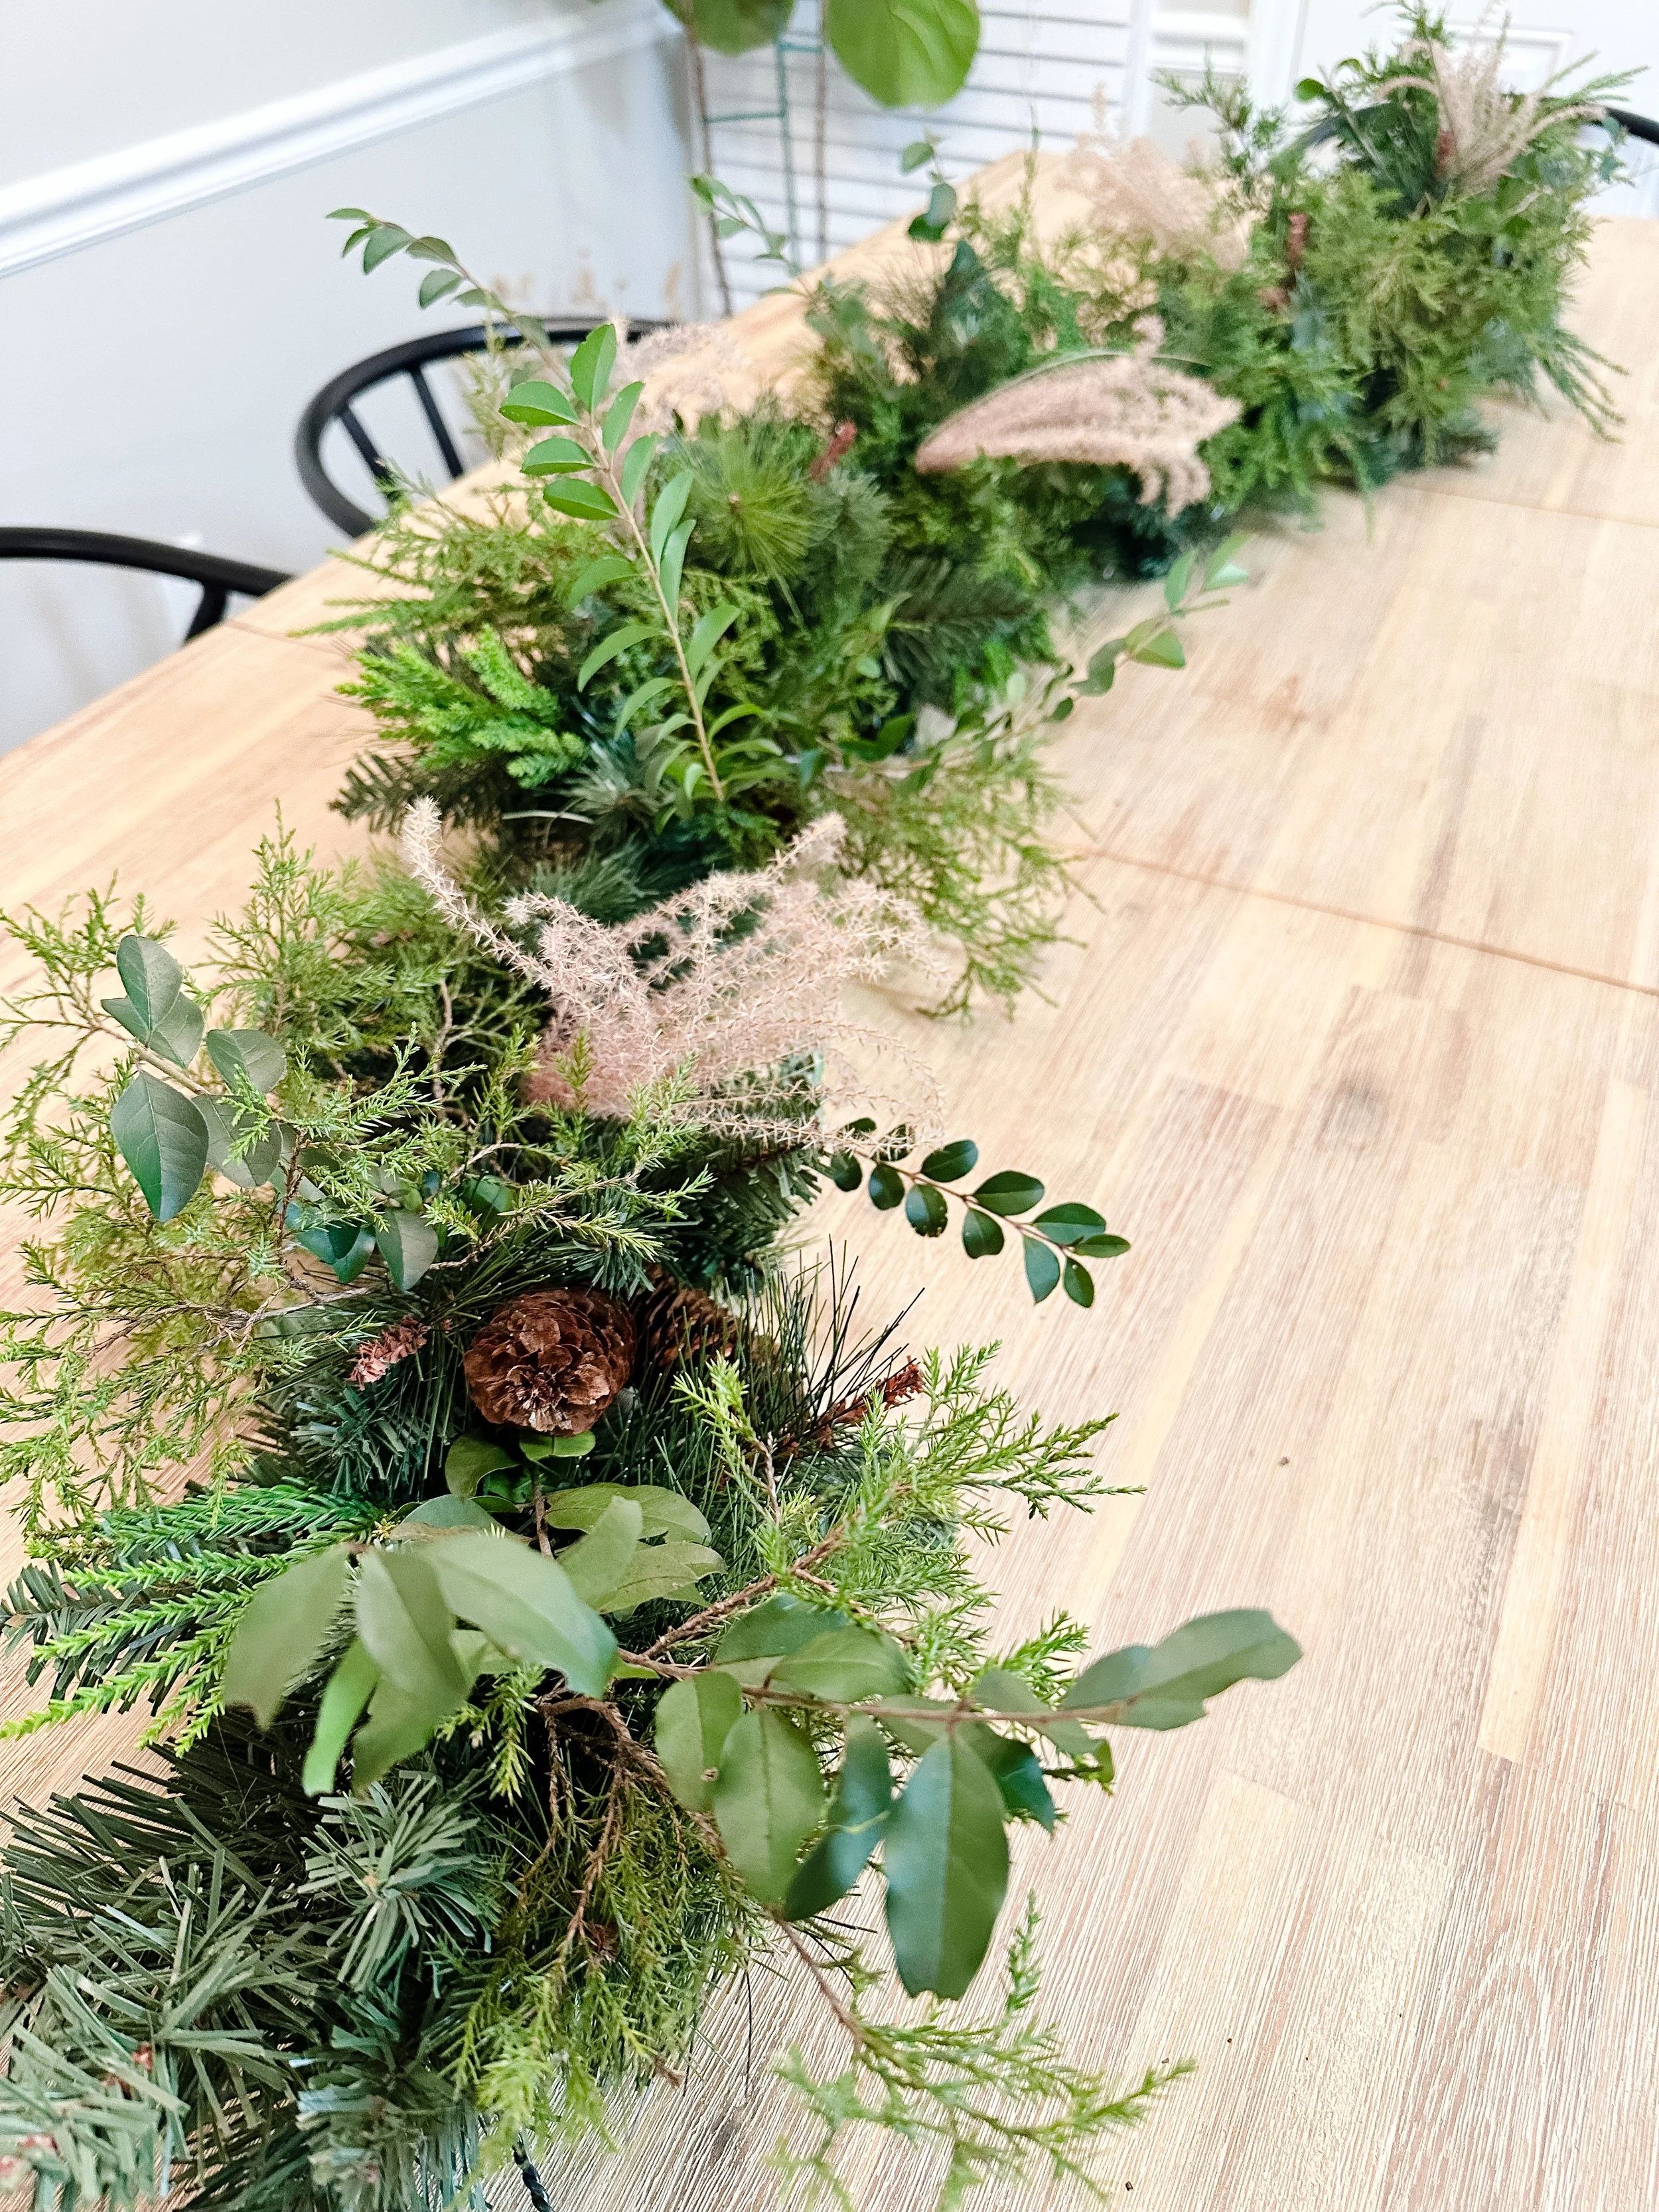
Simple, unexciting garlands on sale for $16 a piece…perfect! Greenery, pinecones and fake berries, that was it. It was just the right place to start. I bought two because I wanted to create an asymmetric garland that hung to the floor on one side of my mantle and each of the garlands was 5 feet long. I headed home and got to work…
This project was so fun that I wanted to put a step by step tutorial for you, so read on and craft on, my friend…
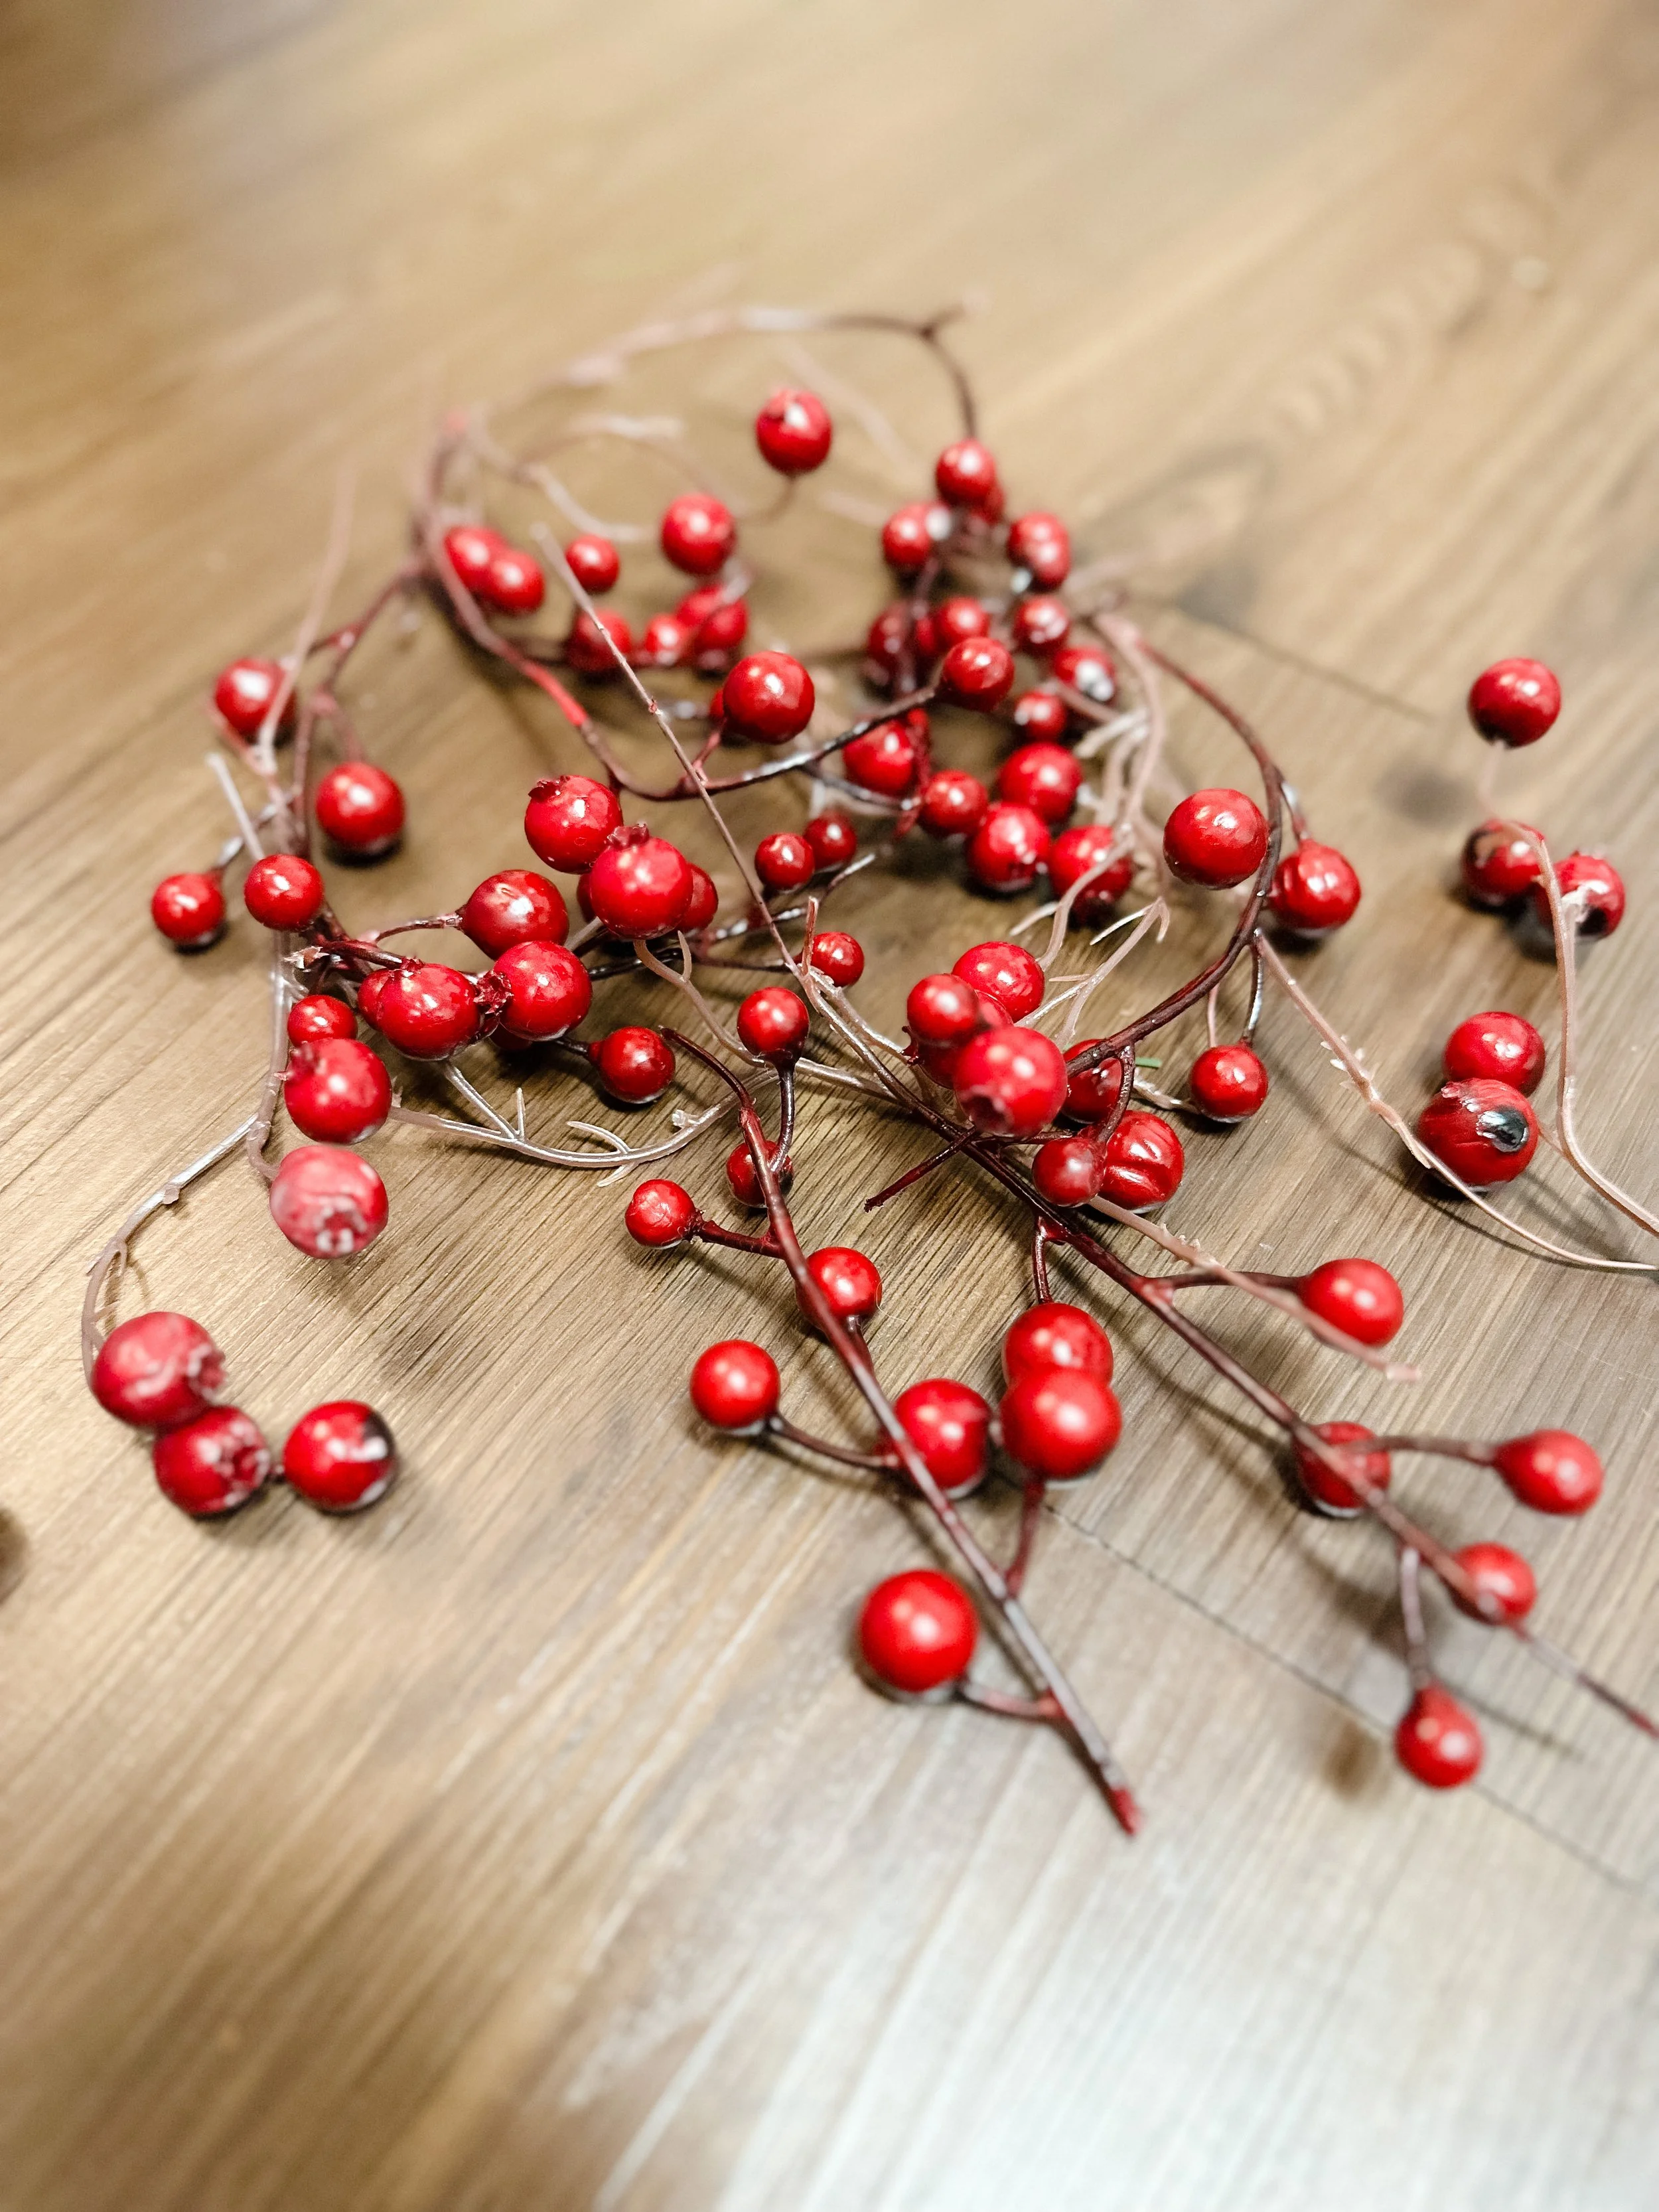
Remove any embellishments from your boring, store bought garland
My garland came with greenery, pinecones and red berries. I wanted to create something textural and natural and so I began by removing the shiny, plastic red berries to start with a base that was just greens and pinecones.
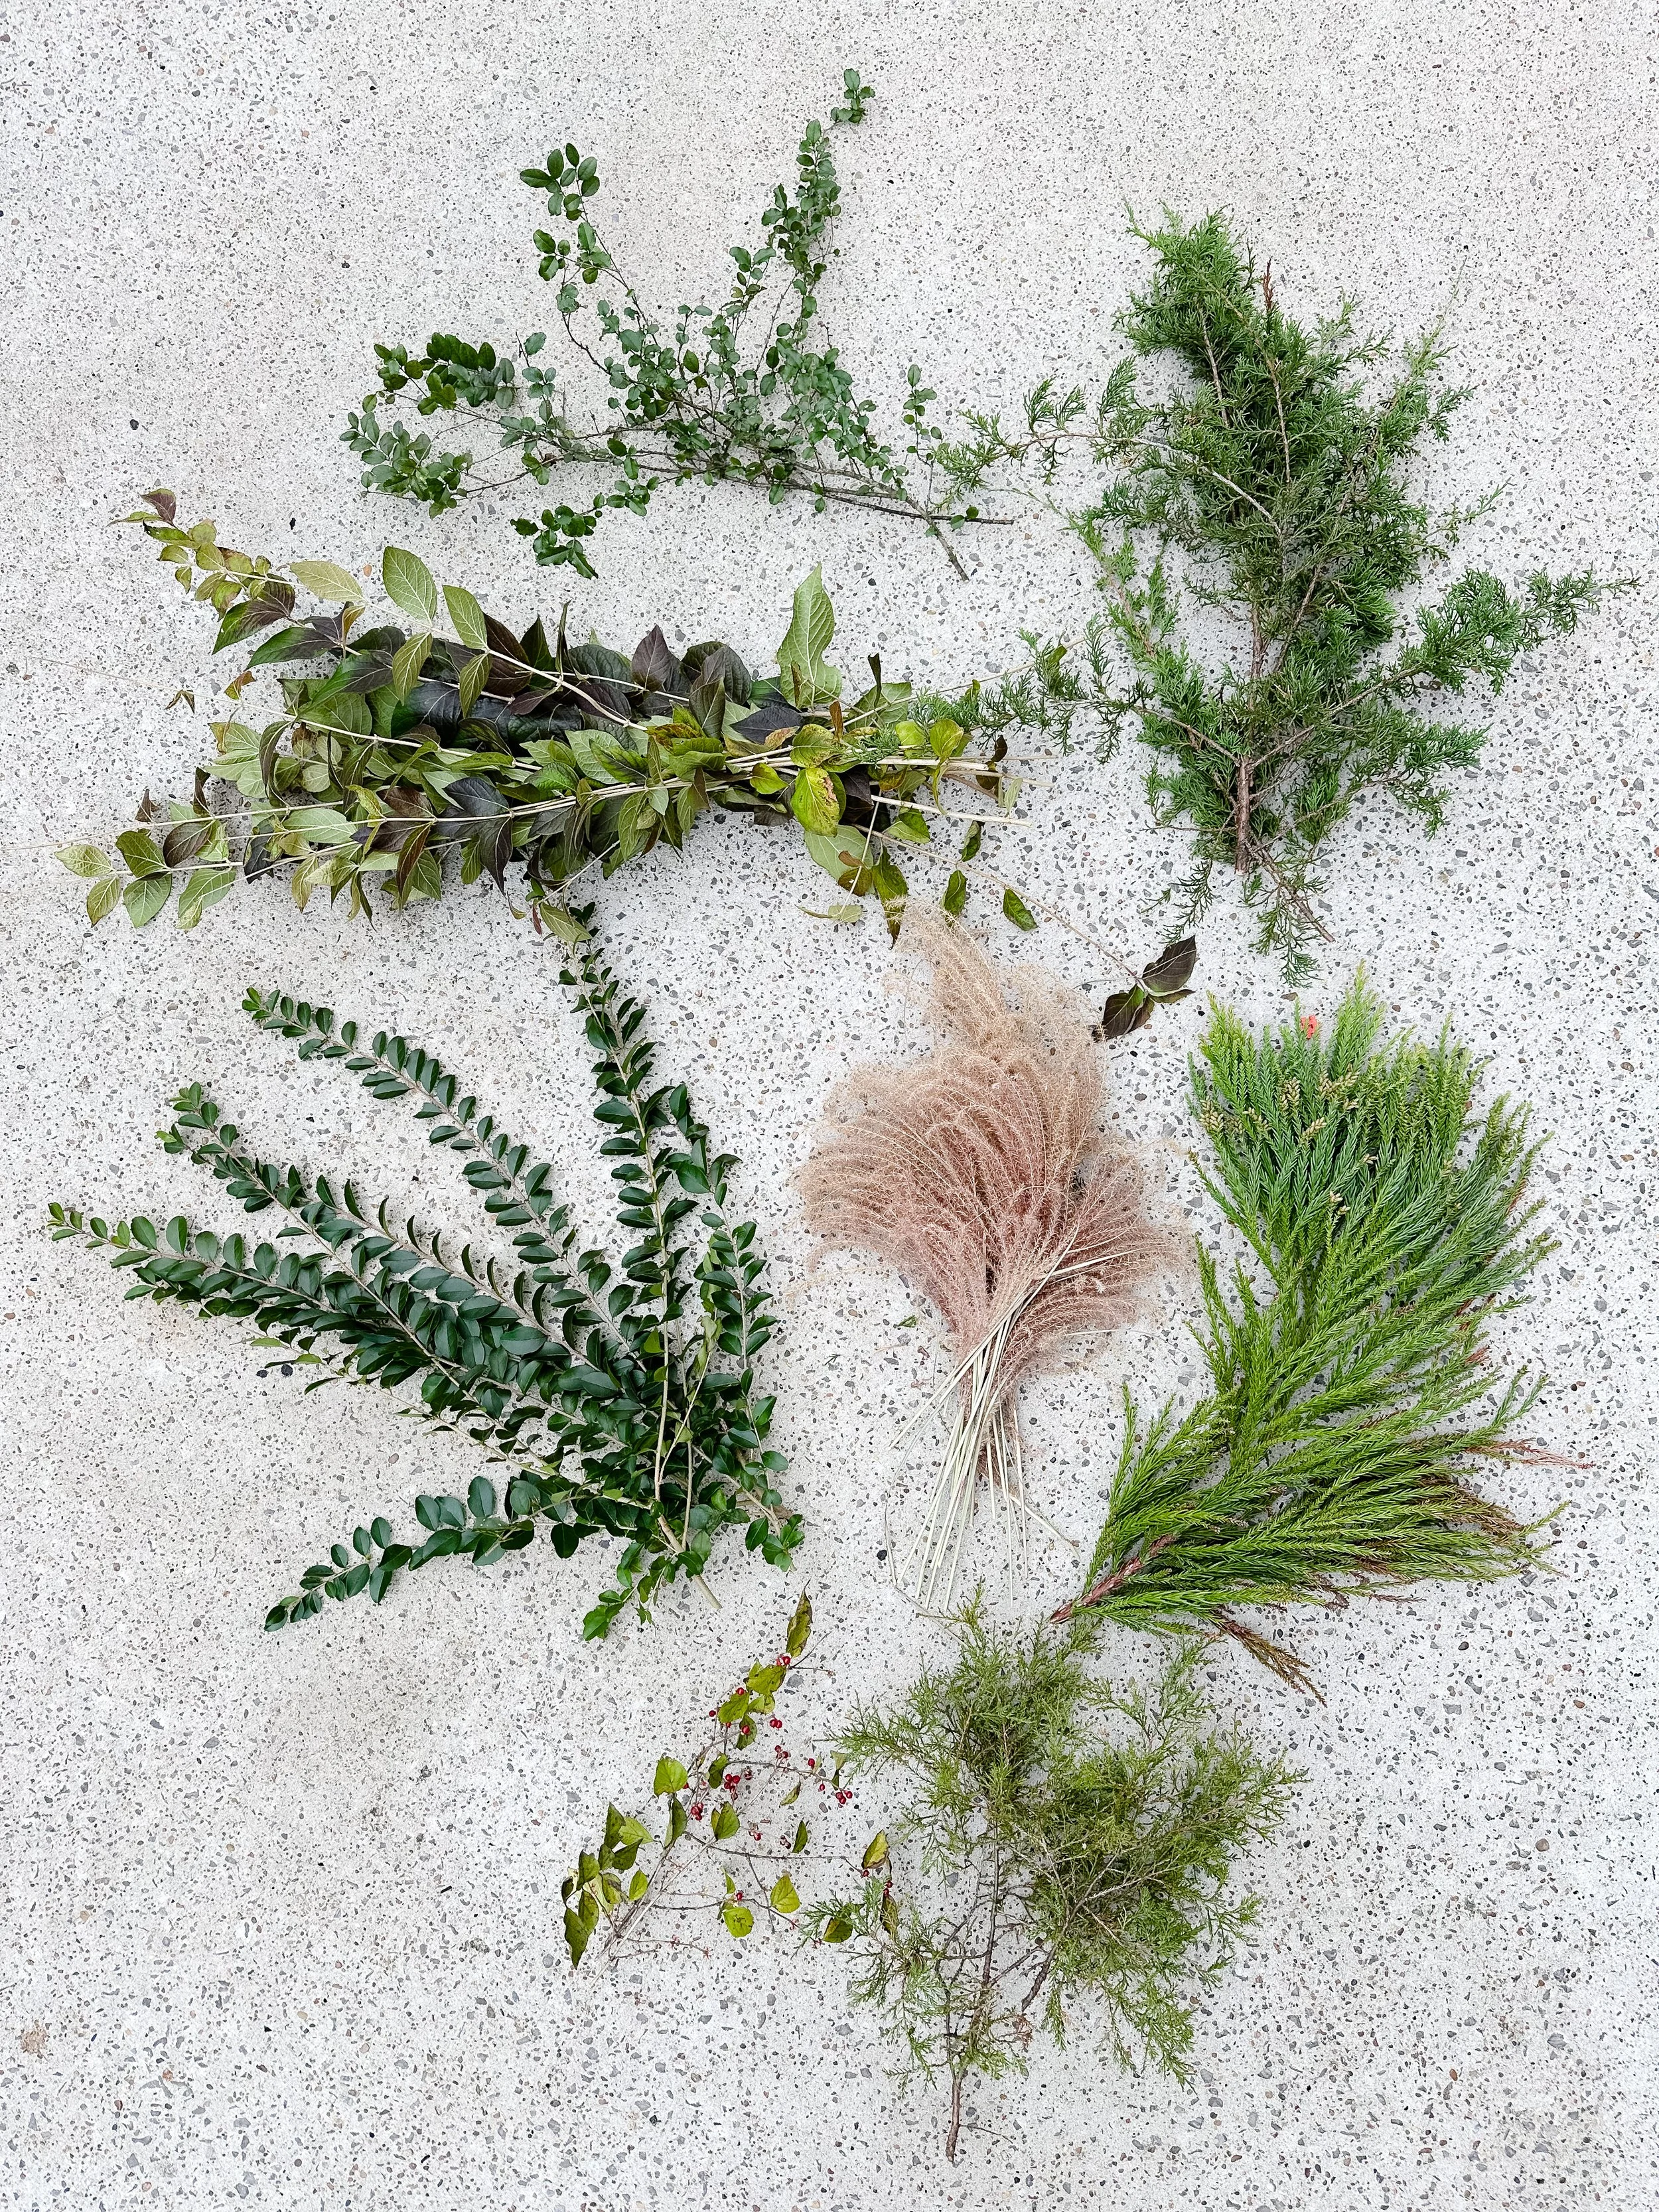
2. Forage for some textural materials that are natural to your area
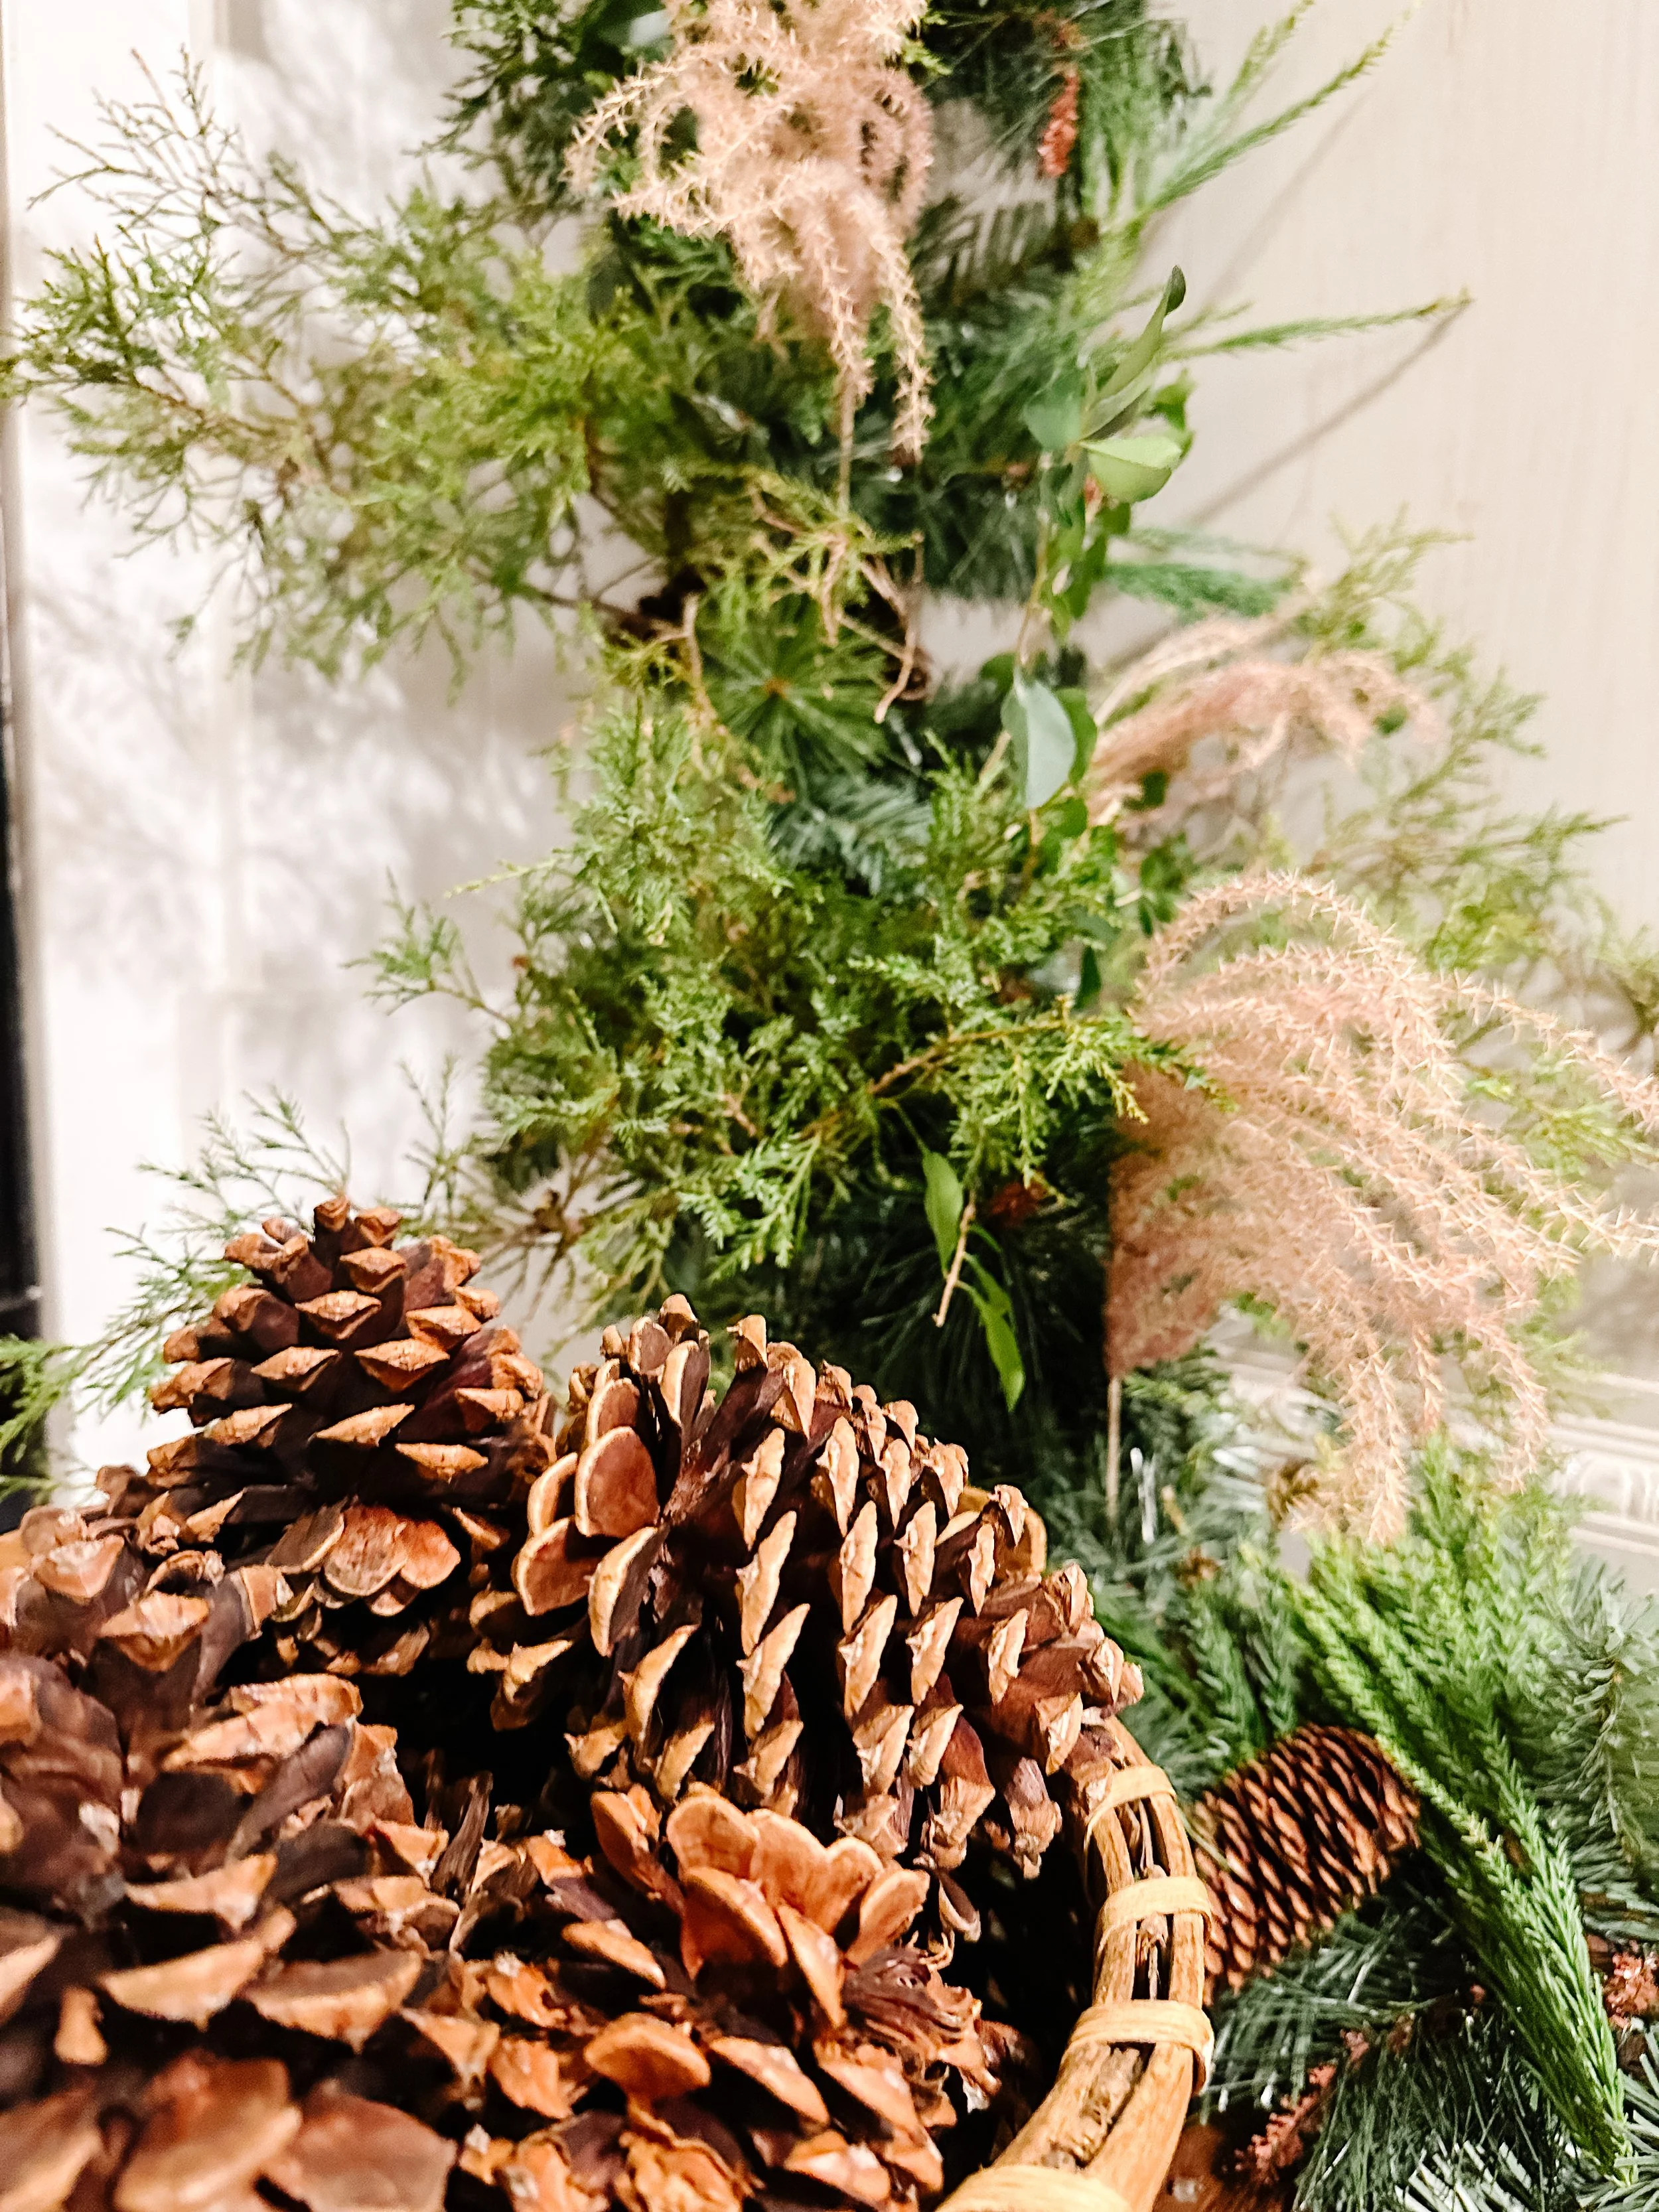
I headed to the backyard, the neighbors yard, and a back country road to find some goodies to spruce this baby up. When working with floral or foliage, I like to find pieces that vary in size, shape and texture to give good visual interest. I like to create a combination of pieces that are heavy and create a solid base, some that are airy and whimsical and then some in the middle. Here’s what I ended up with.
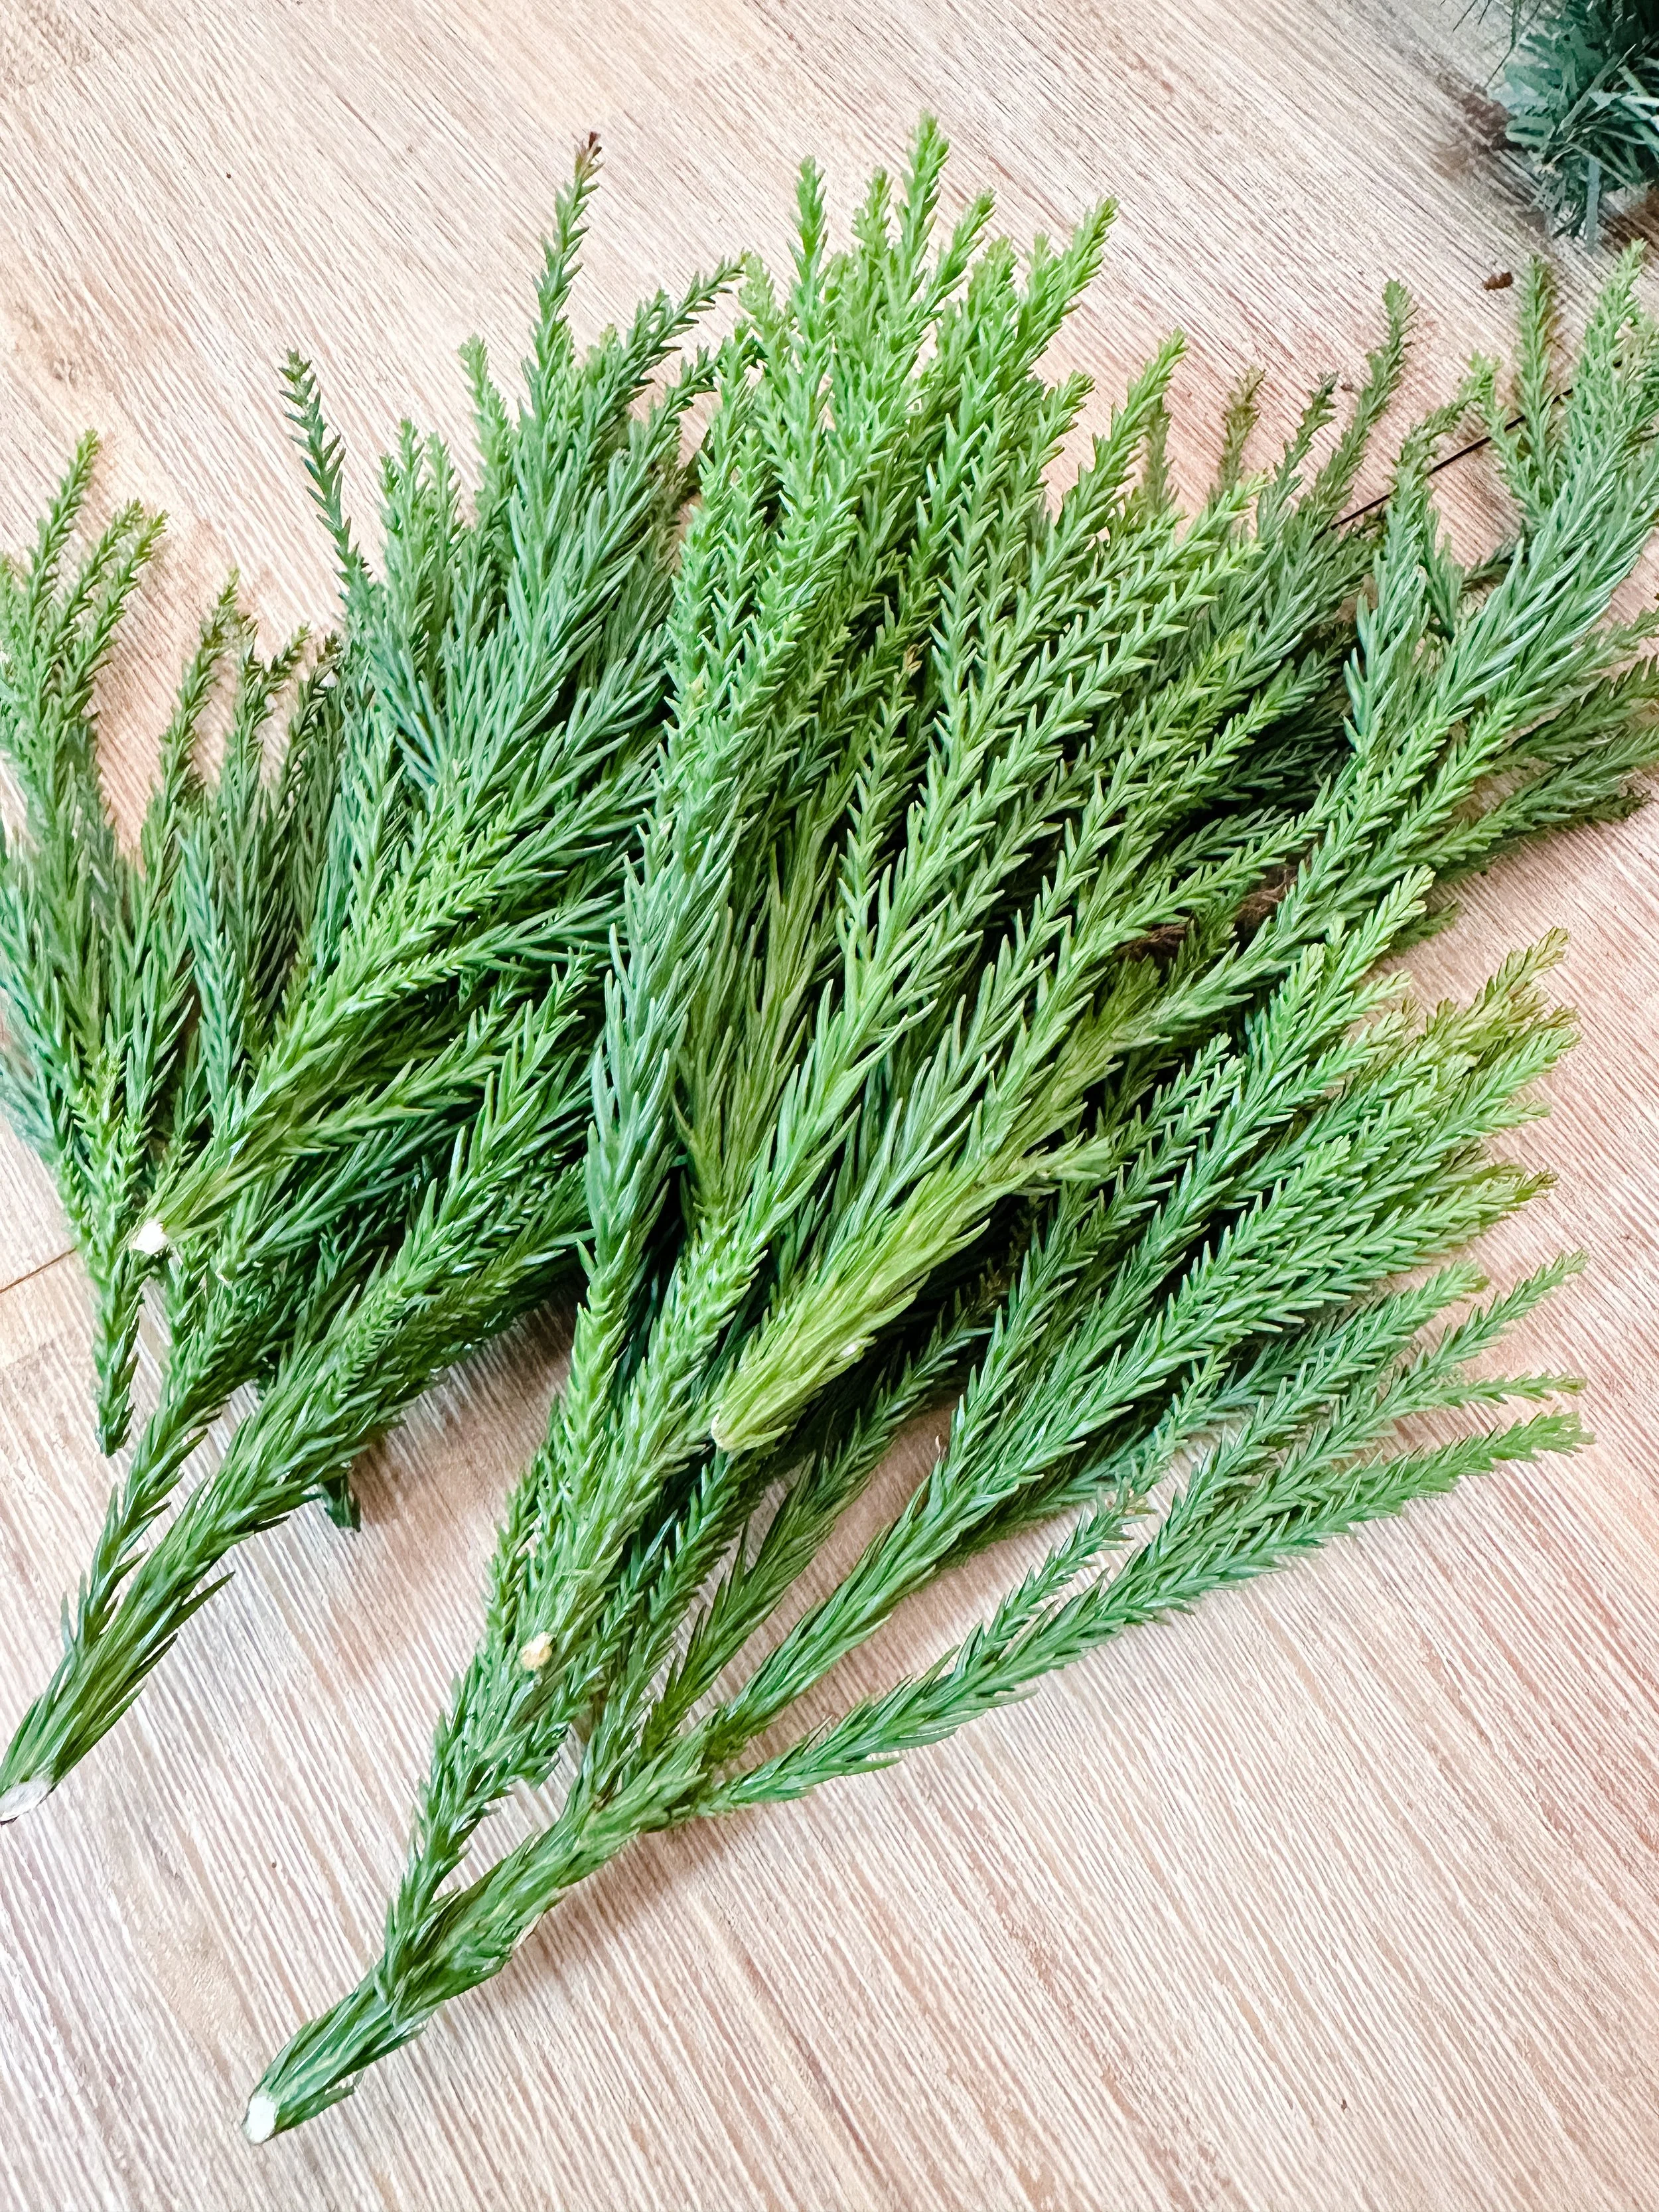
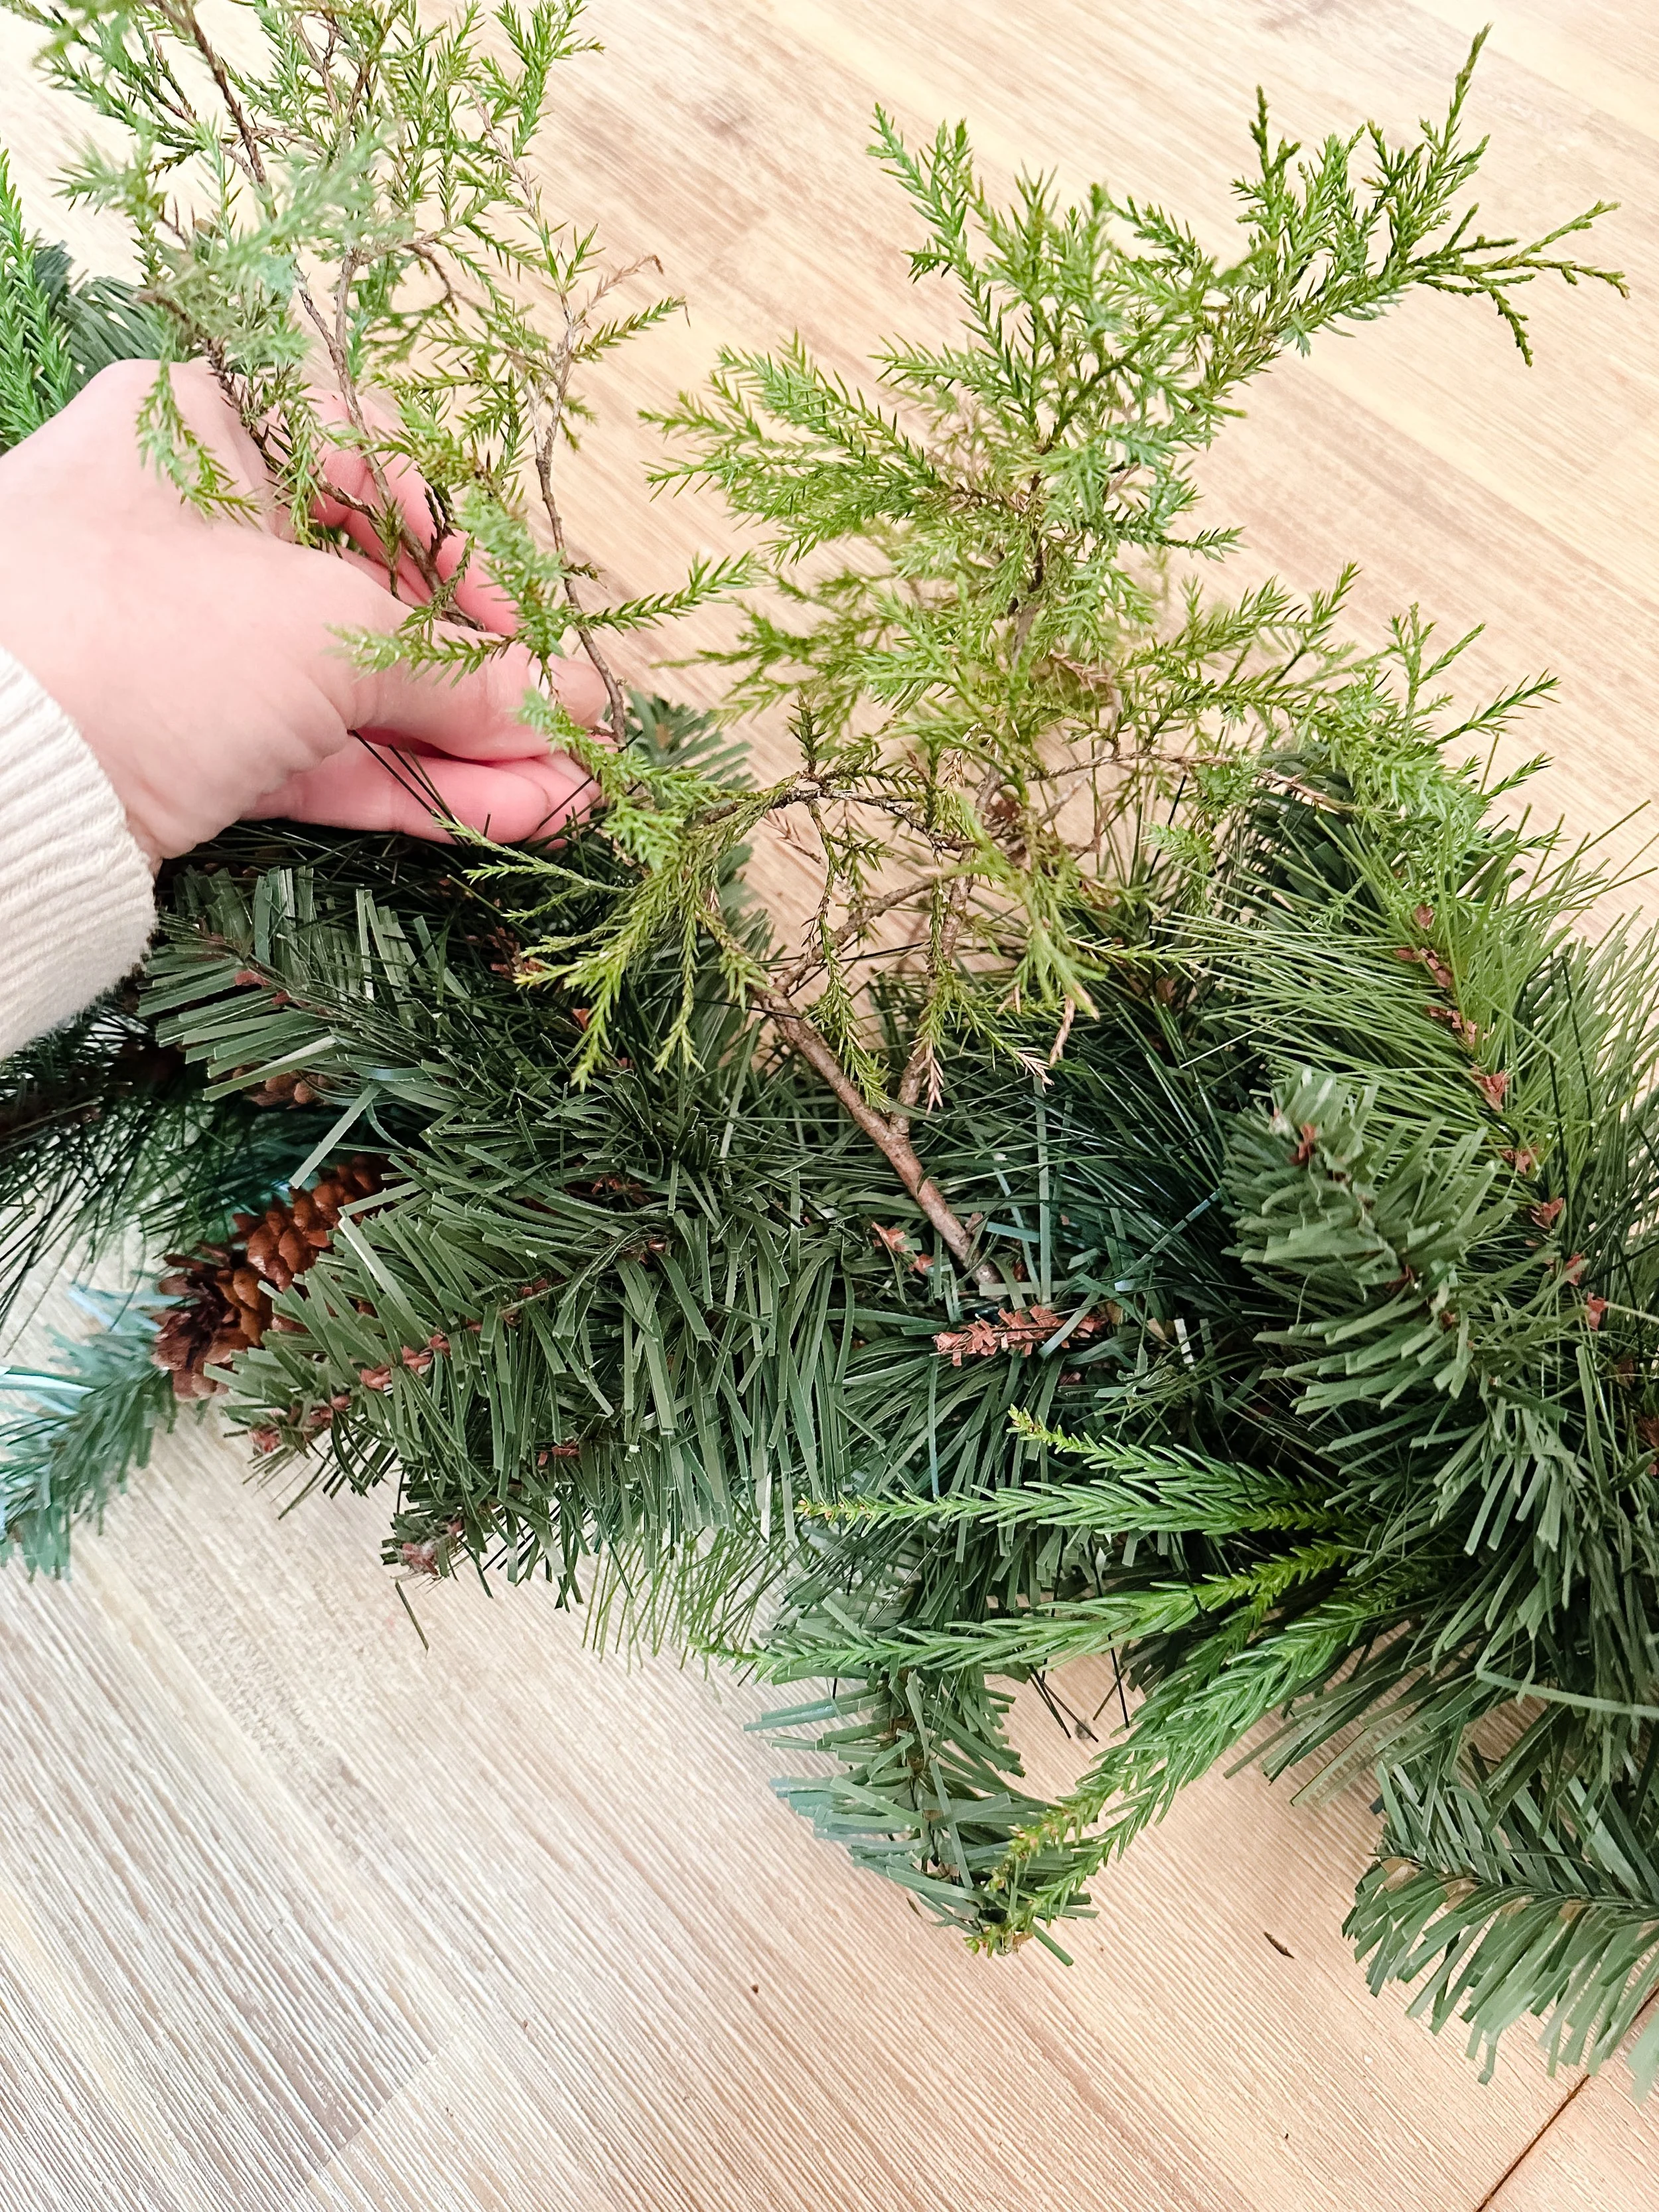
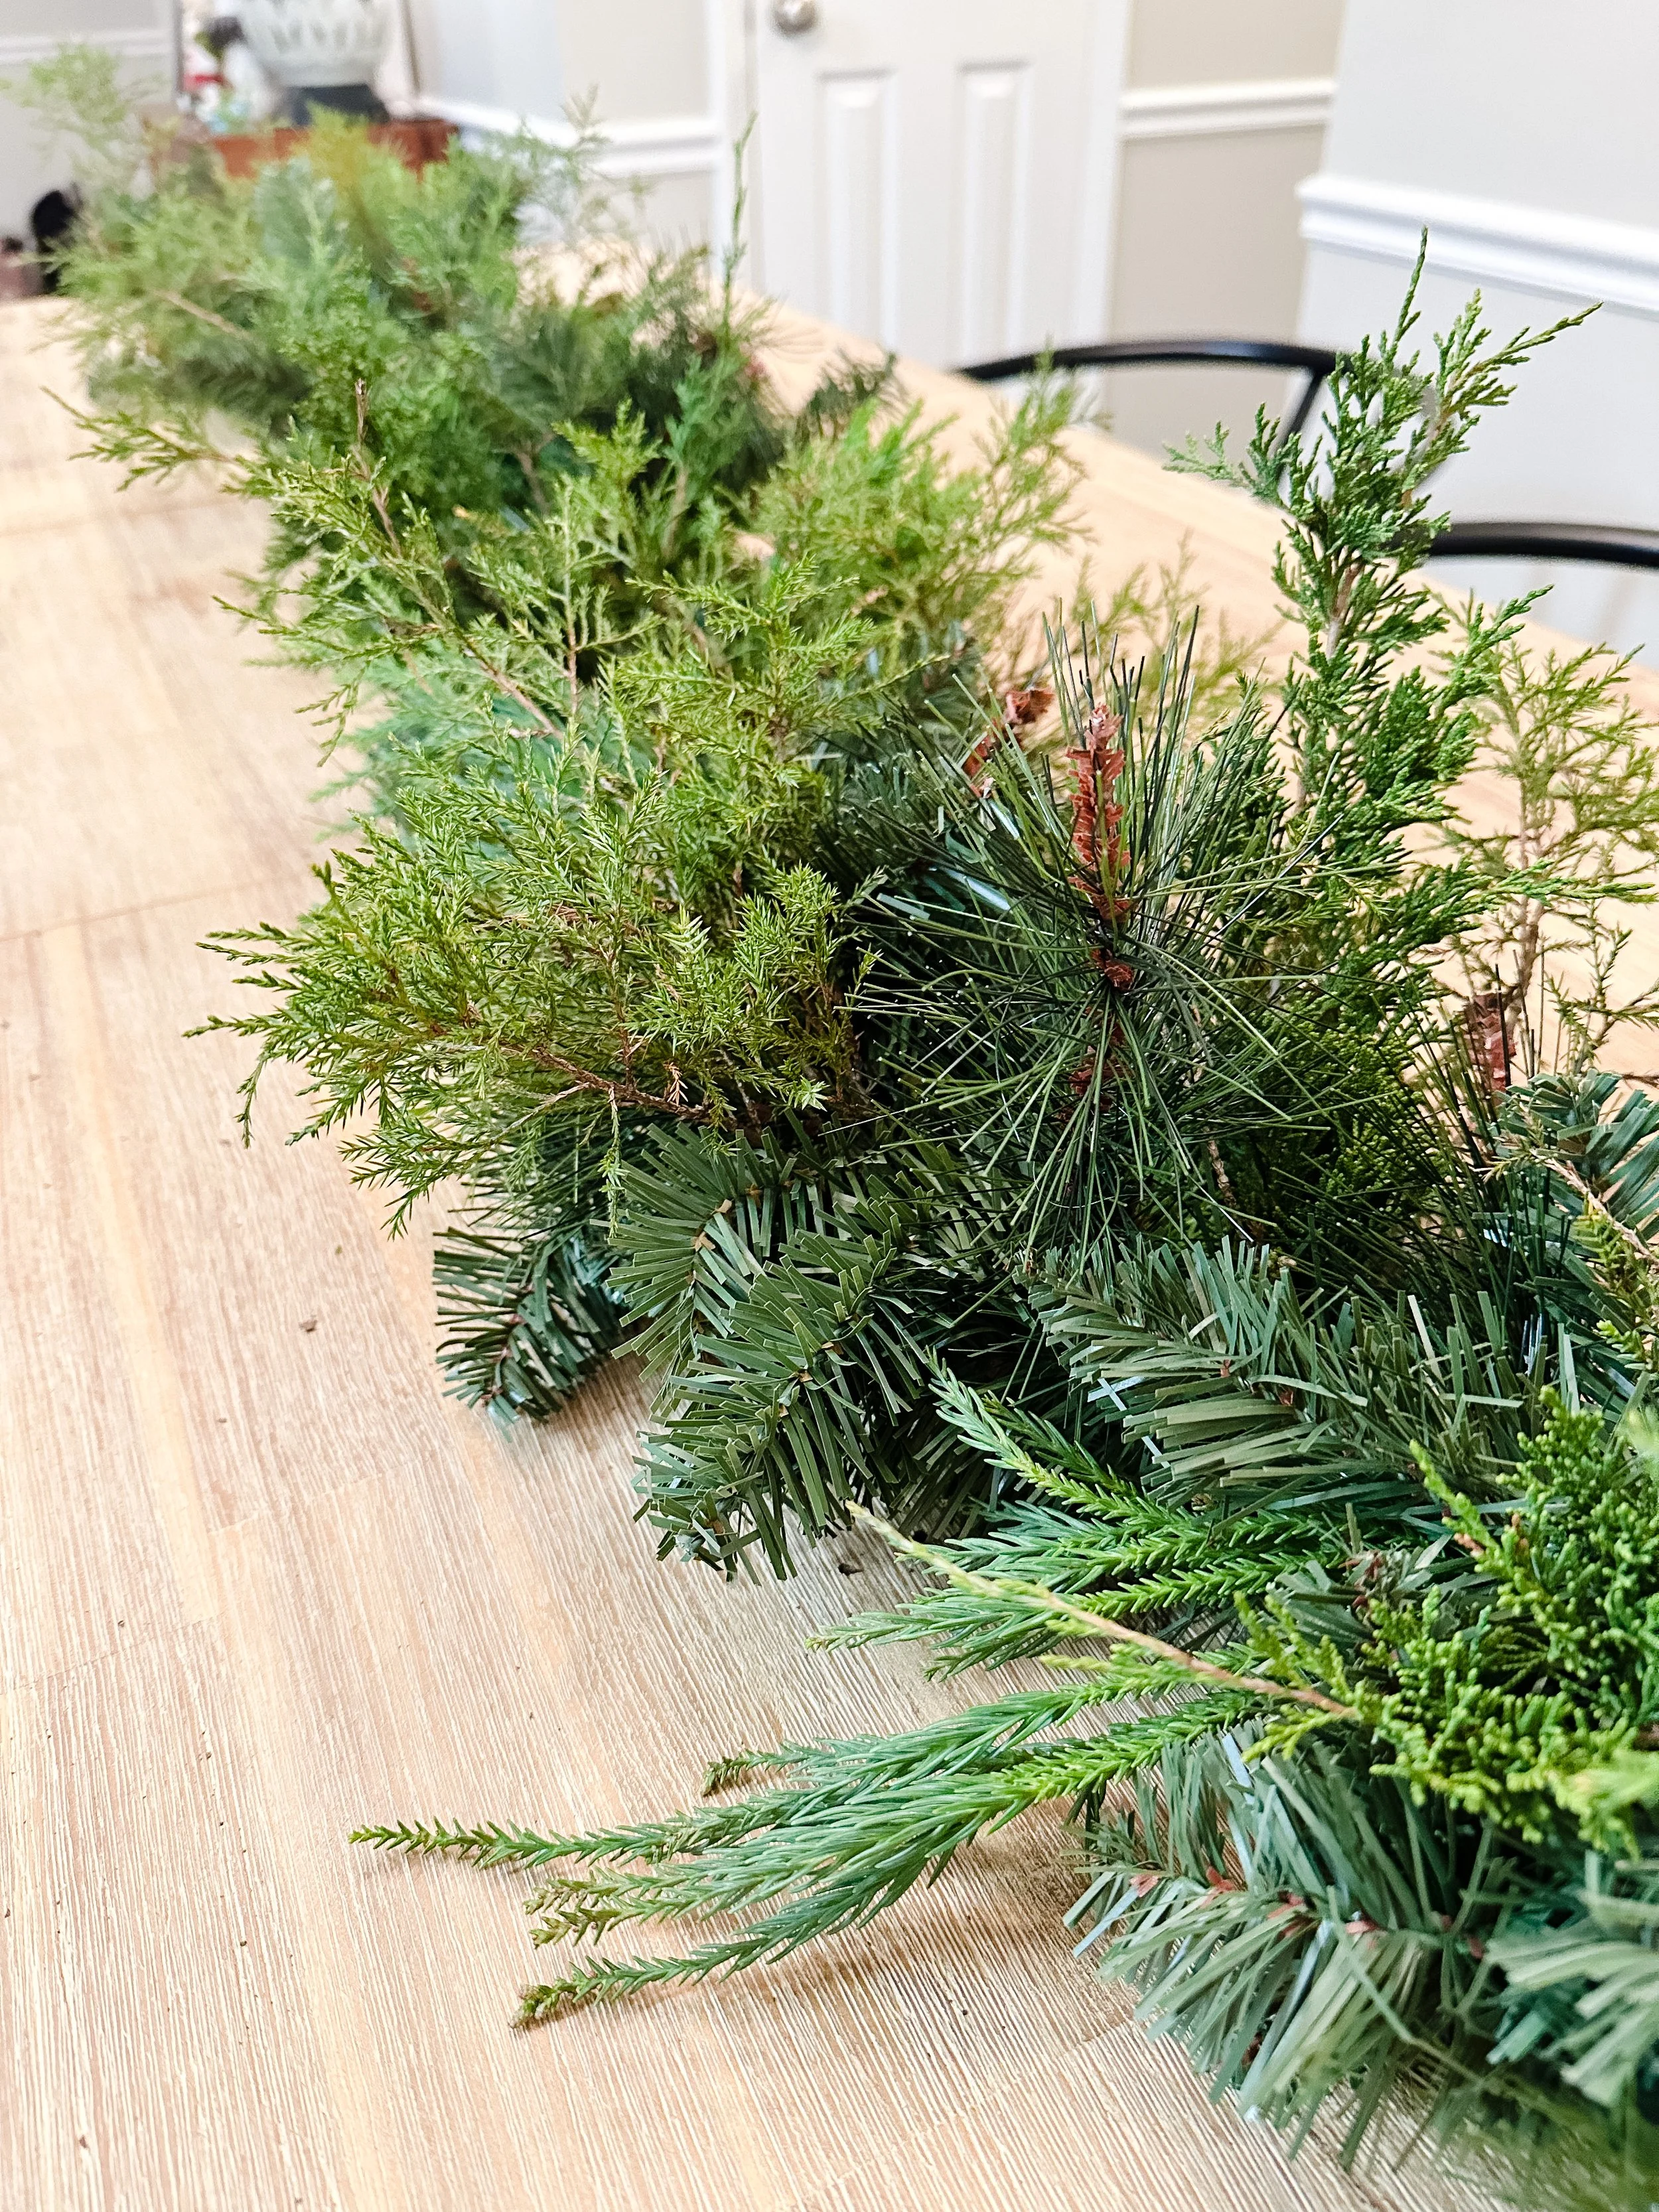
3. Begin with your base and add the first layer
I want to mention that the very first step I took as I began building my garland out was to hang the garland base in place first. This way, as I built it, I knew exactly how each piece would lay and I wouldn’t have to wire pieces in since I wouldn’t be moving it afterward. You can choose to do this or build it on a surface and hang afterward. I did this tutorial on a surface for sake of better visibility for photos.
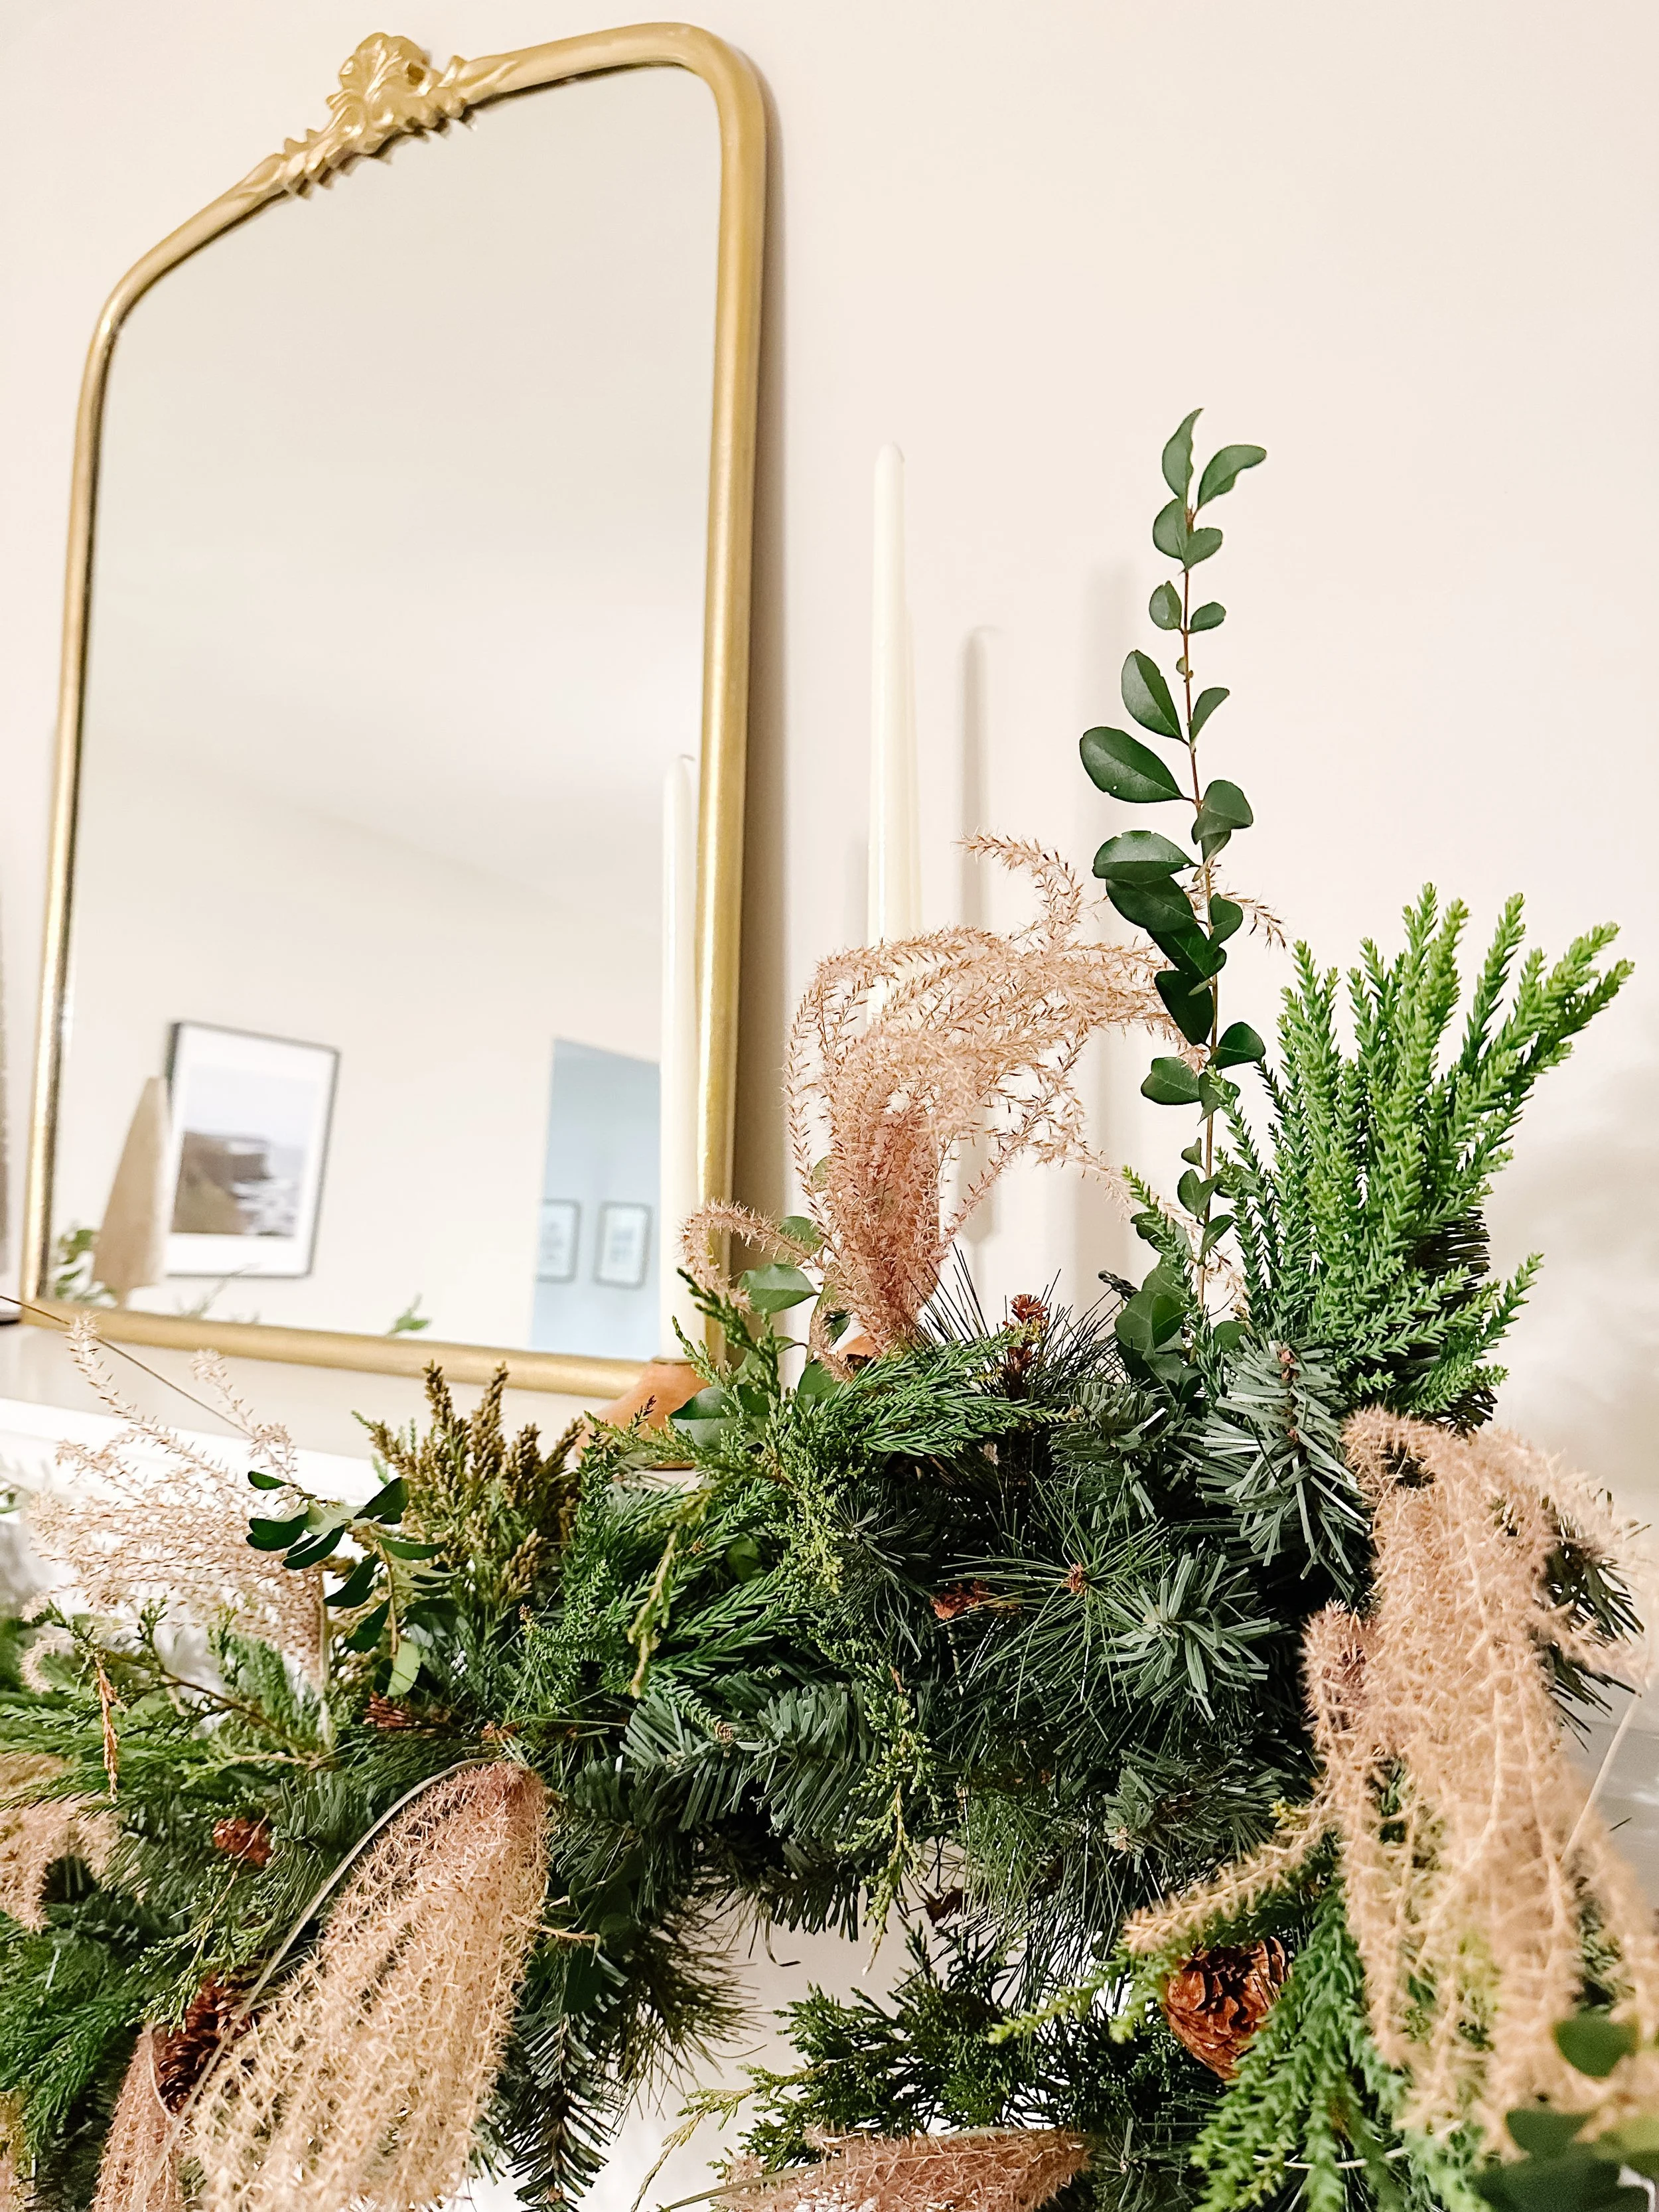
After removing the berries, I began with the first layer of foraged materials. I chose to begin with the Japanese Cedar because it is the heaviest and would help create a good base. I snipped the pieces into approx 5-8” sections and made sure they weren’t too heavy. I simply tucked them into the garland in places to add fullness and texture. It was amazing what a difference just the one varietal gave the garland.

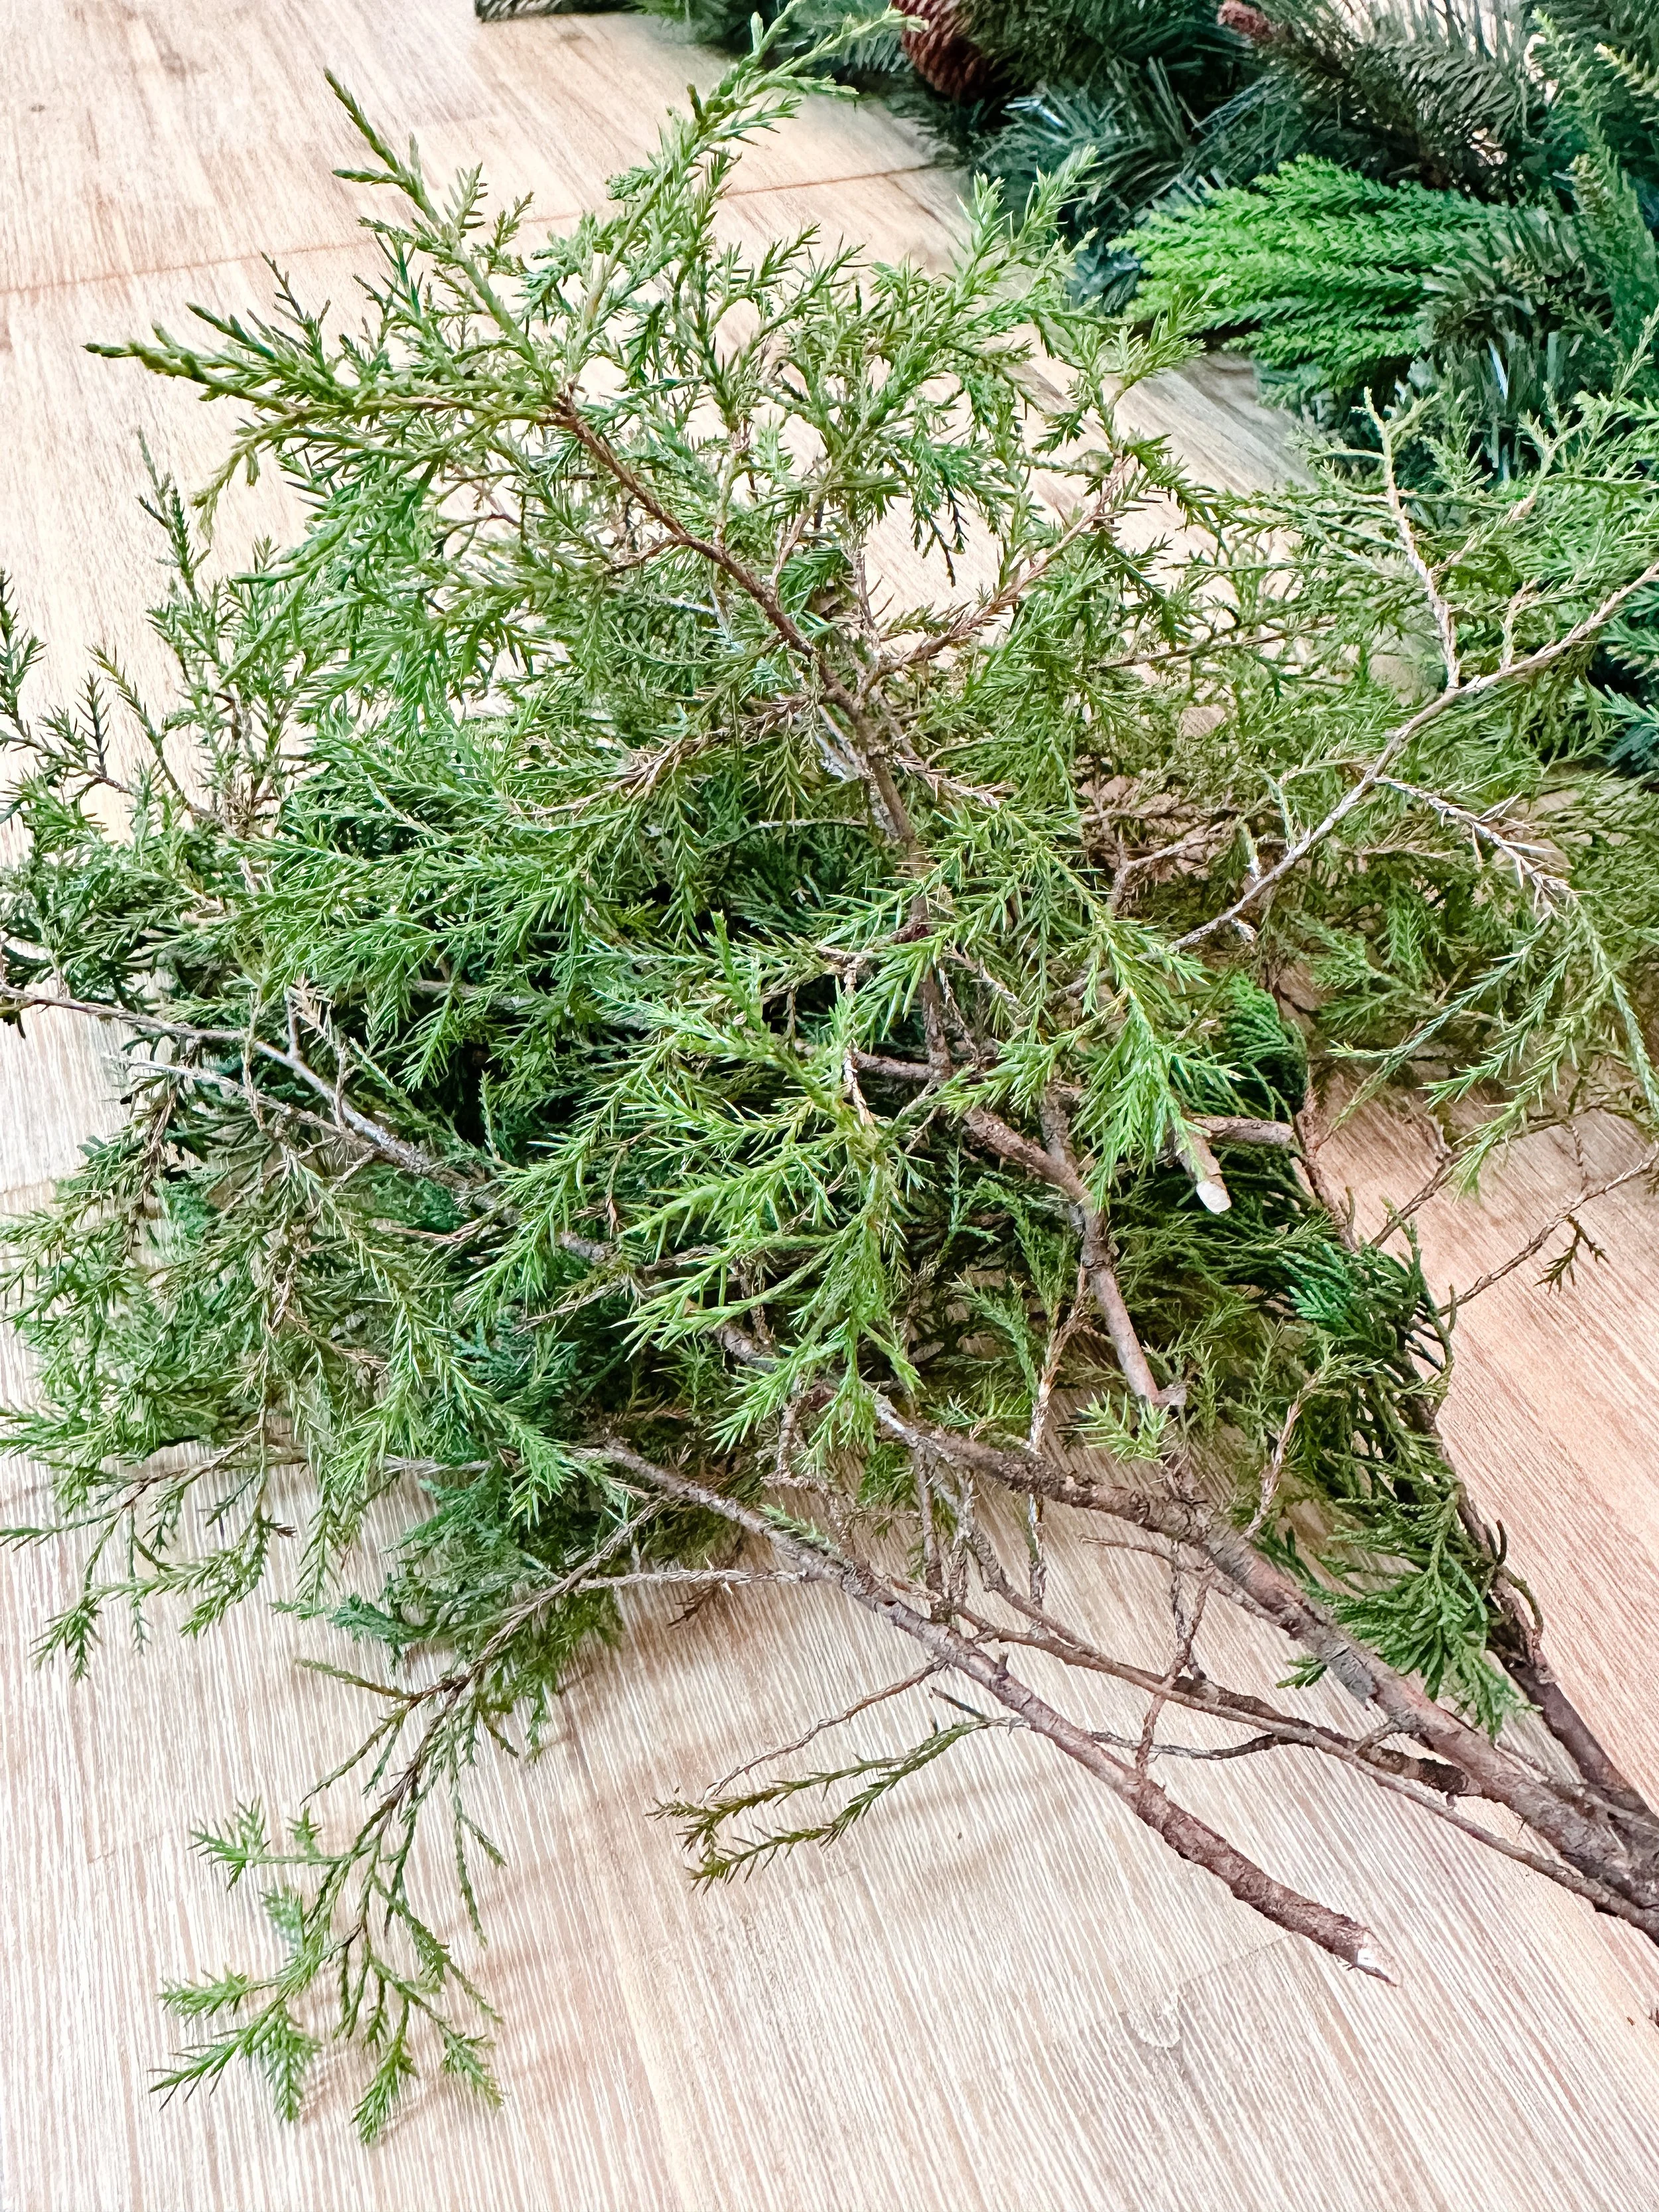
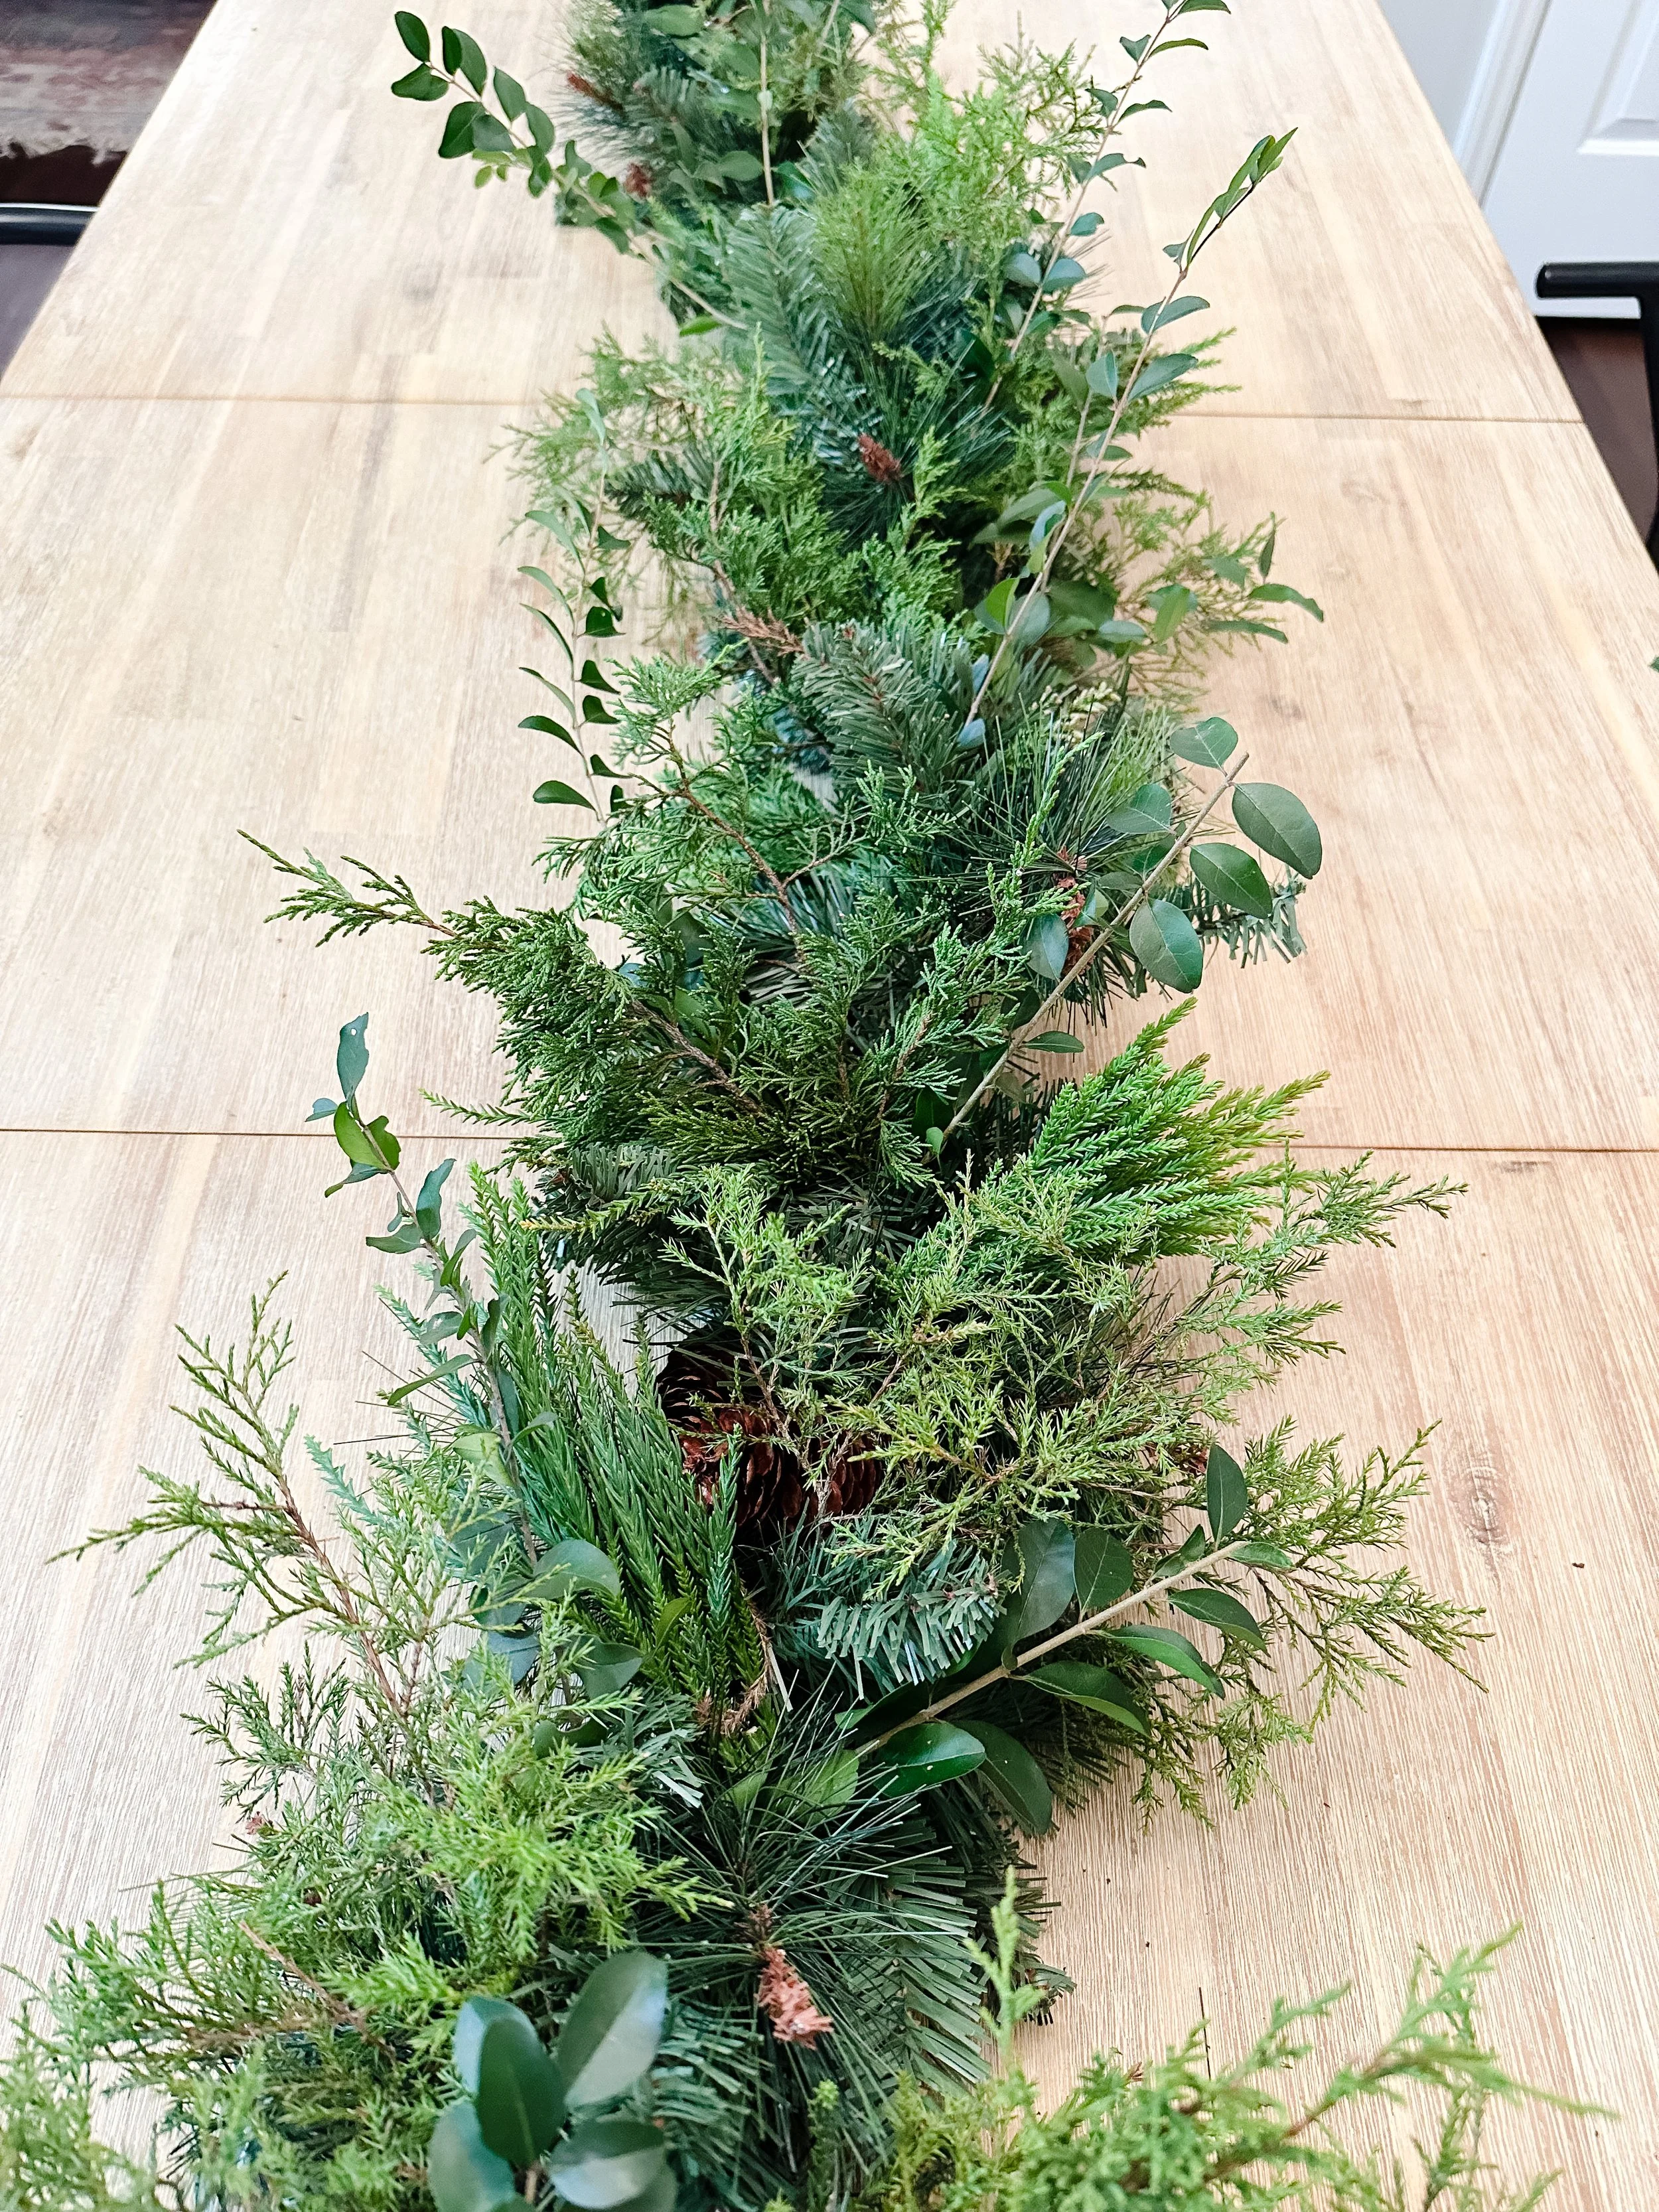
4. Layer in a medium filler
I chose to add in the Easter Red Cedar I had found next because it is also a really hearty green but a bit lighter than the Japanese Cedar. (I’m using my handy plant app to find out what all of these new greens are called as I’m writing this. All new things in my life…including the trees.) I simply cut the branches to give a good piece at the end for tucking in the greenery. I truly didn’t even have to use floral wire on this project, but you sure could if you wanted to make it more secure.
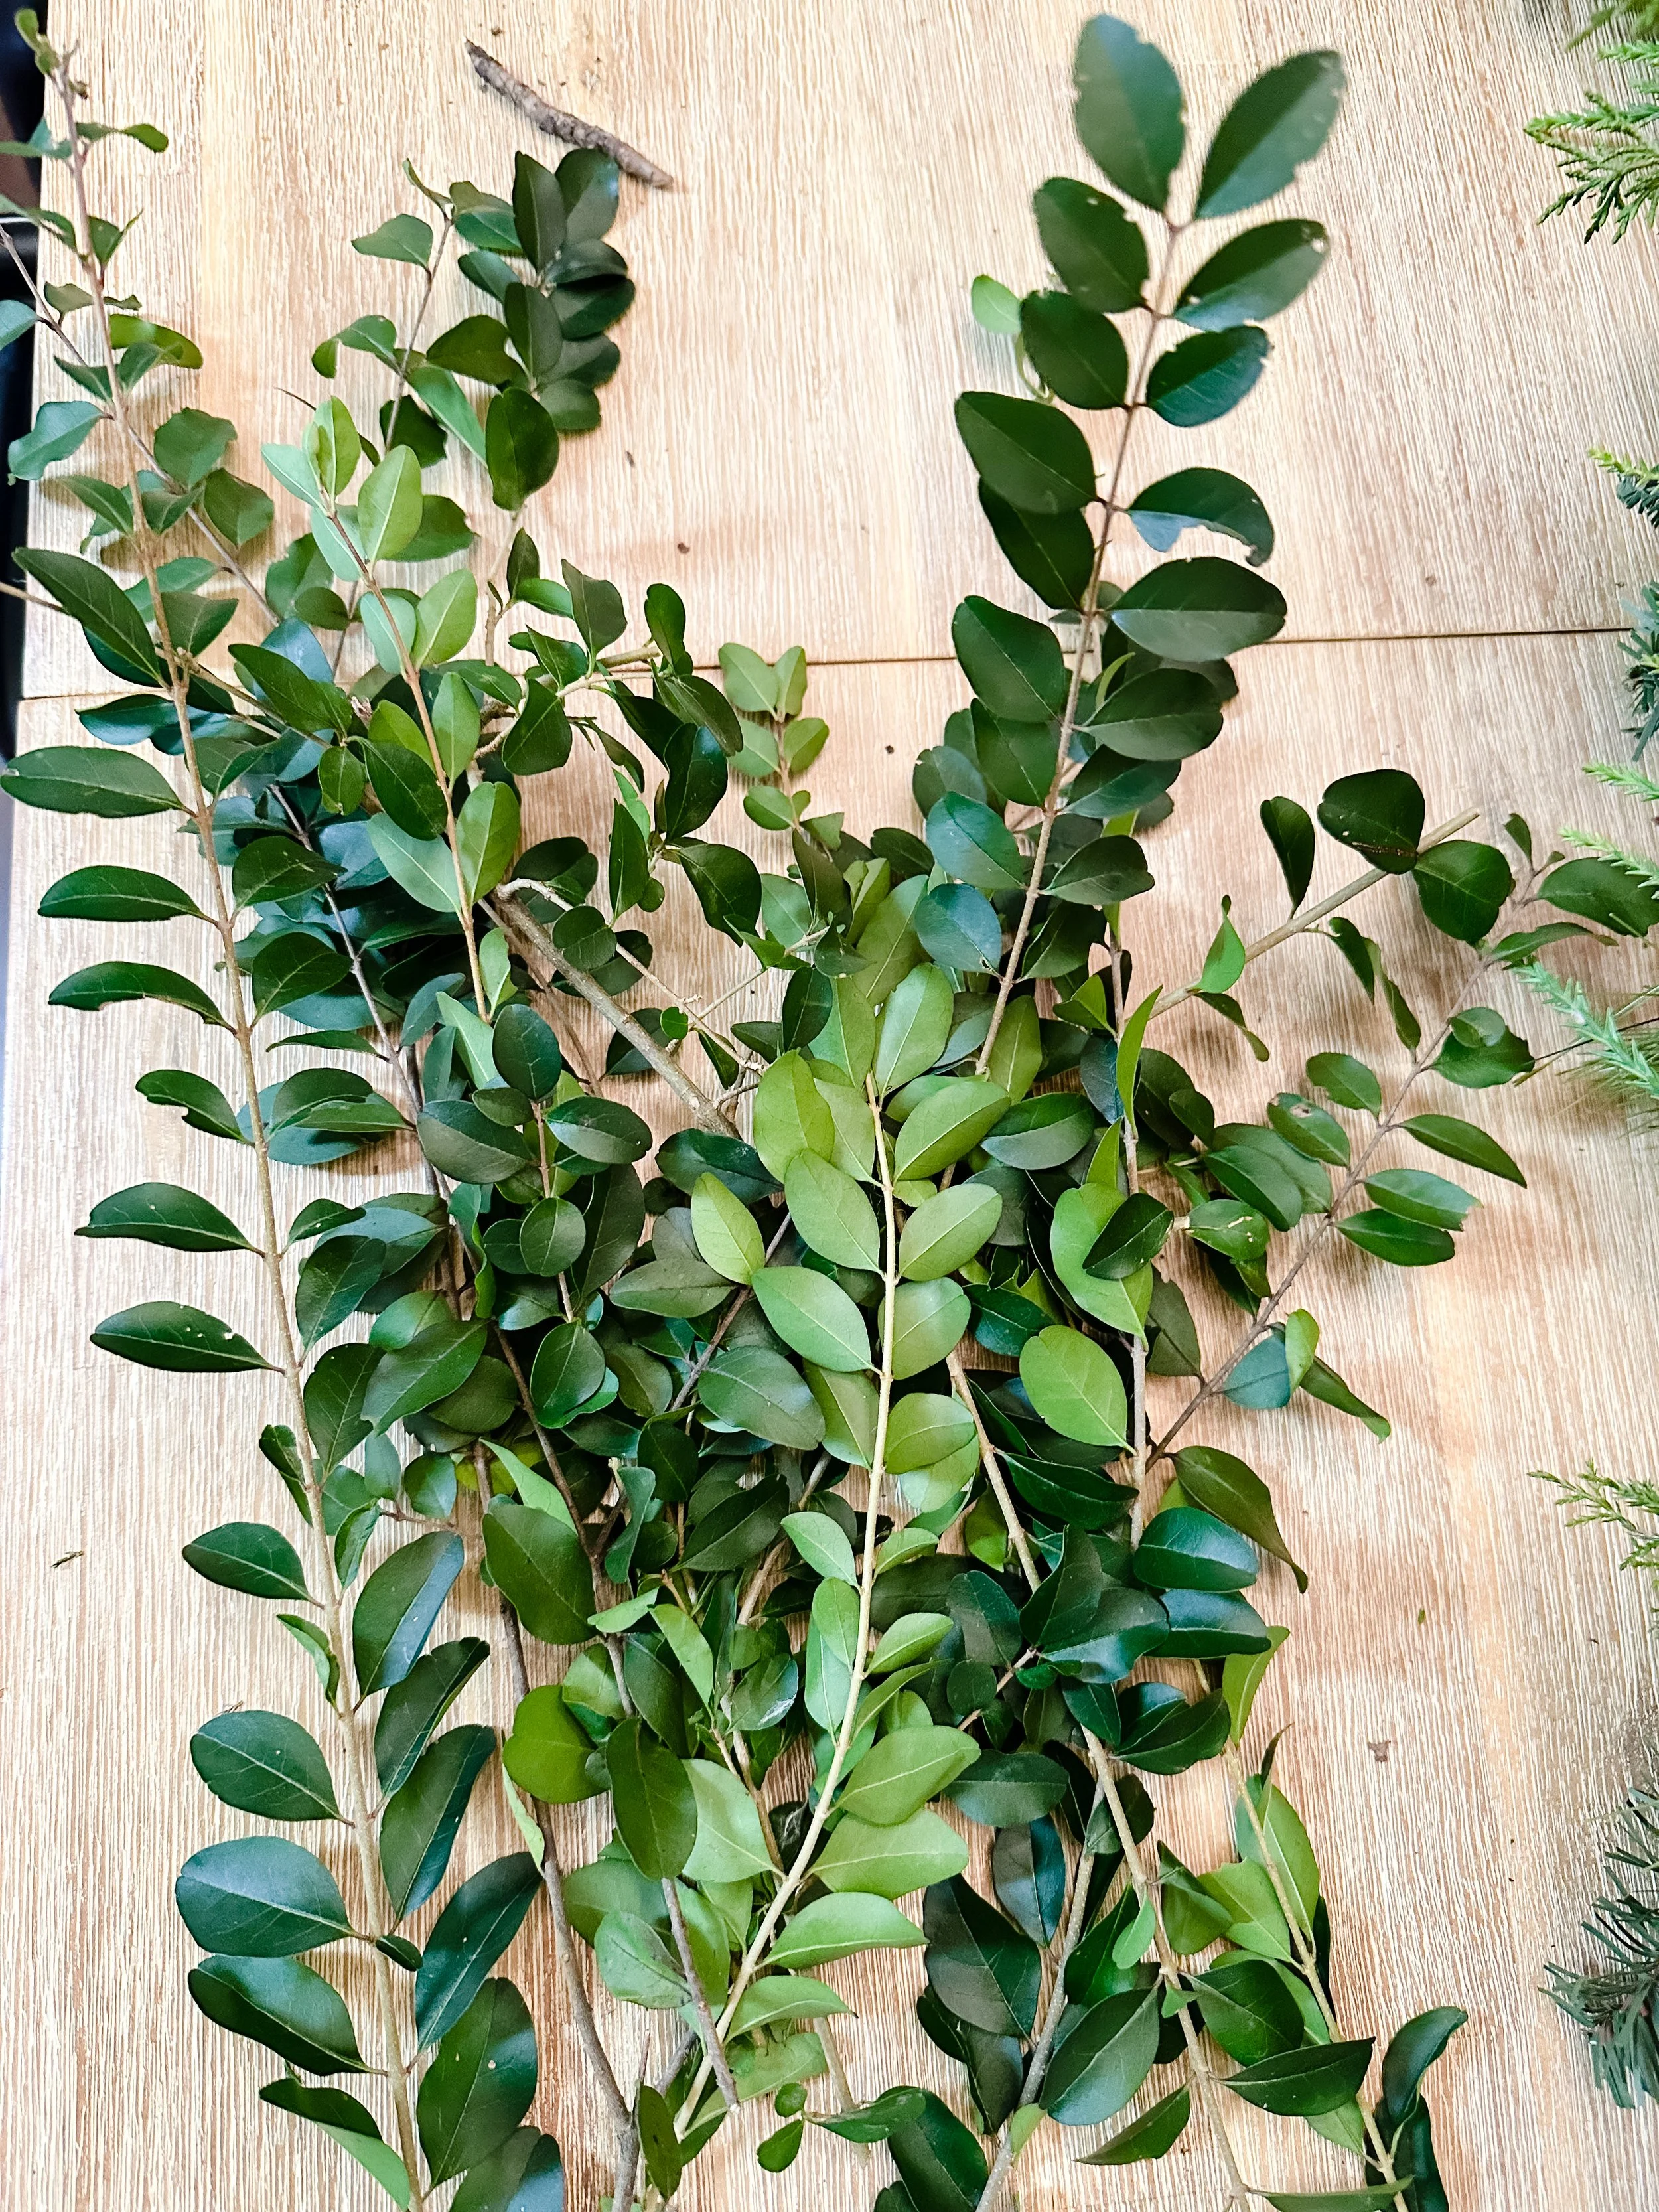
5. Add in a wild child
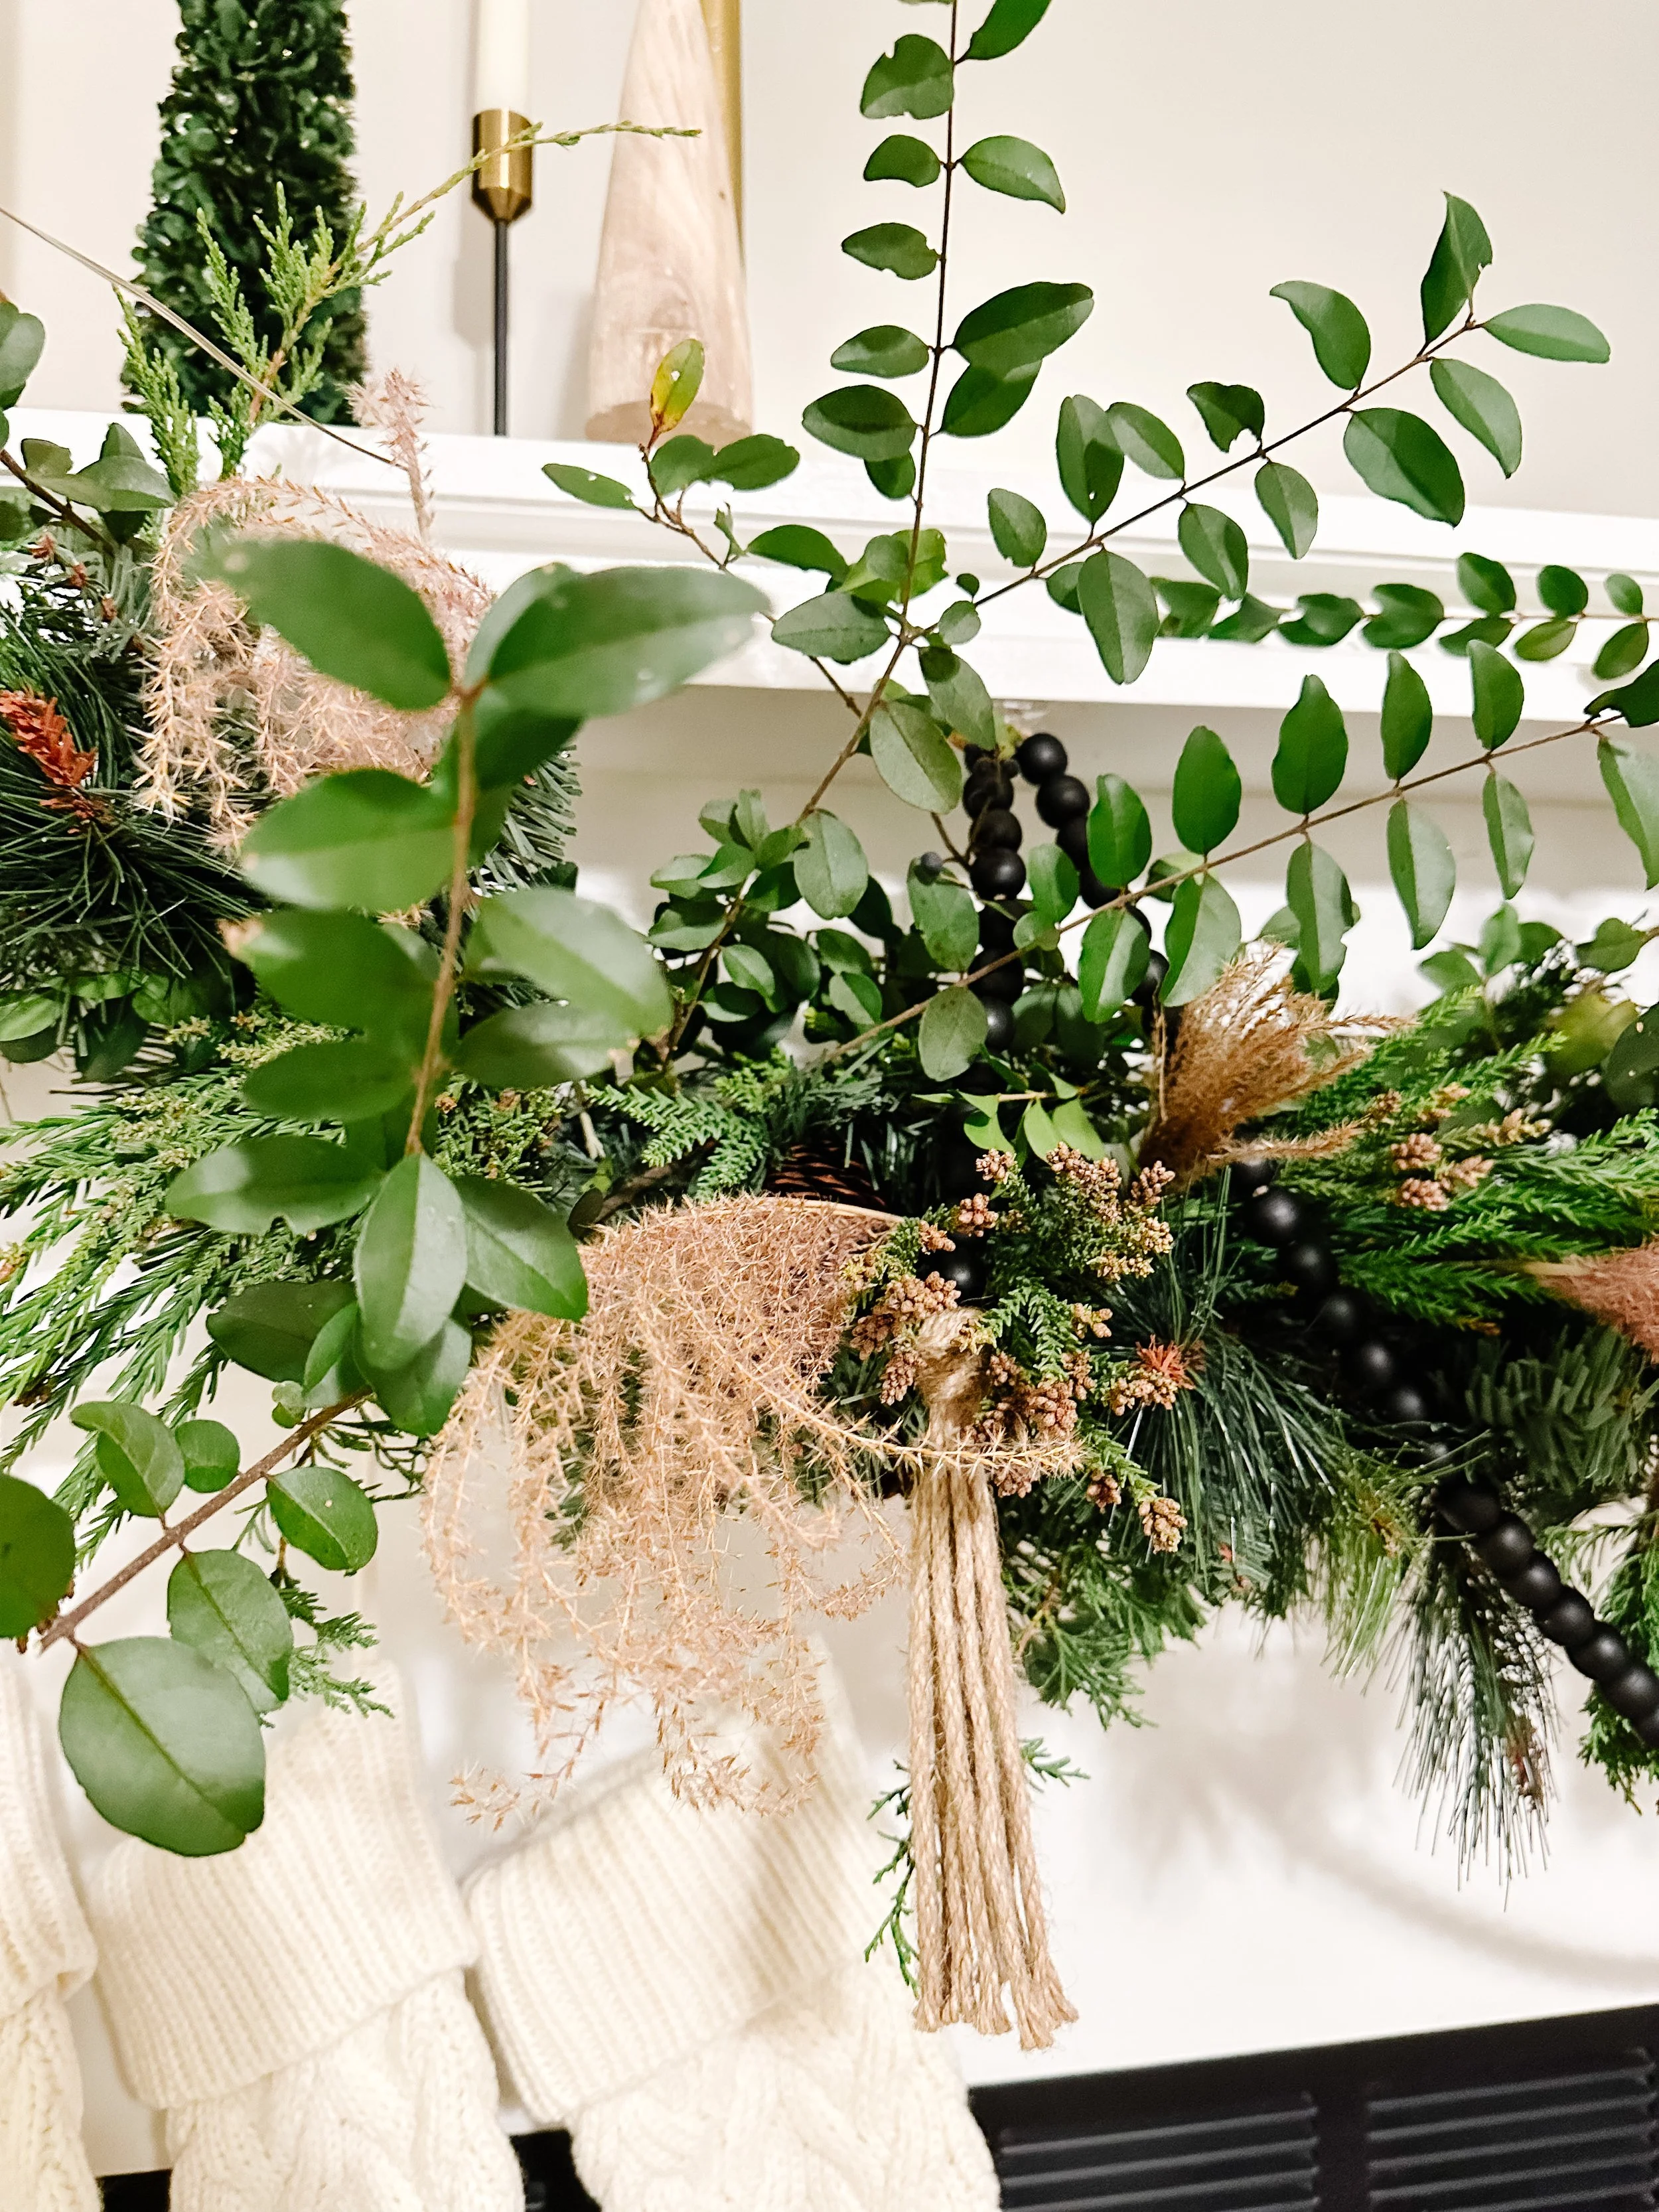
With a solid and lush base of green going, I decided that I really liked the shape of the leaves on the Chinese Privet. We had this one at home in Washington State too. I also liked how long the pieces were and so I could use it to add some “wild child” pieces to this semi tamed garland. So, I got my hands moving and added some entertainment value to this garland and really saw it begin to take shape. For any pieces that are simply too long to work with, snip them off right above a leaf so that you create two usable pieces out of the one. This way the bottom piece doesn’t have a stick at the top but rather looks like it could possibly be the end of a branch with a leaf on the tip.

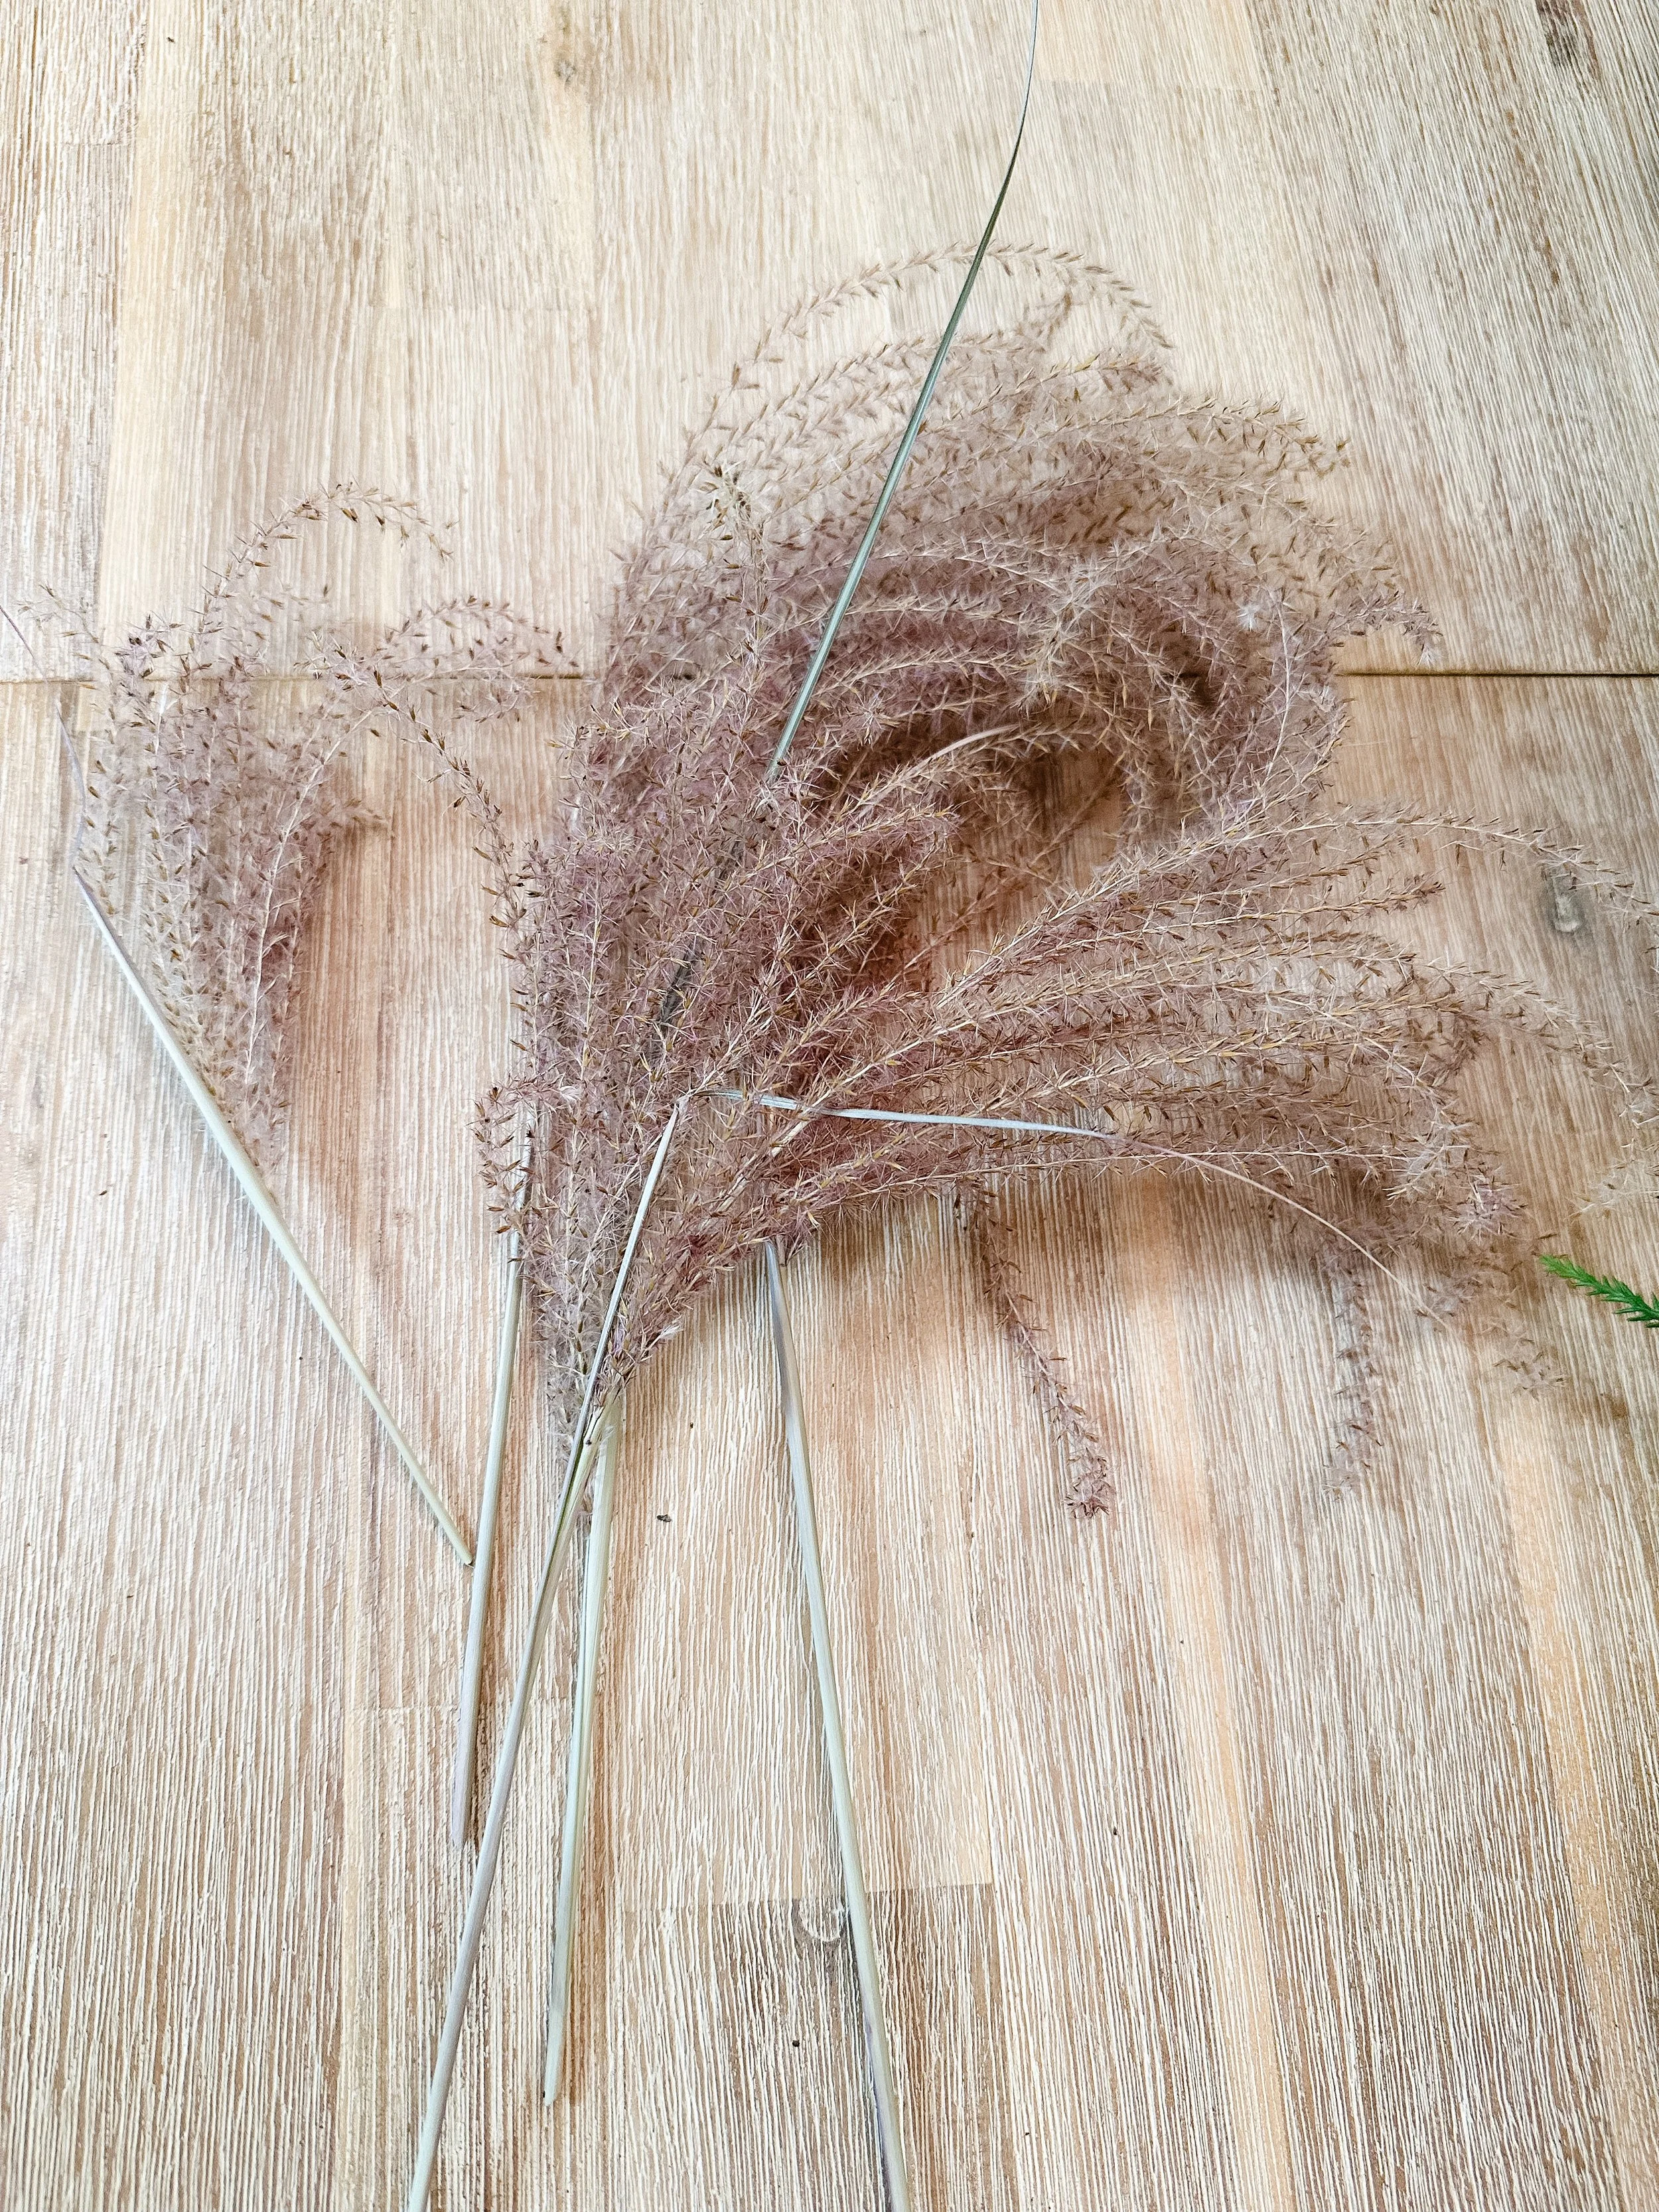
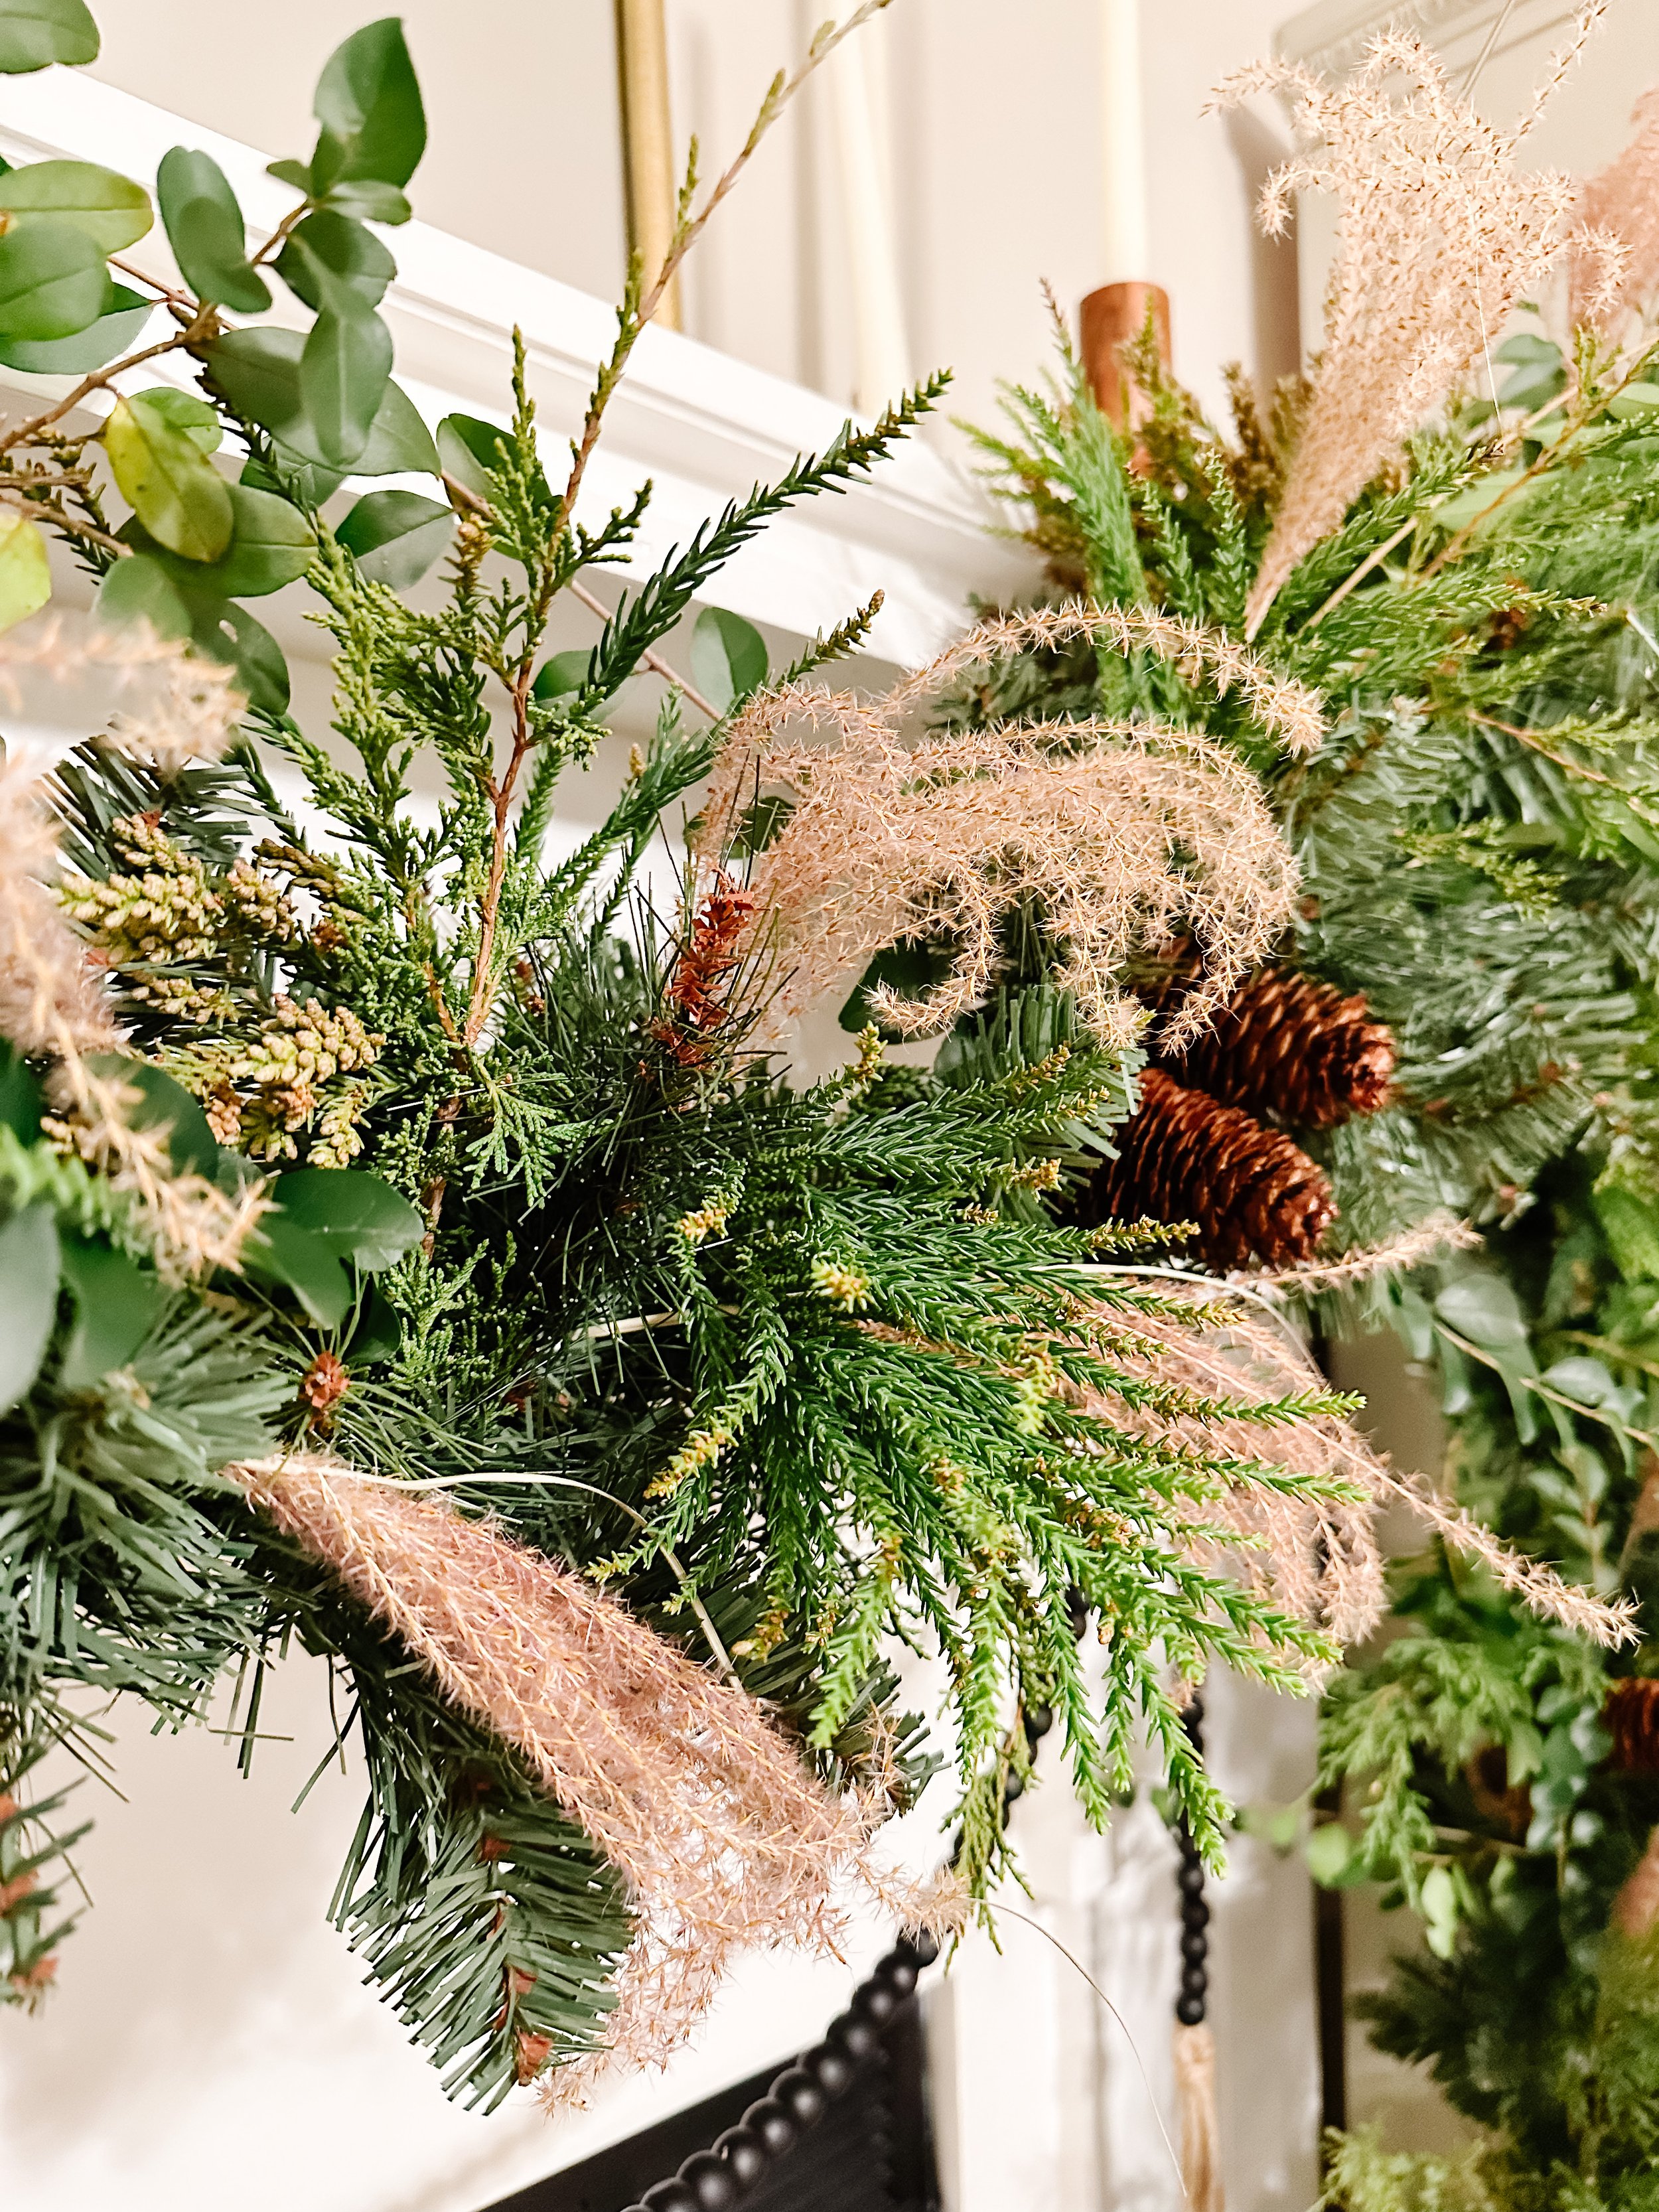
6. Add some whimsy
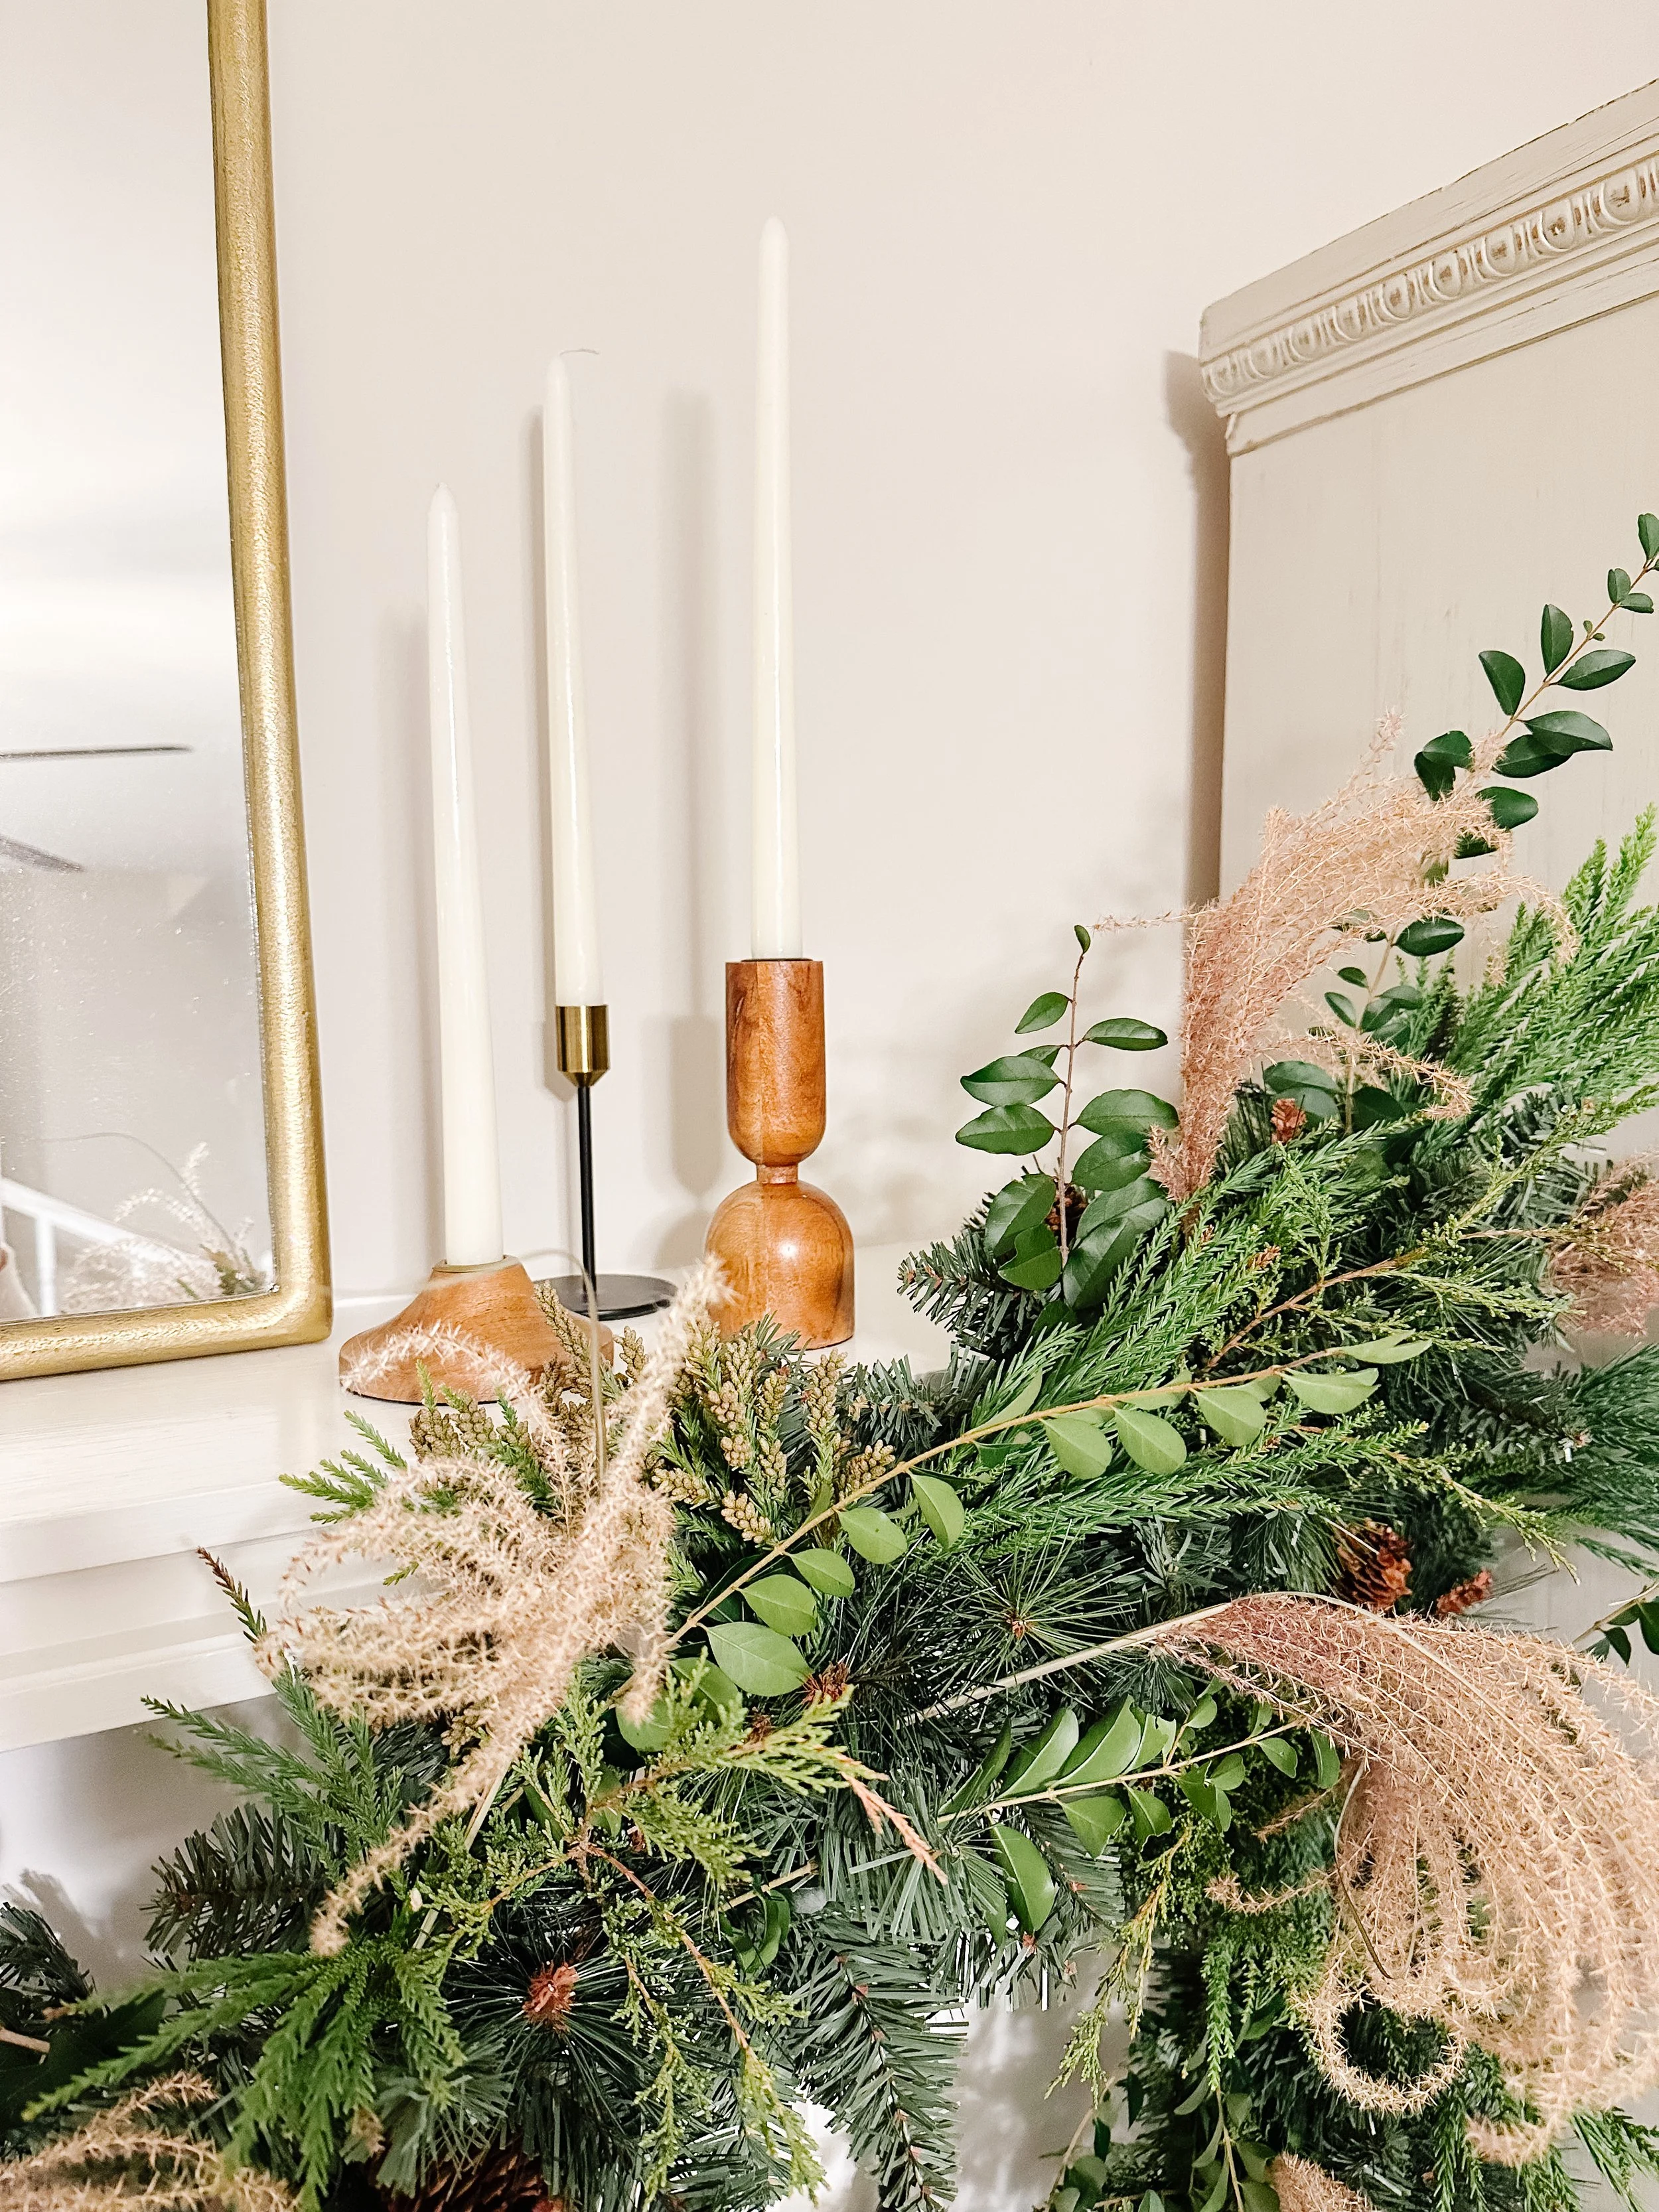
I don’t ever feel that an arrangement or floral installation is ever complete without a little whimsy. This comes from those airy, ethereal pieces that seem to just float above the piece and add some light. I absolutely love grasses for this and knew the Chinese Silver Grass I had been eyeing on the side of the road for weeks would be perfect. With its gorgeous color, perfectly curling tendrils and movement, it was just right. I really love the combination of living and dried pieces and thought it would be a fun combination in the garland as well.
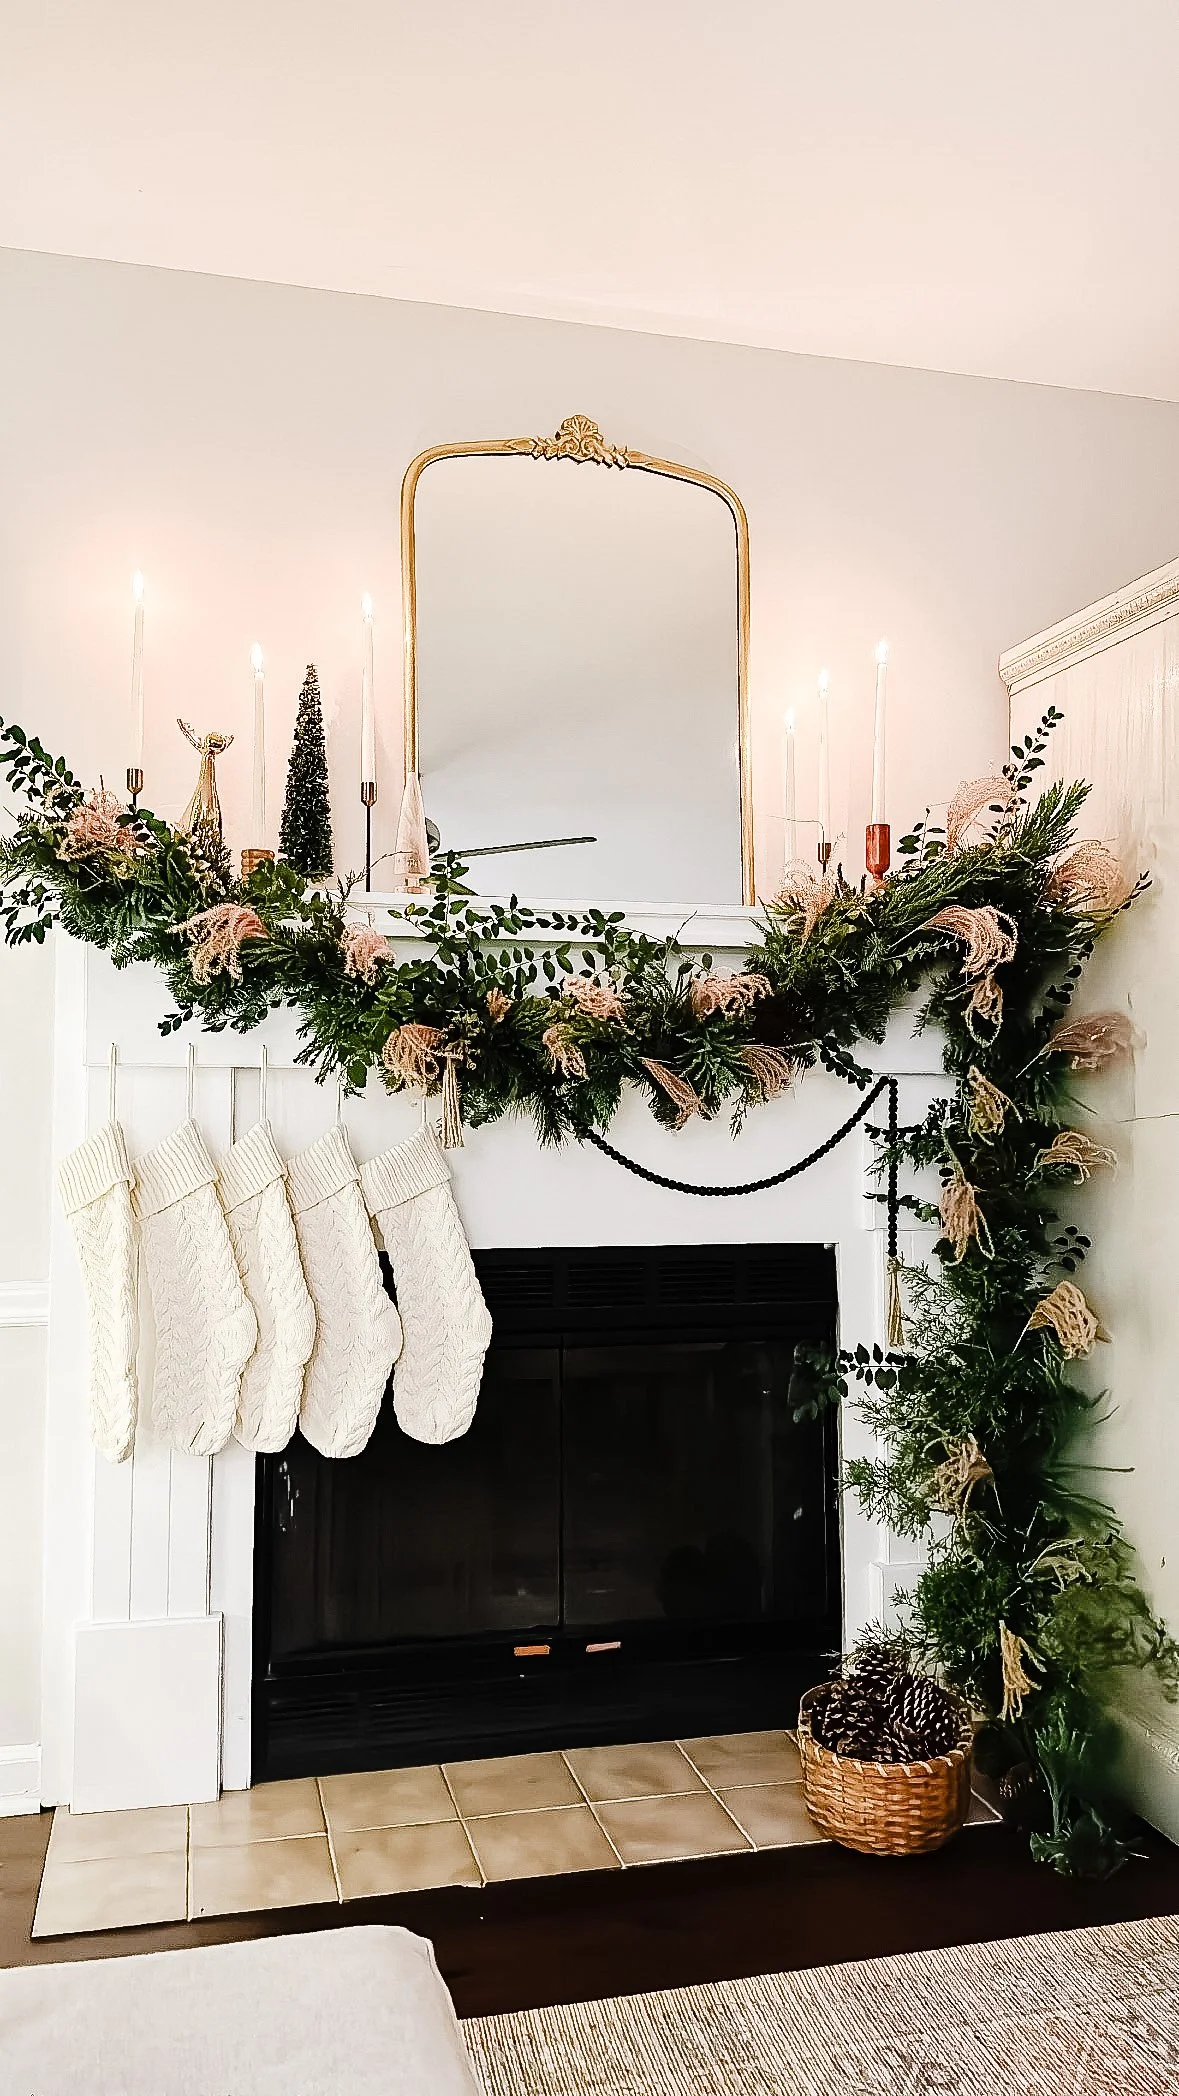
7. Hang your garland and add in any other textural items you desire
I wanted to add in some moody wooden beads for a fun and different texture to accompany the greenery. I used command hooks to simply hang the strand of beads from different anchor points from the garland so that it would add dimension.
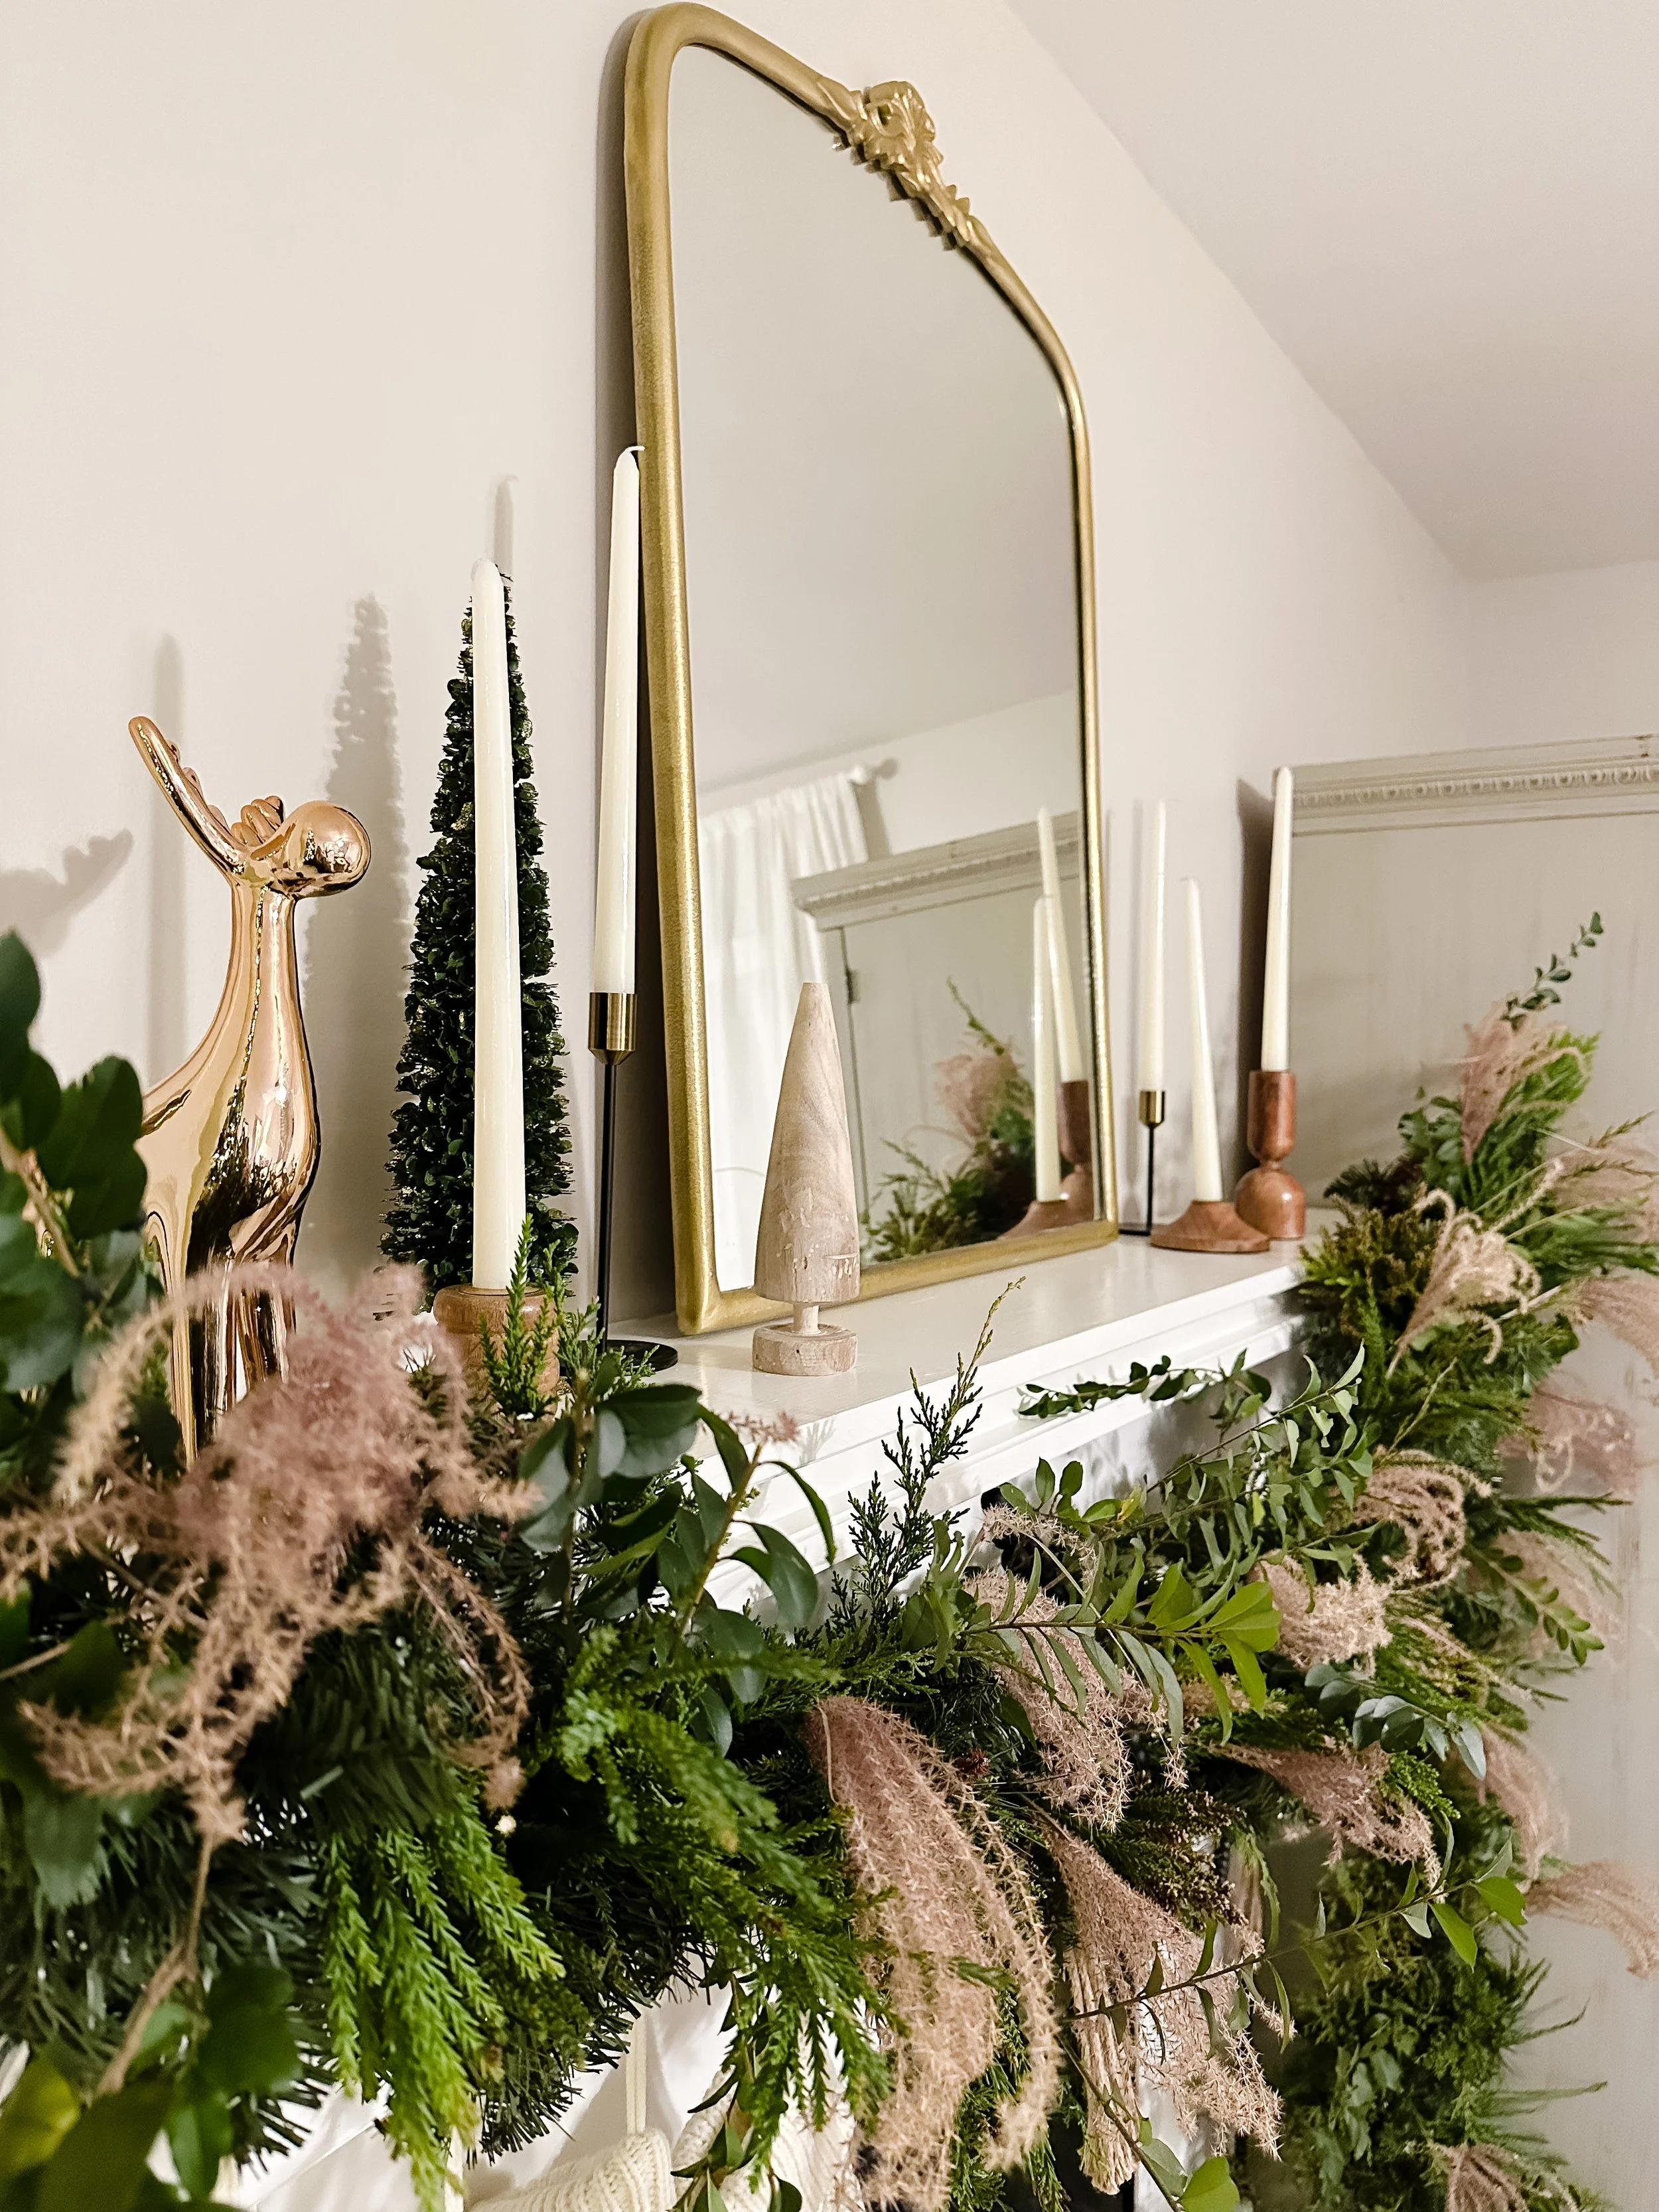
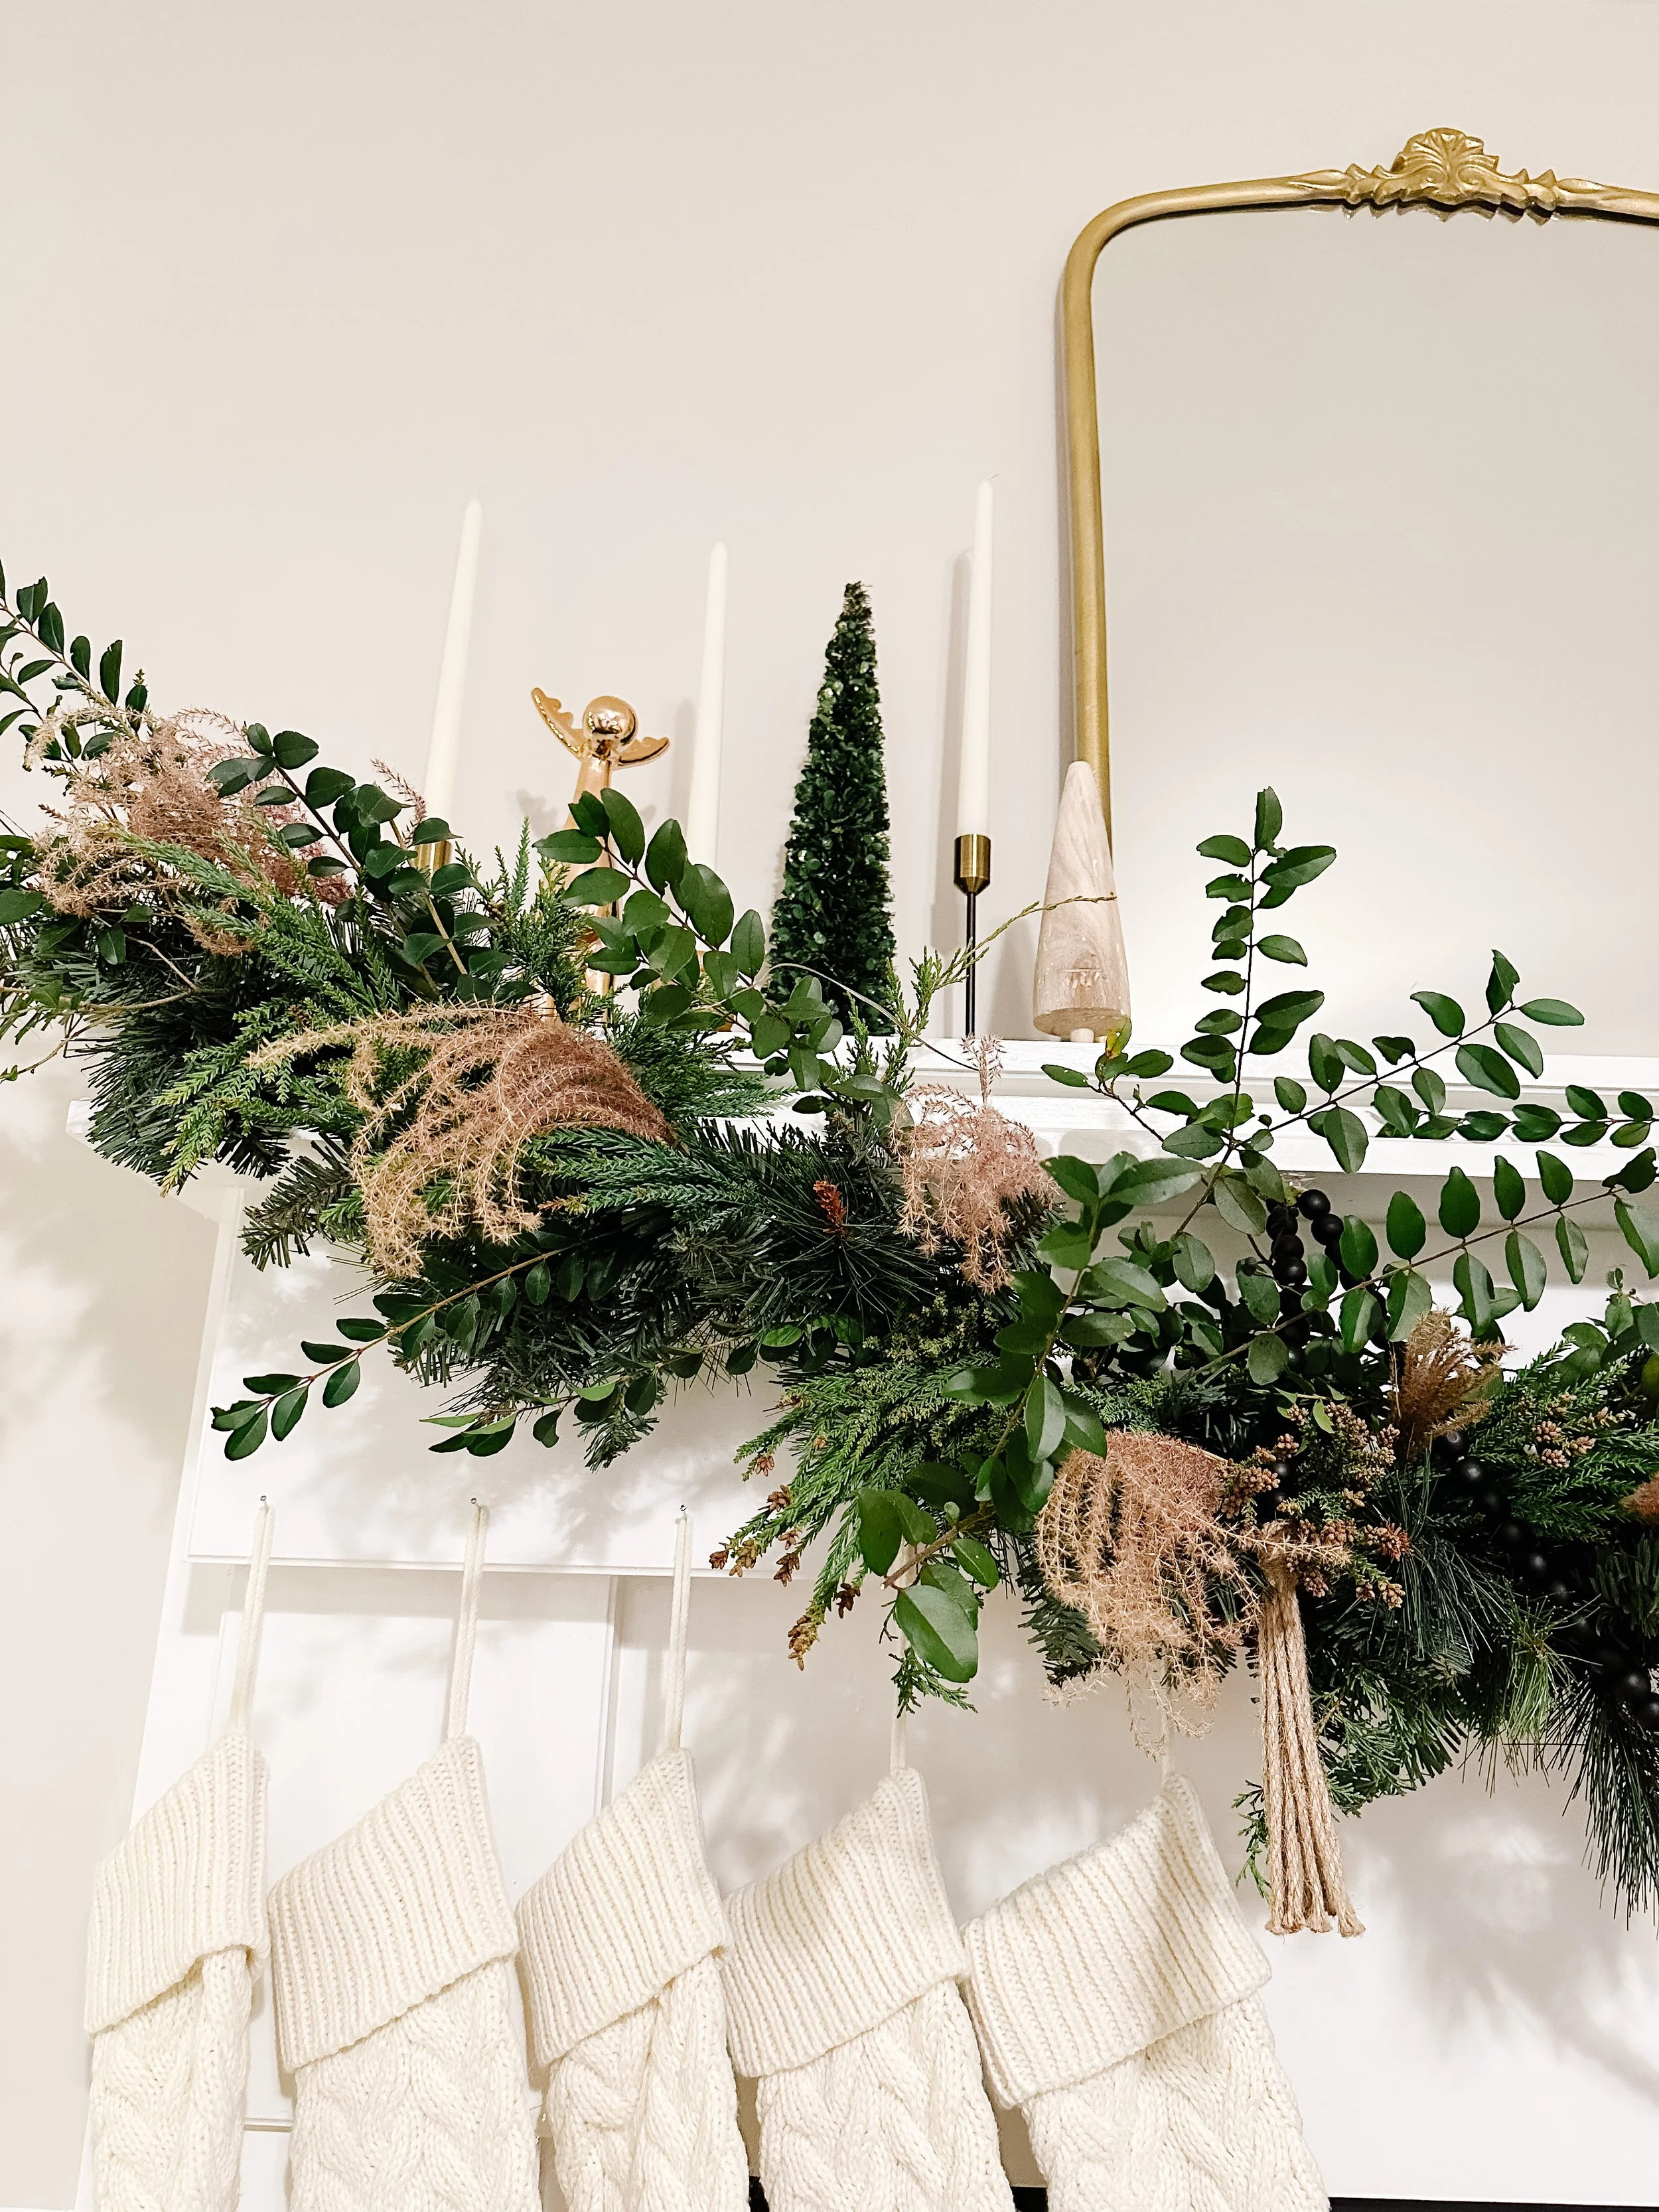
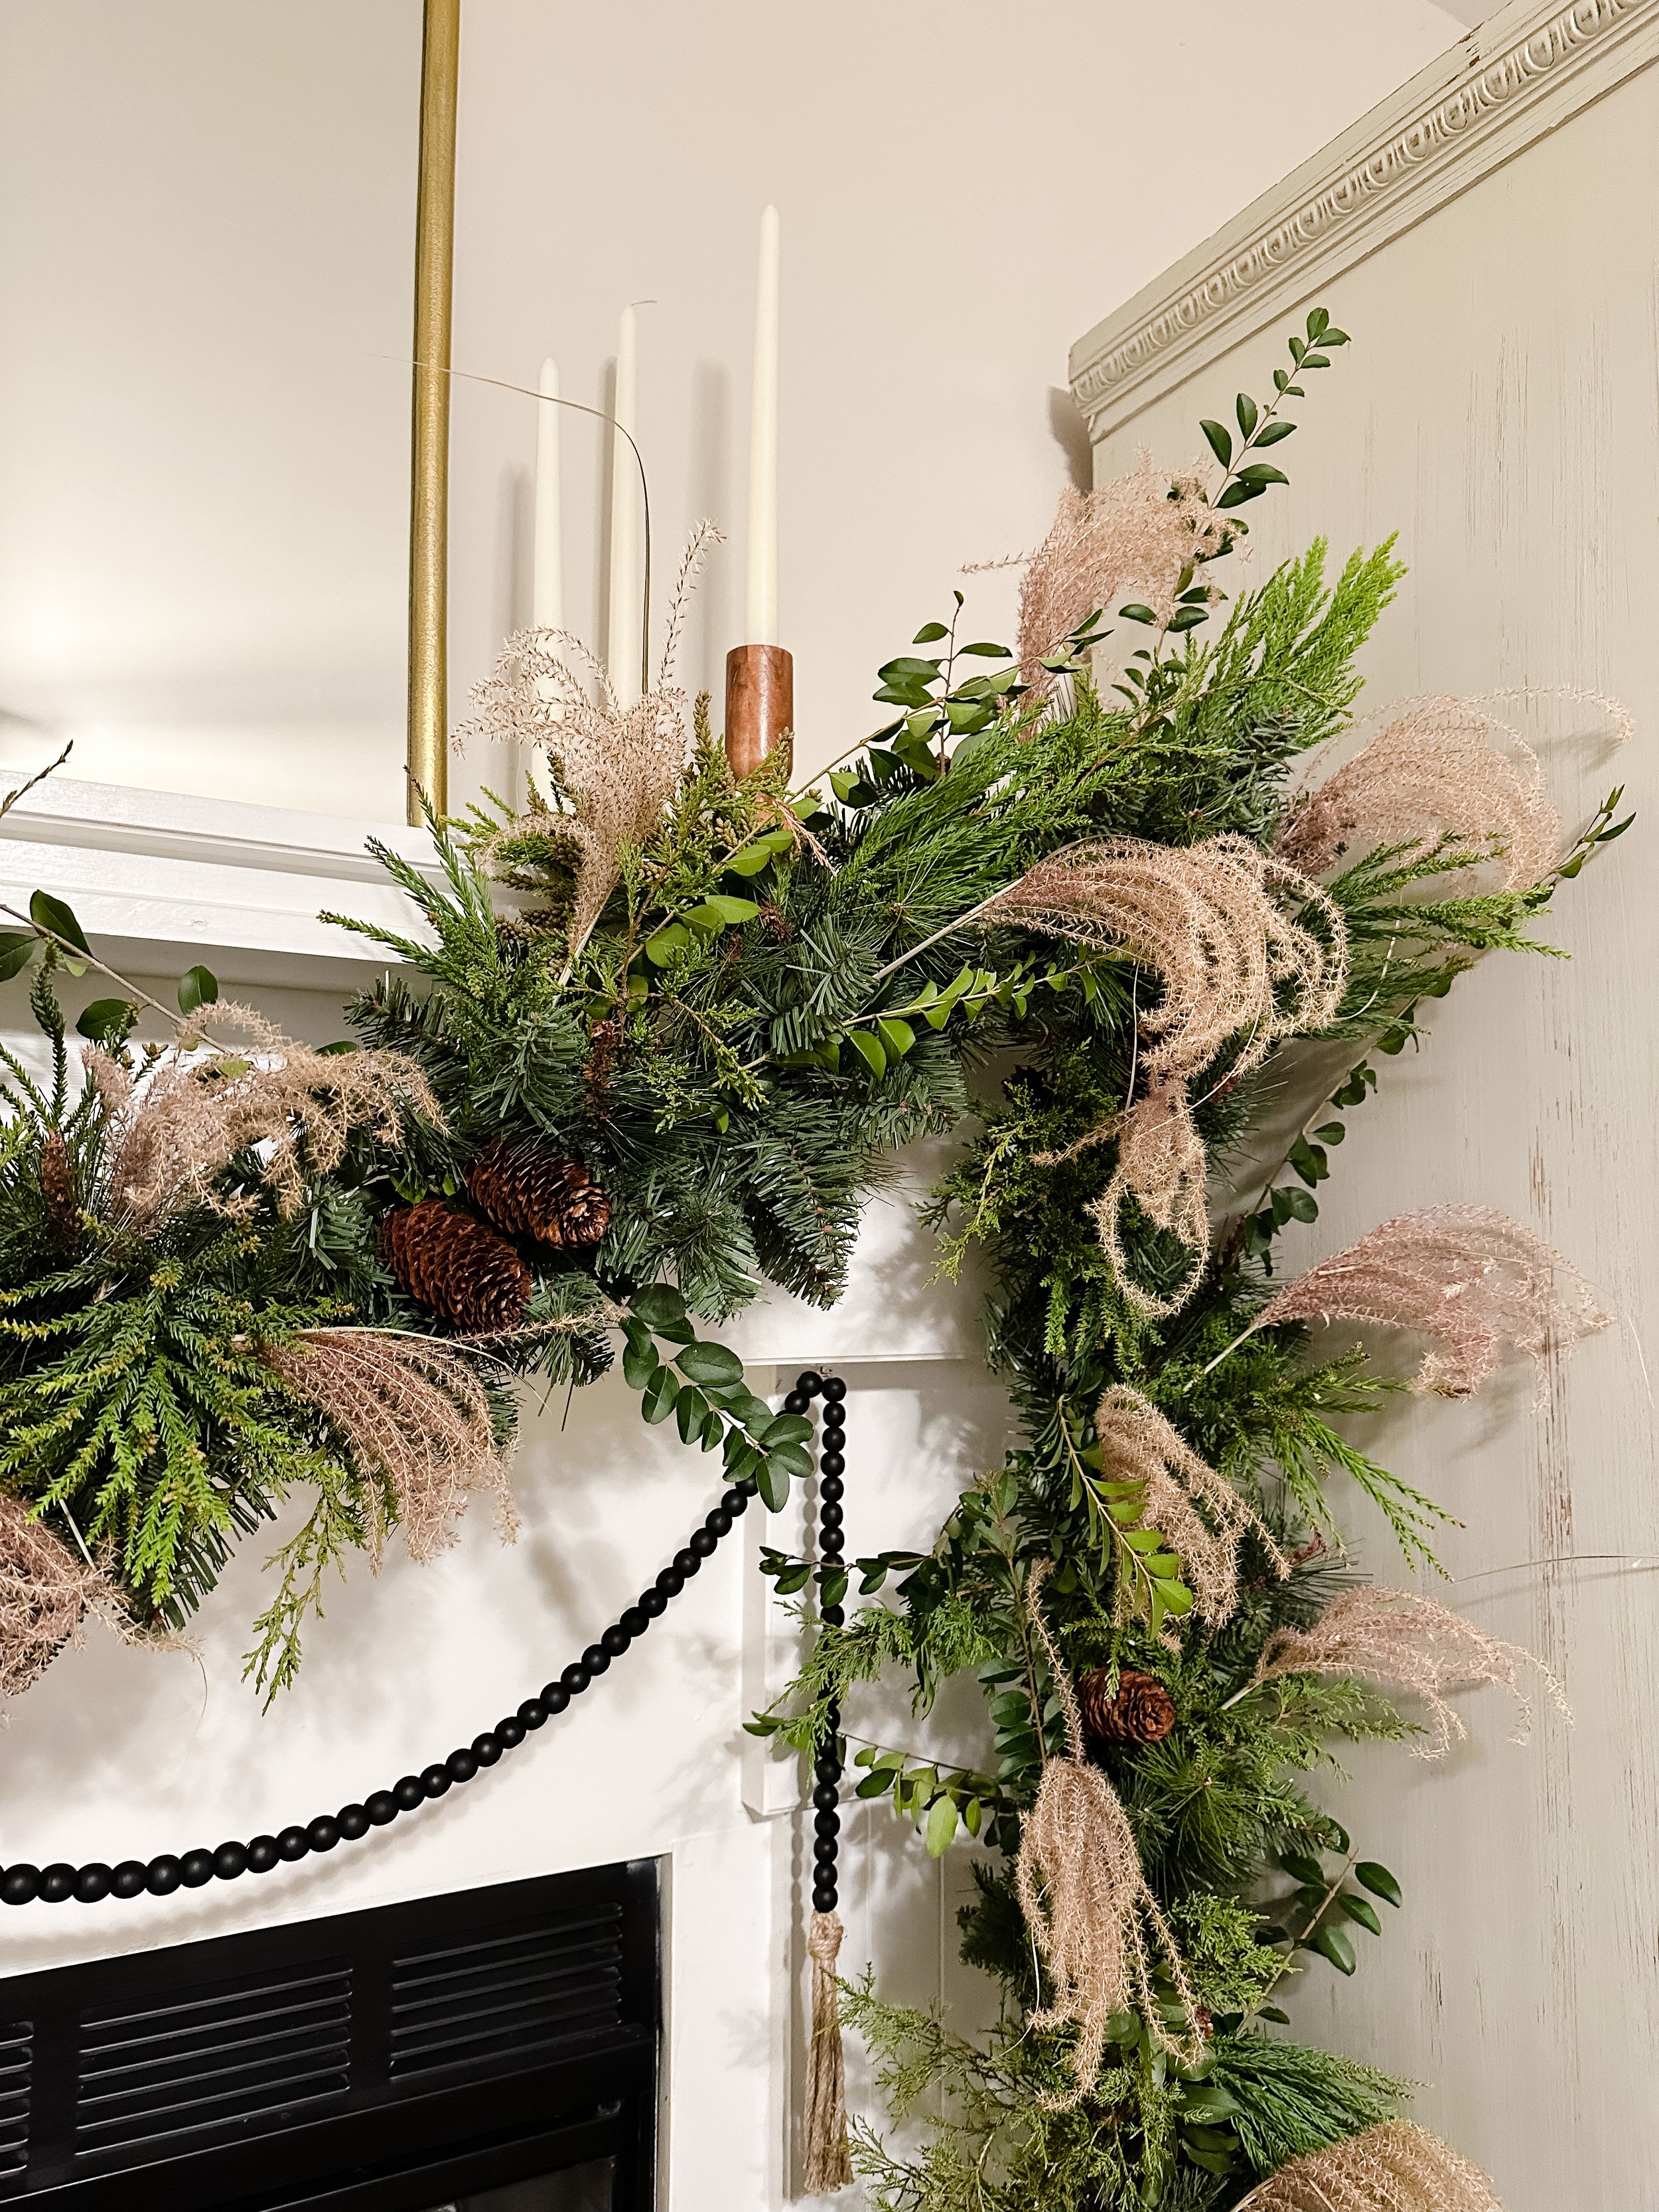
8. Add some mantle decor
I wanted to combine a very organic feeling garland with some moody pops and some metallic decor elements surrounding it. I like the juxtaposition of those things together. With abundant texture and a feeling of warmth, I also wanted to highlight the mirror that lives permanently on the mantle. I chose to do so with an eclectic collection of taper candle holders and cream tapers. Because the candle holders were all different, I made sure to keep the tapers themselves simple and consistent. I included a couple of textural trees that brought the green and wood elements up on top of the mantle and topped it all off with my copper moose, my favorite little Christmas guy.
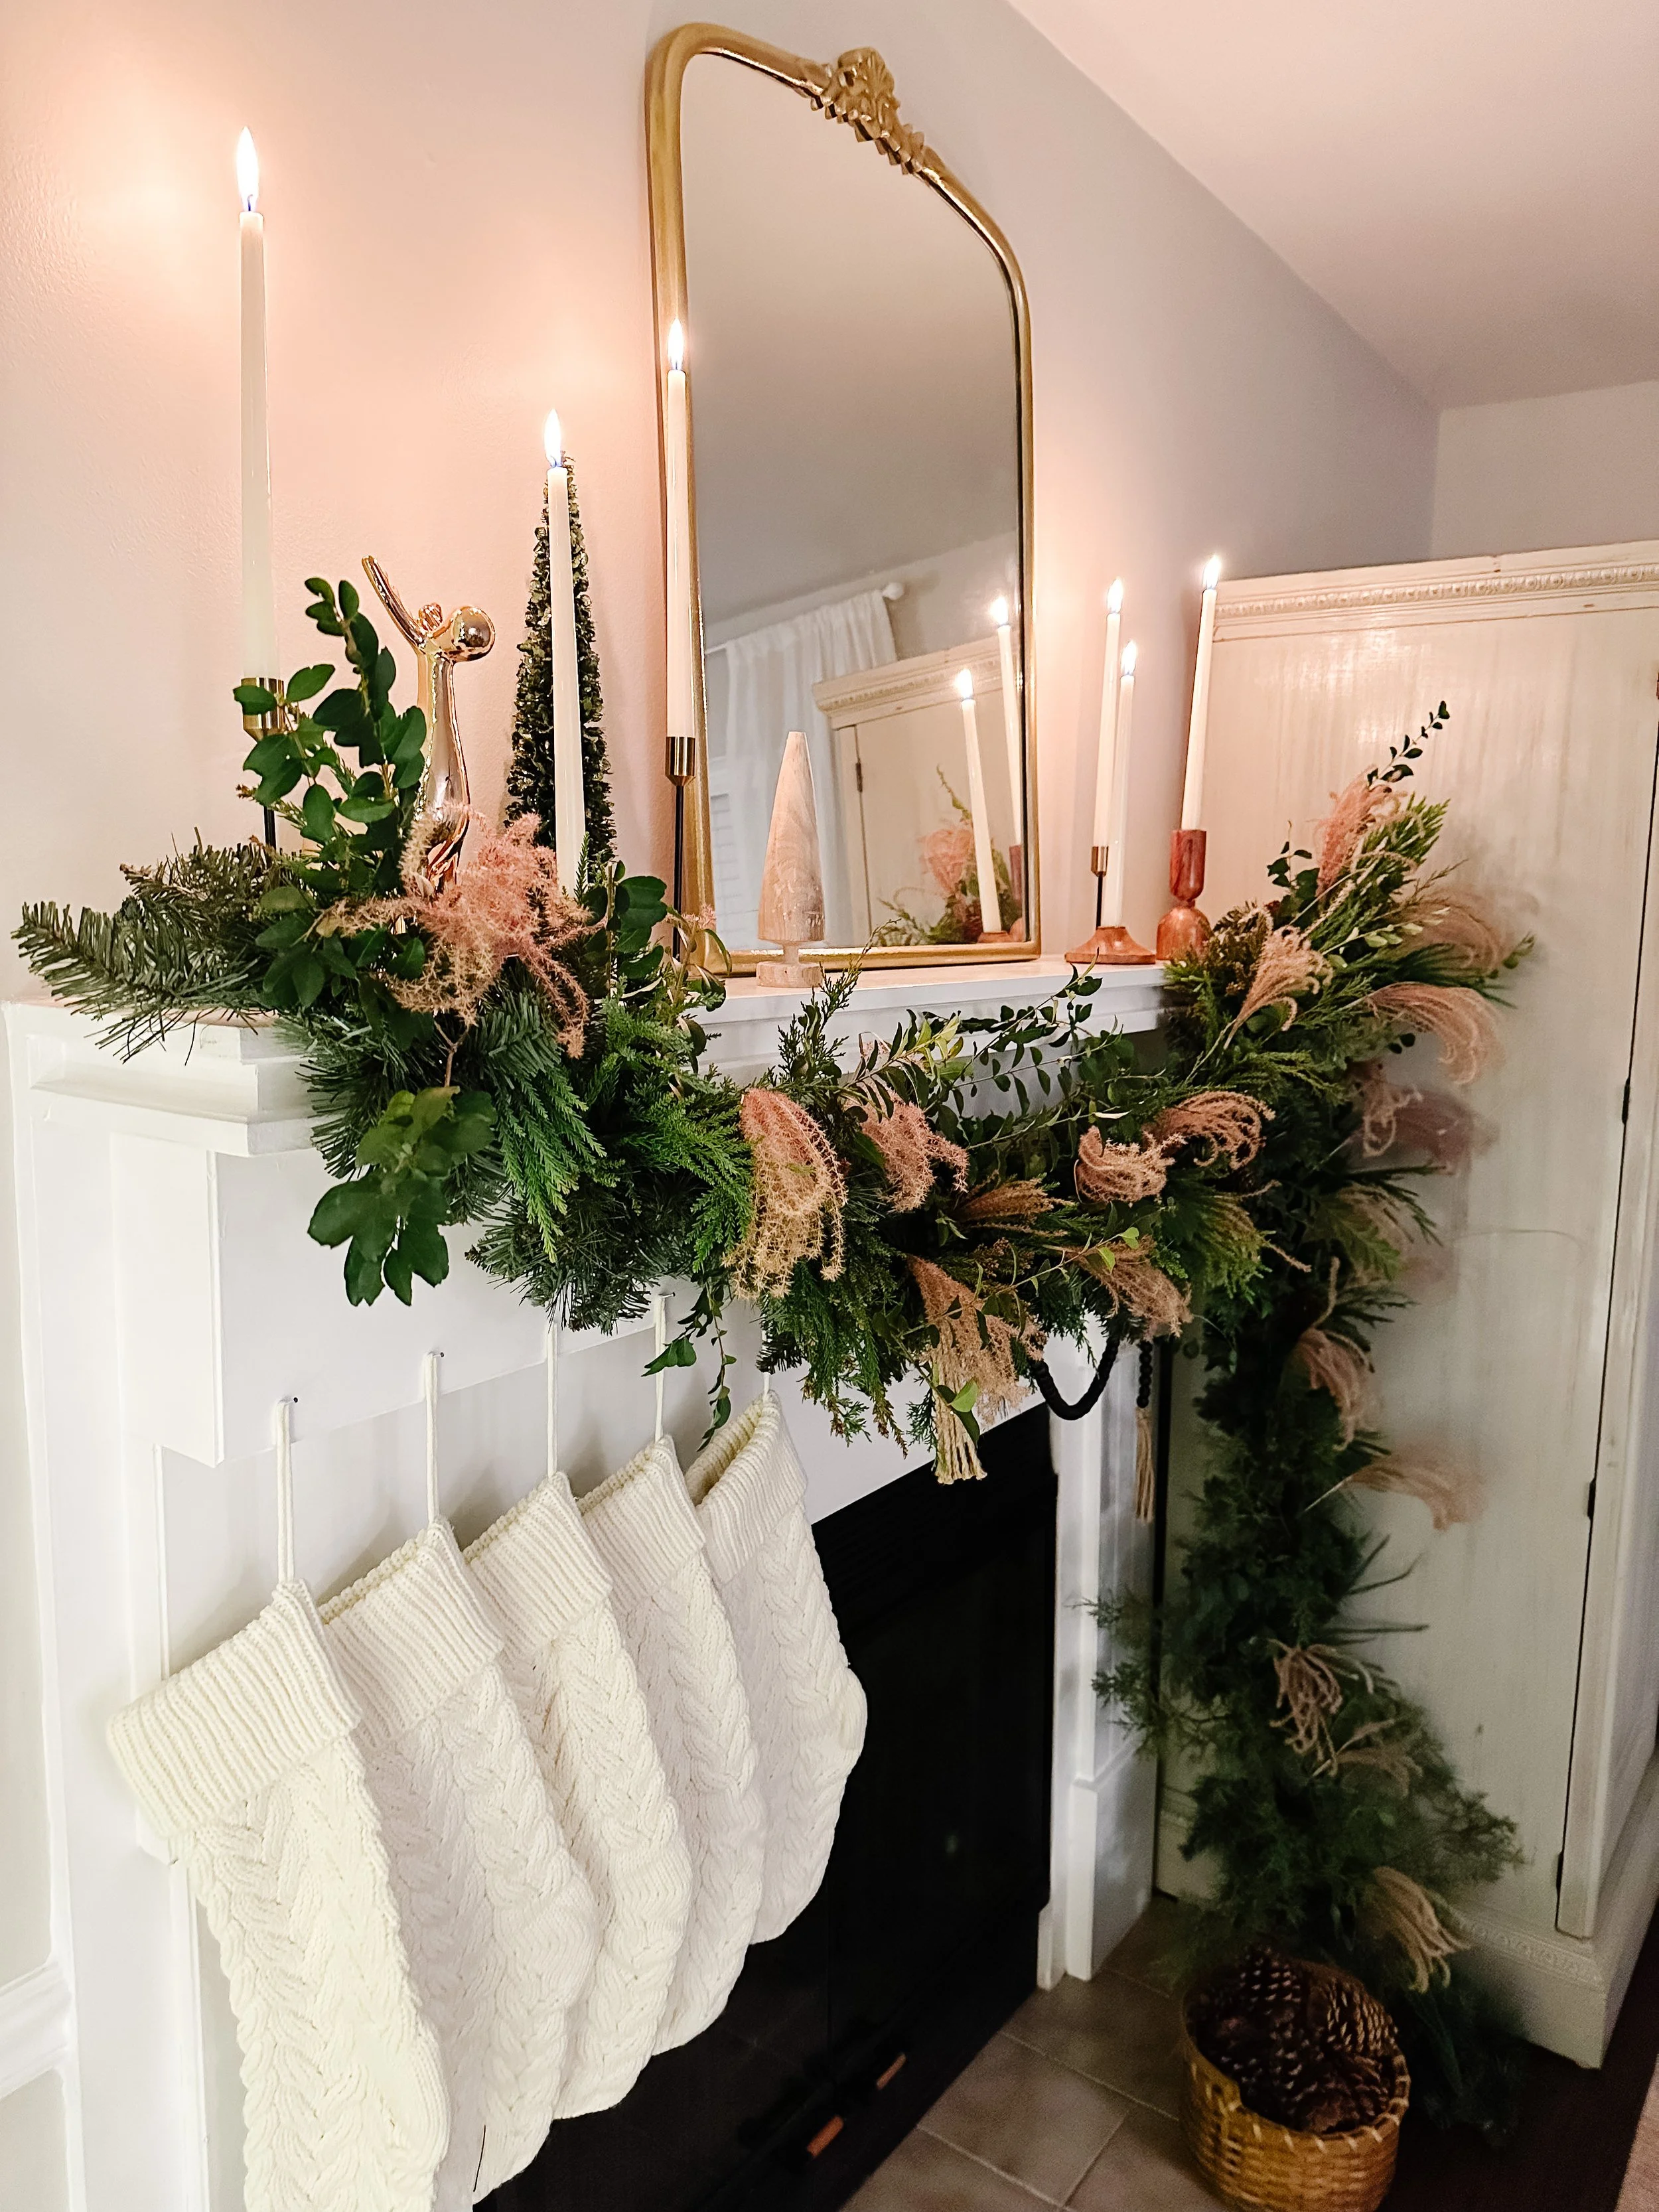
Sitting in the living room in the soft glow of the tree with this lush mantle front and center, I feel the joy of the season. And I really can’t believe that the gorgeous garland on my mantle was once a $16 craft store garland.
I hope you give it a try too, friends, and enjoy getting creative this season. Warmest wishes to you and yours!
